

Easy Knit Protectors for Chairs
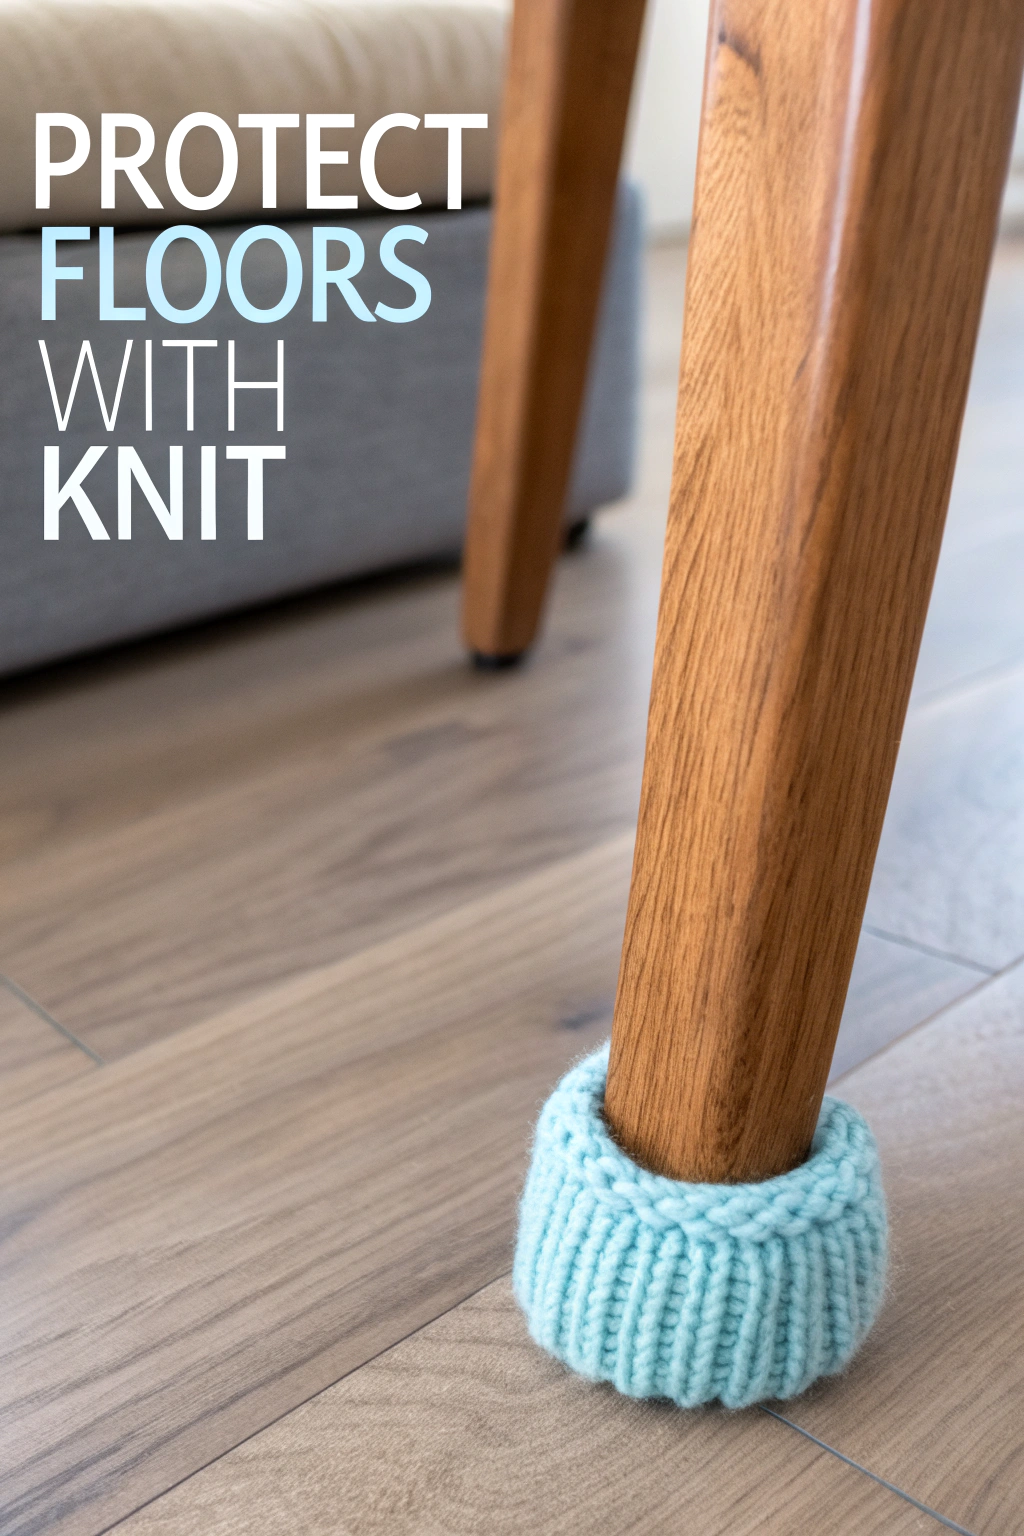
Tired of that scraping sound when chairs move? Or maybe you’ve noticed little marks appearing on your beautiful floors? There’s a wonderfully simple and stylish fix you can whip up yourself: handmade furniture leg protectors! Look at the image – see that snug, light blue knitted sock hugging the wooden chair leg? That’s exactly what we’re going to guide you through making today. It’s a fantastic project for dipping your toes into knitting, resulting in something super useful and charming for your home. Let’s get those needles clicking!
What You’ll Need
Gather these bits and bobs before you begin:
- 🧶 Worsted Weight Yarn (A sturdy cotton or acrylic blend works well; the image shows a lovely light blue shade, but pick any color you adore!) – about 20-30 yards per protector.
- 🥢 Knitting Needles (Double Pointed Needles – DPNs – are ideal for small tubes like this. Size US 6 or 7 (4.0mm – 4.5mm) is a good starting point, but check your yarn label).
- ✂️ Scissors
- 🧵 Tapestry Needle (for weaving in ends)
- 📏 Measuring Tape
Getting Started: The Basics for Beginners
Don’t worry if you’re brand new! We’ll walk through everything. The protector in the picture uses a simple Rib Stitch, which makes it stretchy and snug. Ribbing is just alternating between two basic stitches: the Knit Stitch and the Purl Stitch.
- Casting On: This is how you get the first row of loops onto your needle to start knitting. There are many ways, but a simple “long-tail cast-on” is common. Essentially, you make a slip knot, put it on one needle, and then use your thumb and index finger with the yarn strands to form loops onto that needle. Aim for a moderately firm cast-on, not too tight, not too loose.
- Knit Stitch (K): Think “in, around, through, off.” Insert the right needle tip into the front of the first loop on the left needle (from front to back), wrap the working yarn counter-clockwise around the right needle tip, pull that wrapped yarn back through the loop, and slide the original loop off the left needle. You’ve made one knit stitch!
- Purl Stitch (P): Think “in front, around, through, off.” Bring the working yarn to the front of your work. Insert the right needle tip into the front of the first loop on the left needle (from right to left), wrap the yarn counter-clockwise around the right needle tip, push that loop back through the original loop, and slide the original loop off the left needle. That’s a purl stitch!
Making Your Furniture Footie
This pattern involves knitting a small tube in the round using Double Pointed Needles (DPNs). Working in the round means you’re knitting a seamless tube, perfect for this project!
1. Measure Your Chair Leg: Use your measuring tape to find the circumference (the distance around) the bottom of the chair leg you want to cover. Write this down!
2. Cast On Your Stitches:
- Now, let’s cast on. You need a number of stitches that’s a multiple of 2 (for the ribbing) and roughly matches the circumference you measured. For a typical chair leg (around 3-4 inches circumference) using worsted weight yarn and US 7 needles, try casting on 20 or 24 stitches. It’s better to be slightly snug than too loose.
- Cast these stitches onto one DPN initially.
3. Distribute Stitches & Join in the Round:
- Carefully divide your cast-on stitches evenly across three DPNs. If you cast on 24 stitches, put 8 stitches on each needle.
- Arrange the three needles into a small triangle shape, making sure the stitches aren’t twisted around the needles. This is very important – a twist now means a twisted tube later!
- Using your fourth DPN as the working needle, you’ll start knitting the first stitch on the first needle. Before you make that first stitch, give the yarn tail a little tug to close any gap between the last cast-on stitch and the first one. This “joins” the knitting into a circle. You can place a stitch marker here if it helps you know where the round begins.
4. Work the Ribbing: This protector features a 1×1 Rib. That means you’ll alternate one knit stitch and one purl stitch.
- Round 1: *Knit 1 stitch, Purl 1 stitch* Repeat this pattern (* to *) all the way around, across all the needles, until you get back to the beginning of the round.
- Subsequent Rounds: Continue repeating Round 1. Knit the knit stitches and purl the purl stitches exactly as they appear from the previous round. You’ll see vertical columns of ‘V’ shapes (knits) alternating with columns of ‘-‘ bumps (purls). This is your ribbing forming!
Tip: Keep your tension even. If your knitting feels too tight, try relaxing your hands. If it’s too loose, try holding the yarn a bit more snugly.
5. Knit to Length:
- Keep working in the 1×1 rib pattern for every round.
- Continue until the tube is the desired height. Looking at the image, the light blue protector covers about 1.5 to 2 inches of the chair leg. Measure your tube as you go.
6. Binding Off: Once your tube is long enough, you need to secure the stitches.
- Knit the first two stitches of the round as normal (following the K1, P1 pattern).
- Using the tip of your left needle, lift the first stitch over the second stitch and completely off the right needle. One stitch bound off!
- Work the next stitch in pattern (it will be a Purl if you just bound off over a Knit, and vice-versa). You now have two stitches on your right needle again.
- Lift the older stitch over the newer stitch and off the needle. Another stitch bound off!
- Continue this process – work one stitch, lift the previous stitch over – all the way around until only one loop remains. Keep the bind-off tension similar to your knitting tension – not too tight!
7. Finishing Touches:
- Cut the yarn, leaving about a 6-inch tail.
- Thread this tail onto your tapestry needle.
- Slip the needle through the final loop and pull it tight to secure.
- Weave the yarn tail securely and discreetly into the inside of the tube for a few inches. Trim any excess yarn.
- Don’t forget to weave in the beginning yarn tail from your cast-on edge as well!
Pop Them On!
Gently stretch the opening of your finished knitted protector and slide it onto the bottom of the chair leg. The ribbing should help it grip snugly, just like the one pictured. See how neat it looks against the wood-grain floor?
You’ve just fashioned a practical and pretty solution to protect your floors! Isn’t it satisfying to make something useful with your own hands? Now you can make a whole set for all your chairs. Feel free to experiment with different yarn colors! We’d love to see your finished furniture protectors – share a picture if you try it! Happy knitting!