

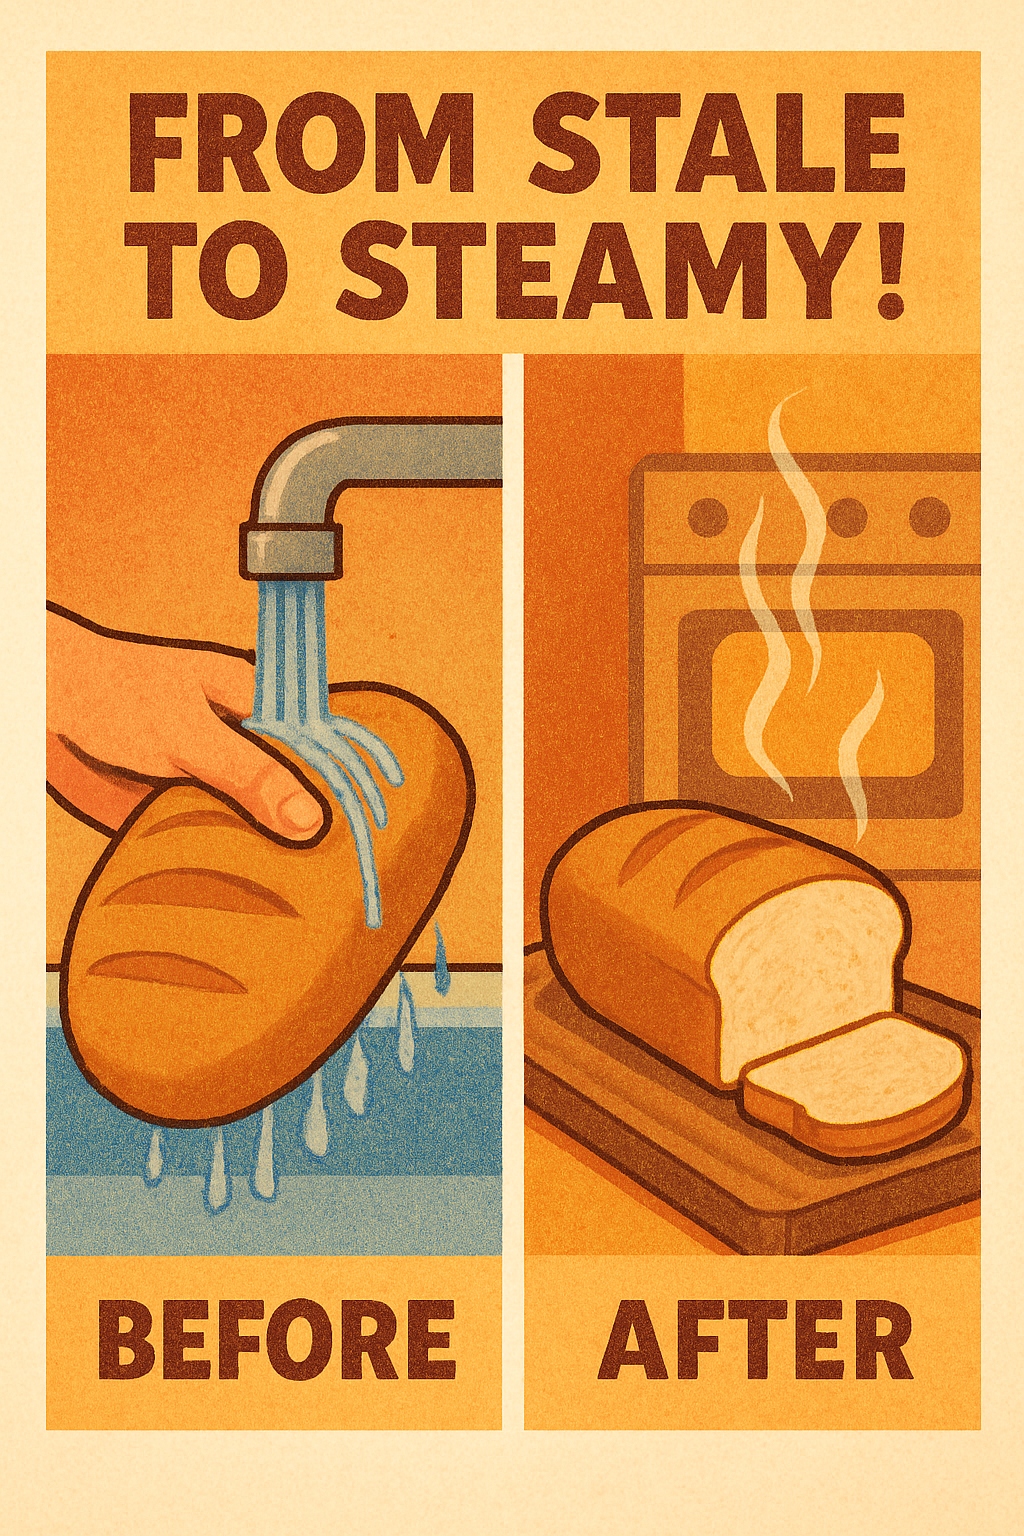
How to Revive Stale Bread: The 5-Minute Oven Trick
It’s a familiar story in many kitchens: a beautiful, crusty loaf of bread, purchased with the best intentions, sits on the counter for a day or two too long. What was once soft and inviting has become hard, dry, and seemingly destined for the bin or, at best, a batch of breadcrumbs. The disappointment is real! But what if there was a way to turn back the clock? What if that sad, stale loaf could be resurrected, returning to its former glory with a crackling crust and a wonderfully soft, steamy interior?
Get ready for a kitchen secret that feels like pure magic but is wonderfully, practically real. This simple, astonishing method transforms a forgotten loaf from a state of staleness into something so warm and fresh, it’s as if it just came from the baker’s oven. It’s a celebration of resourcefulness and a truly delightful way to bring a little bit of unexpected joy back to the table.
The Science of a Second Chance
Before diving into the how-to, it’s fascinating to understand the ‘why’. Why does bread go stale in the first place? It’s not simply about drying out, as many people assume. The process is actually called starch retrogradation.
Inside a fresh loaf of bread, the starch molecules are soft and amorphous, holding onto moisture and giving the bread its wonderful texture. As the bread cools and ages, these starch molecules slowly begin to recrystallize, pushing water out and arranging themselves into a more rigid, orderly structure. This is what makes the bread feel hard and tough.
The brilliant part of this revival technique is that it reverses this process! By introducing water and then applying heat, the crystalline starch structures are broken down. The starch molecules reabsorb the water, soften up, and return to that wonderful, fluffy state. The oven’s dry heat then works to re-crisp the exterior crust, resulting in a loaf that is simultaneously soft on the inside and perfectly crusty on the outside. It’s a simple bit of food science that yields spectacular results!
The Step-by-Step Guide to Bread Revival
This method is shockingly simple but feels like a professional baker’s trick. It works best with whole, unsliced loaves that have a substantial crust, such as sourdough, a rustic boule, ciabatta, or a French baguette.
What is needed:
- One loaf of stale, hard bread (not moldy!)
- An oven
- A bit of water
Step 1: The Rehydrating Rinse
This is the crucial first step where the transformation begins. Take the entire loaf of hard bread and hold it under a running tap. Yes, the whole loaf! The goal is to get the crust thoroughly wet. Don’t be shy; let the water run over the entire surface. The hard, dry crust will prevent the interior from becoming soggy. For a very hard loaf, a quick, complete submersion in a bowl of water for about 30 seconds also works wonders. The key is to drench the crust without turning the whole loaf into a sponge.
If the bread has already been cut, this method still works, but with a slight adjustment. Try to avoid getting too much water on the cut, exposed surface. A spray bottle can be a gentler tool in this case, allowing for a thorough misting of the crust while lightly dampening the cut side.
Step 2: The Oven’s Warm Embrace
Preheat the oven to a moderate temperature, around 300-325°F (or 150-160°C). A lower, gentler heat is better, as it allows the interior to heat through and steam without the exterior burning.
Place the now-damp loaf of bread directly on the oven rack. There’s no need for a baking sheet, as placing it on the rack allows for better air circulation, which is essential for re-crisping the entire crust.
Let the bread bake for about 6 to 12 minutes. The exact time will depend on the size and density of the loaf. A smaller baguette might only need 6-8 minutes, while a large, dense sourdough boule might need 10-12 minutes or slightly more.
Step 3: The Astonishing Reveal
This is the moment of truth! Carefully remove the bread from the oven. The first thing one will notice is the crust—it will be firm, crisp, and sound hollow when tapped. But the real surprise is when it’s sliced.
Place the loaf on a cutting board and slice into it. A burst of aromatic steam will escape, revealing an interior that is miraculously soft, warm, and fluffy. It’s a genuinely delightful transformation. The texture is light, the flavor is restored, and the entire loaf is given a brand-new lease on life. It’s ready to be enjoyed immediately while it’s at its peak of perfection.
Delicious Ways to Enjoy the Revived Loaf
Once the bread has been brought back from the brink, the possibilities are endless. Its newfound freshness makes it the perfect accompaniment to a host of meals.
- With Soup or Stew: Imagine sopping up a rich, hearty lentil soup or a savory beef stew with a piece of warm, crusty bread. It’s the ultimate comfort.
- As a Base for Bruschetta: Slice the warm bread, rub it with a clove of garlic, drizzle with olive oil, and top with fresh, chopped tomatoes and basil for an incredible appetizer.
- For a Perfect Sandwich: The revived bread makes an excellent foundation for a gourmet sandwich, holding its own against flavorful fillings.
- Simply with Butter: Sometimes, the simplest pleasures are the best. A thick slice of this warm, steamy bread slathered with good quality butter is a treat in and of itself.
This incredible kitchen hack is more than just a clever trick; it’s a beautiful practice in mindfulness and reducing waste. It honors the food in the home, saves money, and provides the deep satisfaction of turning something that was nearly lost into a source of warmth and nourishment for the family. So the next time a loaf of bread seems past its prime, remember this simple secret. A little water and a little warmth are all it takes to go from stale to absolutely, wonderfully steamy.