Simple 3-Ingredient Apricot Jam (No Pectin Needed)

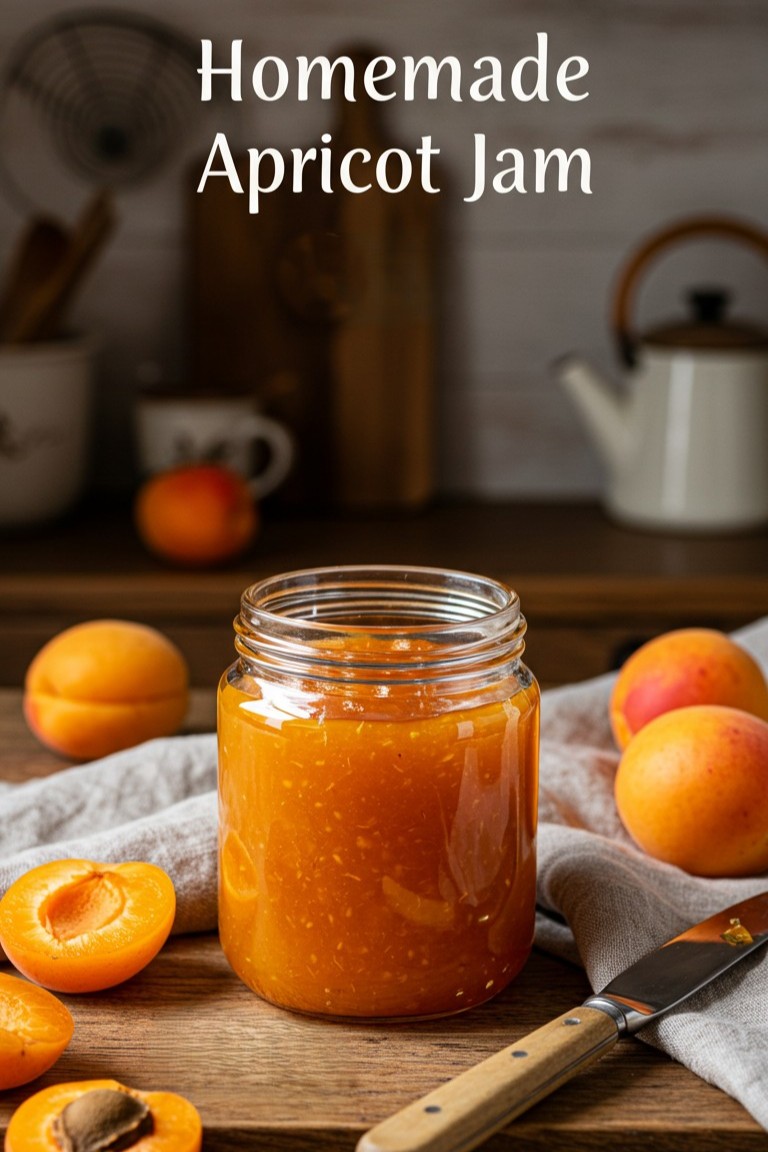
This simple recipe for homemade apricot jam is the perfect way to preserve the delicious flavor of summer fruit. We’ll guide you step-by-step through making a beautiful, chunky apricot jam from scratch. The process is incredibly rewarding, and the result is a vibrant, rustic jam just like the one pictured—a fantastic first project for anyone new to canning and preserving.
What’s Needed for This Golden Jam?
Before beginning, it’s helpful to gather all the necessary components. Having everything ready makes the process smooth and enjoyable.
Essential Ingredients
- 🍑 1 kg Fresh, ripe apricots
- 🍚 750g Halal granulated sugar
- 🍋 2 tablespoons Fresh lemon juice
Kitchen Tools
- Large, heavy-bottomed pot or Dutch oven
- 🔪 Sharp paring knife
- 🟫 Cutting board
- 🥄 Long-handled wooden spoon or heatproof spatula
- ⚖️ Kitchen scale
- 🥣 Large non-reactive bowl (glass or ceramic)
- 🏺 2-3 Sterilized glass jars with tight-fitting lids
The Simple Path to Perfect Apricot Jam
This method is straightforward and relies on the fruit’s natural properties to achieve a wonderful set.
- Prepare the Apricots Begin by thoroughly washing the apricots under cool running water and patting them dry. Slice each apricot in half and remove the pit. There’s no need to peel them; the skins add color, a bit of texture, and natural pectin, which helps the jam set. Roughly chop the apricot halves into small, bite-sized pieces. This chopping method is the key to achieving the wonderfully chunky consistency seen in the finished jam.
- Let the Fruit Macerate Transfer the chopped apricots to a large, non-reactive bowl. Pour the sugar over the fruit and gently stir to combine. Cover the bowl and let it sit at room temperature for at least one hour, or up to four. This process is called macerating. It may sound technical, but it simply means allowing the sugar to draw out the natural juices from the fruit, which forms a beautiful syrup and begins to dissolve the sugar before any heat is applied.
- Cook the Jam Pour the syrupy apricot mixture into a large, heavy-bottomed pot. Add the fresh lemon juice, which brightens the flavor and aids in setting the jam. Place the pot over medium-high heat and bring the mixture to a rolling boil, stirring occasionally to prevent the fruit from sticking to the bottom. Once it’s boiling, reduce the heat to a steady simmer.
- Simmer to Perfection Let the jam simmer for about 20-30 minutes, stirring more frequently as it thickens. A foam might form on the surface; this can be skimmed off with a spoon for a clearer final product. The jam is ready when it has thickened noticeably and a spoon dragged through it leaves a clear trail on the bottom of the pot for a moment. For beginners, the most reliable way to check for doneness is the cold plate test.
- Perform the Cold Plate Test Before starting to cook, place a couple of small plates in the freezer. To test the jam, remove the pot from the heat. Spoon a small dollop of jam onto one of the cold plates and return it to the freezer for one minute. After a minute, take the plate out and gently push the edge of the jam with a fingertip. If the surface wrinkles, the jam has reached its setting point. If it’s still runny, return the pot to the heat and cook for another 3-5 minutes before testing again.
- Jar the Golden Jam Once the jam has passed the cold plate test, it’s time to bottle it up. Warning: The jam and the pot are extremely hot, so handle them with care. Carefully ladle the hot jam into the warm, sterilized jars. It’s important to leave about a 1/4 inch of headspace, which is the empty space between the surface of the jam and the rim of the jar. Wipe any drips from the rims with a clean, damp cloth, then seal the jars tightly with their lids.
The finished jam will have the gorgeous, translucent orange color and fruit-filled texture of the jam in the photo. As it cools, it will thicken further into the perfect, spreadable consistency.
Storing and Savoring
Let the sealed jars cool completely on the counter. Once cool, they can be stored in a cool, dark place. After a jar is opened, it should be kept in the refrigerator. This delicious homemade jam is perfect for spreading on warm toast, swirling into yogurt, or spooning over scones.
There is deep satisfaction in turning a pile of fresh fruit into glistening jars of jam. Don’t hesitate to embark on this simple culinary adventure. It’s a wonderful way to savor the taste of sunshine, and the results are something to be truly proud of. Feel free to share a snapshot of the finished golden treasure.

