

Easy Homemade Strawberry Jam Recipe (No Pectin Needed)
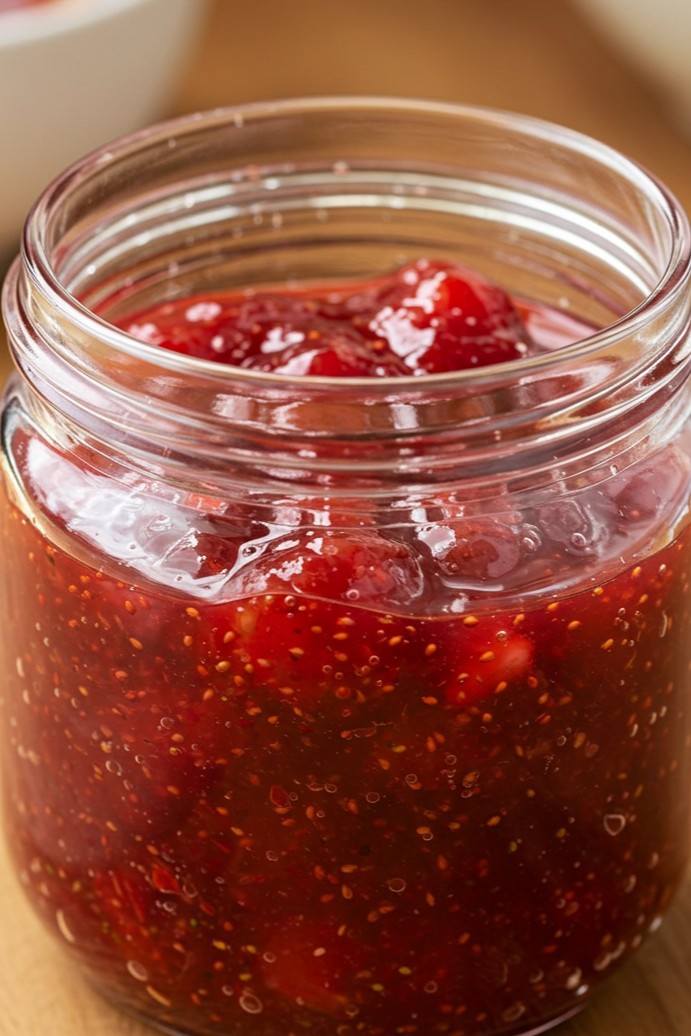
It’s entirely possible to fill a kitchen with the sweet aroma of summer and stock the pantry with jewel-toned jars of jam. The gorgeous, fruit-studded strawberry preserve in the photo is a perfect example of what can be made right at home. This guide offers a simple, step-by-step path for anyone new to cooking to prepare a jam just like it, showing that making something so delicious is a straightforward and satisfying adventure.
Let’s Gather What’s Needed
Before beginning, it’s helpful to get all the necessary tools and ingredients ready. This practice, known as mise en place, makes the cooking process smooth and enjoyable.
Kitchen Tools
- 🍓 Large, heavy-bottomed pot or Dutch oven
- 🥄 Wooden or heat-resistant silicone spoon
- 🍋 Citrus juicer
- 🥣 A large bowl
- 🧊 A couple of small plates (for testing the jam’s set)
- 🏺 2-3 clean glass canning jars with lids (about 8 oz / 250 ml each)
- Ladle
Ingredients for the Jam
- 🍓 2 pounds (about 900g) fresh, ripe strawberries
- 🍚 2 cups (400g) granulated sugar (certified halal or confirmed bone char-free)
- 🍋 ¼ cup (60ml) fresh lemon juice
Bringing the Jam Together, Step by Step
This method is all about letting the simple, high-quality ingredients shine. The final product is a jam with a radiant red color and tender chunks of fruit suspended in a sweet, glossy jelly, just as you see in the finished jar.
Step 1: Prepping the Stars of the Show – The Strawberries
First, gently wash the strawberries under cool running water and pat them dry. Remove the green leafy tops, a process called hulling.
For the lovely, rustic texture seen in the jar, where you can see pieces of fruit, the strawberries need to be chopped. A rough chop is perfect. Some can be quartered, and some can be halved, depending on their size. Avoid mashing or pureeing them at this stage to ensure the jam has that beautiful, chunky consistency.
Step 2: Sweetening the Fruit
Transfer the chopped strawberries to the large bowl. Pour the sugar over them and add the fresh lemon juice. Stir everything gently until the strawberries are well-coated.
Now for an important step that works wonders. Let the bowl sit at room temperature for about an hour. During this time, the sugar will draw the natural juices out of the strawberries. This technique, called maceration, not only deepens the flavor but also helps the sugar begin to dissolve before it even hits the heat, preventing scorching.
Step 3: Cooking to Perfection
Pour the entire strawberry and sugar mixture into your heavy-bottomed pot. Place it over medium-high heat and bring it to a boil, stirring occasionally to ensure the sugar is fully dissolved. Once it begins bubbling vigorously, it has reached what’s known as a rolling boil—a boil so active that it can’t be stirred down.
Reduce the heat slightly to maintain a steady, strong simmer. As it cooks, a layer of foam may rise to the surface. For a jam with superior clarity and a jewel-like shine, it’s a good idea to skim this foam off with a spoon and discard it.
Let the jam simmer for about 20-30 minutes. Stir it every few minutes to prevent it from sticking to the bottom of the pot. One will notice the mixture thickening and becoming more syrupy and glossy.
Step 4: The All-Important Set Test
How does one know when the jam is ready? A simple, time-honored technique is the frozen plate test. While the jam is cooking, place two small plates in the freezer.
To check if the jam has reached its setting point, remove the pot from the heat. Take one of the cold plates from the freezer and drop a small spoonful of jam onto it. Return the plate to the freezer for just one minute. After a minute, take it out and gently push the edge of the jam puddle with a fingertip. If the surface wrinkles and holds its shape, the jam is ready! If it’s still thin and runs back together, return the pot to the heat and cook for another 5 minutes before testing again.
Step 5: Preparing and Filling the Jars
While the jam is in its final minutes of cooking, it’s time to sterilize the jars. This is an essential step to ensure the jam stays fresh. A simple method is to wash the jars and lids thoroughly in hot, soapy water, rinse them well, and then place them on a baking sheet in an oven set to 225°F (110°C) for at least 10 minutes. The jars should be hot when the hot jam goes in.
Once the jam has passed the set test, turn off the heat. Carefully remove the hot jars from the oven. Using a ladle, fill each warm jar with the hot jam, leaving about ¼ inch (about 1 cm) of space at the top. Wipe any drips from the rims of the jars with a clean, damp cloth. Seal the jars tightly with their lids.
The jam will continue to thicken and set fully as it cools.
The delightful outcome of this effort is a jar full of homemade goodness, a burst of summer flavor ready to be enjoyed any time of year. This jam is perfect for sharing with family and friends, and there’s a special pride in serving something so delicious that was made right in one’s own kitchen. Don’t hesitate to give it a go and celebrate your wonderful results.