

Luxe Chocolate Raspberry Mousse Cake
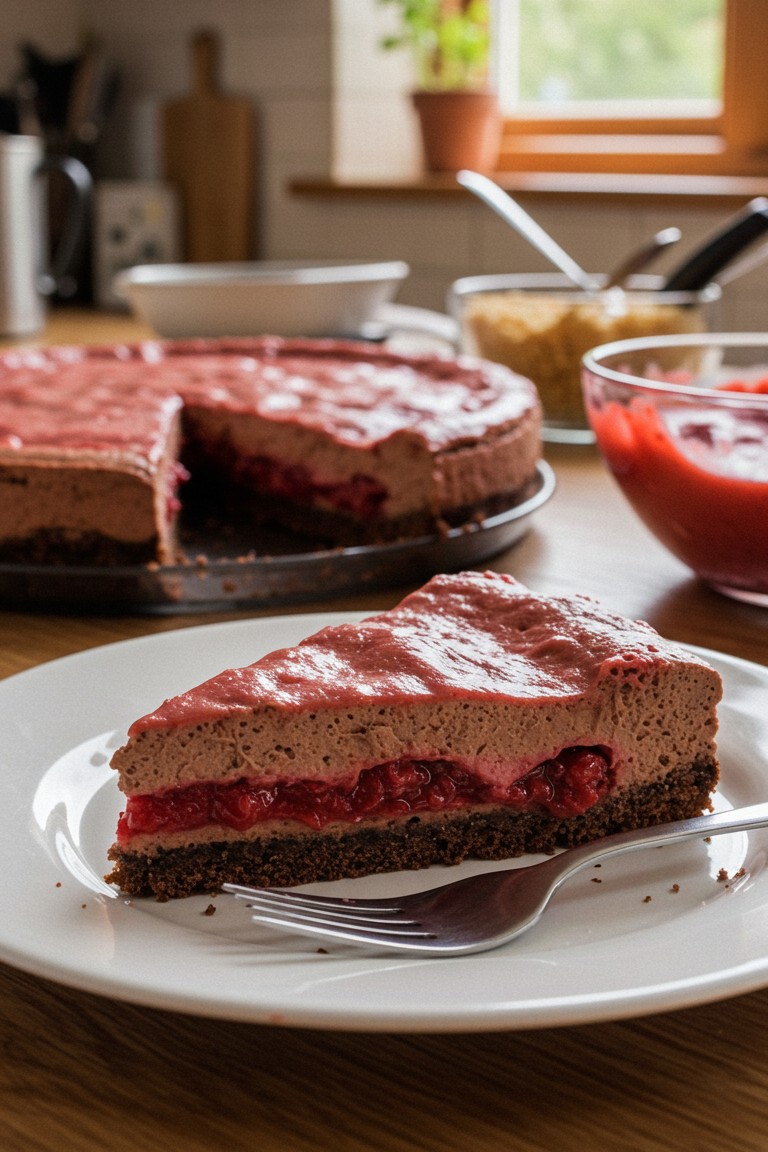
Get ready to fall in love with baking! This Chocolate Raspberry Mousse Cake is a truly special dessert that brings together the best of all worlds: a rich chocolate base, a zesty raspberry filling, and a cloud-like chocolate mousse. The finished cake, as seen in the photo, is a showstopper with its distinct, beautiful layers. Following this guide, anyone can have the fun of putting together this gorgeous treat to share and enjoy.
Kitchen Essentials
Here are the tools that will help get the job done.
- 🥣 9-inch (23 cm) springform pan
- 🤖 Food processor (or a sealed bag and a trusty rolling pin)
- Small saucepan
- 🥣 A few mixing bowls in different sizes
- ✨ Electric mixer (a handheld or stand mixer works perfectly)
- 🥄 Rubber or silicone spatula
- Sieve Fine-mesh sieve
Halal Ingredients
For this recipe, it’s wonderful to gather these lovely halal-certified ingredients.
- 🍫 For the Crust: 250g chocolate cookies
- 🧈 For the Crust: 100g unsalted butter, melted
- 🍓 For the Filling & Topping: 400g raspberries (fresh or frozen are both fantastic)
- 🍚 For the Filling: 100g granulated sugar
- 🍋 For the Filling: 1 tablespoon fresh lemon juice
- 🌽 For the Filling: 2 tablespoons cornstarch mixed with 2 tablespoons of cold water
- 🐮 For the Mousse: 2 teaspoons powdered halal gelatin
- 💧 For the Mousse: 4 tablespoons cold water
- 🍫 For the Mousse: 200g good-quality halal milk chocolate, finely chopped
- 🥛 For the Mousse: 400ml heavy whipping cream, kept nice and cold
- 🍬 For the Mousse: 50g powdered sugar
Step-by-Step Guide
Part 1: Building the Deliciously Crunchy Crust
Every masterpiece needs a solid foundation, and this tasty chocolate crust is just the ticket!
- Pop the chocolate cookies into a food processor and pulse them into fine crumbs. No food processor? No problem! Just place the cookies in a sealed bag, lay it flat, and have some fun crushing them with a rolling pin until they look like sand.
- Pour the lovely melted butter all over the crumbs and give it a good mix. Every little crumb should be coated in butter.
- Tumble the buttery crumbs into the springform pan. Use the back of a spoon to press the mixture down firmly and evenly across the bottom. A nice, compact base is the secret to a slice that holds together beautifully!
- Let the crust chill out in the refrigerator and firm up while the next layer gets prepared.
Part 2: Making the Bright & Tangy Raspberry Filling
This is where that pop of vibrant red color and tangy flavor comes from. It’s amazing how this one step produces two different parts of the cake!
- In a small saucepan, bring the raspberries, sugar, and lemon juice together. Warm them over medium heat, and soon the kitchen will smell amazing as the berries soften and the mixture begins to bubble.
- Now for a clever kitchen trick. The cornstarch and cold water mixture is called a slurry. It’s a simple trick that thickens sauces beautifully without any lumps.
- Gently pour the slurry into the bubbling raspberries, stirring the whole time. Keep cooking for another minute or two, and watch as the filling transforms into a thick, glossy, jam-like consistency.
- Scoop out half of this chunky, delicious filling and set it in a bowl to cool down. This part will be the surprise filling in the middle of the cake.
- With the raspberry mixture left in the pan, press it through a fine-mesh sieve into a new bowl. This little bit of effort is so worth it, as it removes the seeds and leaves behind a silky-smooth purée for the gorgeous pink top layer. Let this purée cool down completely, too.
Part 3: Whipping Up the Dreamy Chocolate Mousse
Time for the star of the show! This mousse is wonderfully light and airy, and it’s so much fun to make.
- First, let’s get the gelatin ready. Sprinkling gelatin over cold water and letting it sit is called blooming. It’s a simple step that helps the gelatin dissolve smoothly later on. Just sprinkle it over the water and let it hang out for about 5-10 minutes. It will get soft and jiggly.
- While that’s happening, it’s time to melt the chocolate. A double boiler (a heatproof bowl over a pot of simmering water) is a gentle way to do this. Or, melt it in the microwave in short 20-second bursts, stirring in between. Patience is a baker’s friend here! Going slow prevents the chocolate from getting too hot.
- Gently warm the bloomed gelatin for just a few seconds until it turns back into a liquid, then whisk it right into the melted chocolate until it’s all one happy mixture.
- In a big, chilled bowl, whip the very cold heavy cream with the powdered sugar. Start the mixer on low and work up to high speed. Keep whipping until you see stiff peaks. This is the fun part! It means when the beaters are lifted, the cream stands up in a peak that doesn’t flop over.
- Now for a gentle technique called folding. It’s how all that air stays in the mousse. First, stir about a third of the whipped cream into the chocolate mixture to lighten it up. Then, add the rest of the whipped cream. Using a spatula, gently scoop from the bottom of the bowl and fold it over the top, turning the bowl as you go. Stop as soon as there are no more white streaks. It’s like giving the mousse a gentle hug!
Part 4: Assembling Your Beautiful Cake
This is the moment! It’s time to bring all those delicious components together and build the stunning dessert from the photo.
- Take the chilled crust from the fridge. Spoon the cooled, chunky raspberry filling over it and spread it out evenly.
- Pour the fluffy chocolate mousse right on top. Gently guide it to the edges with a spatula for a perfect, even layer.
- With a spoon, delicately add the smooth raspberry purée on top of the mousse. Spreading it thinly will give the cake that lovely, soft pink surface seen in the picture.
- Cover the cake and let it set in the refrigerator for at least 6 hours, or even better, overnight. This resting time is when the cake really comes together and the mousse becomes perfectly firm.
When it’s finally time to serve, run a knife around the edge of the pan before releasing the springform ring. Each slice will reveal those gorgeous, clean layers. It’s a wonderful feeling to present a dessert made with such care, so be sure to snap a photo of your fantastic work to share.