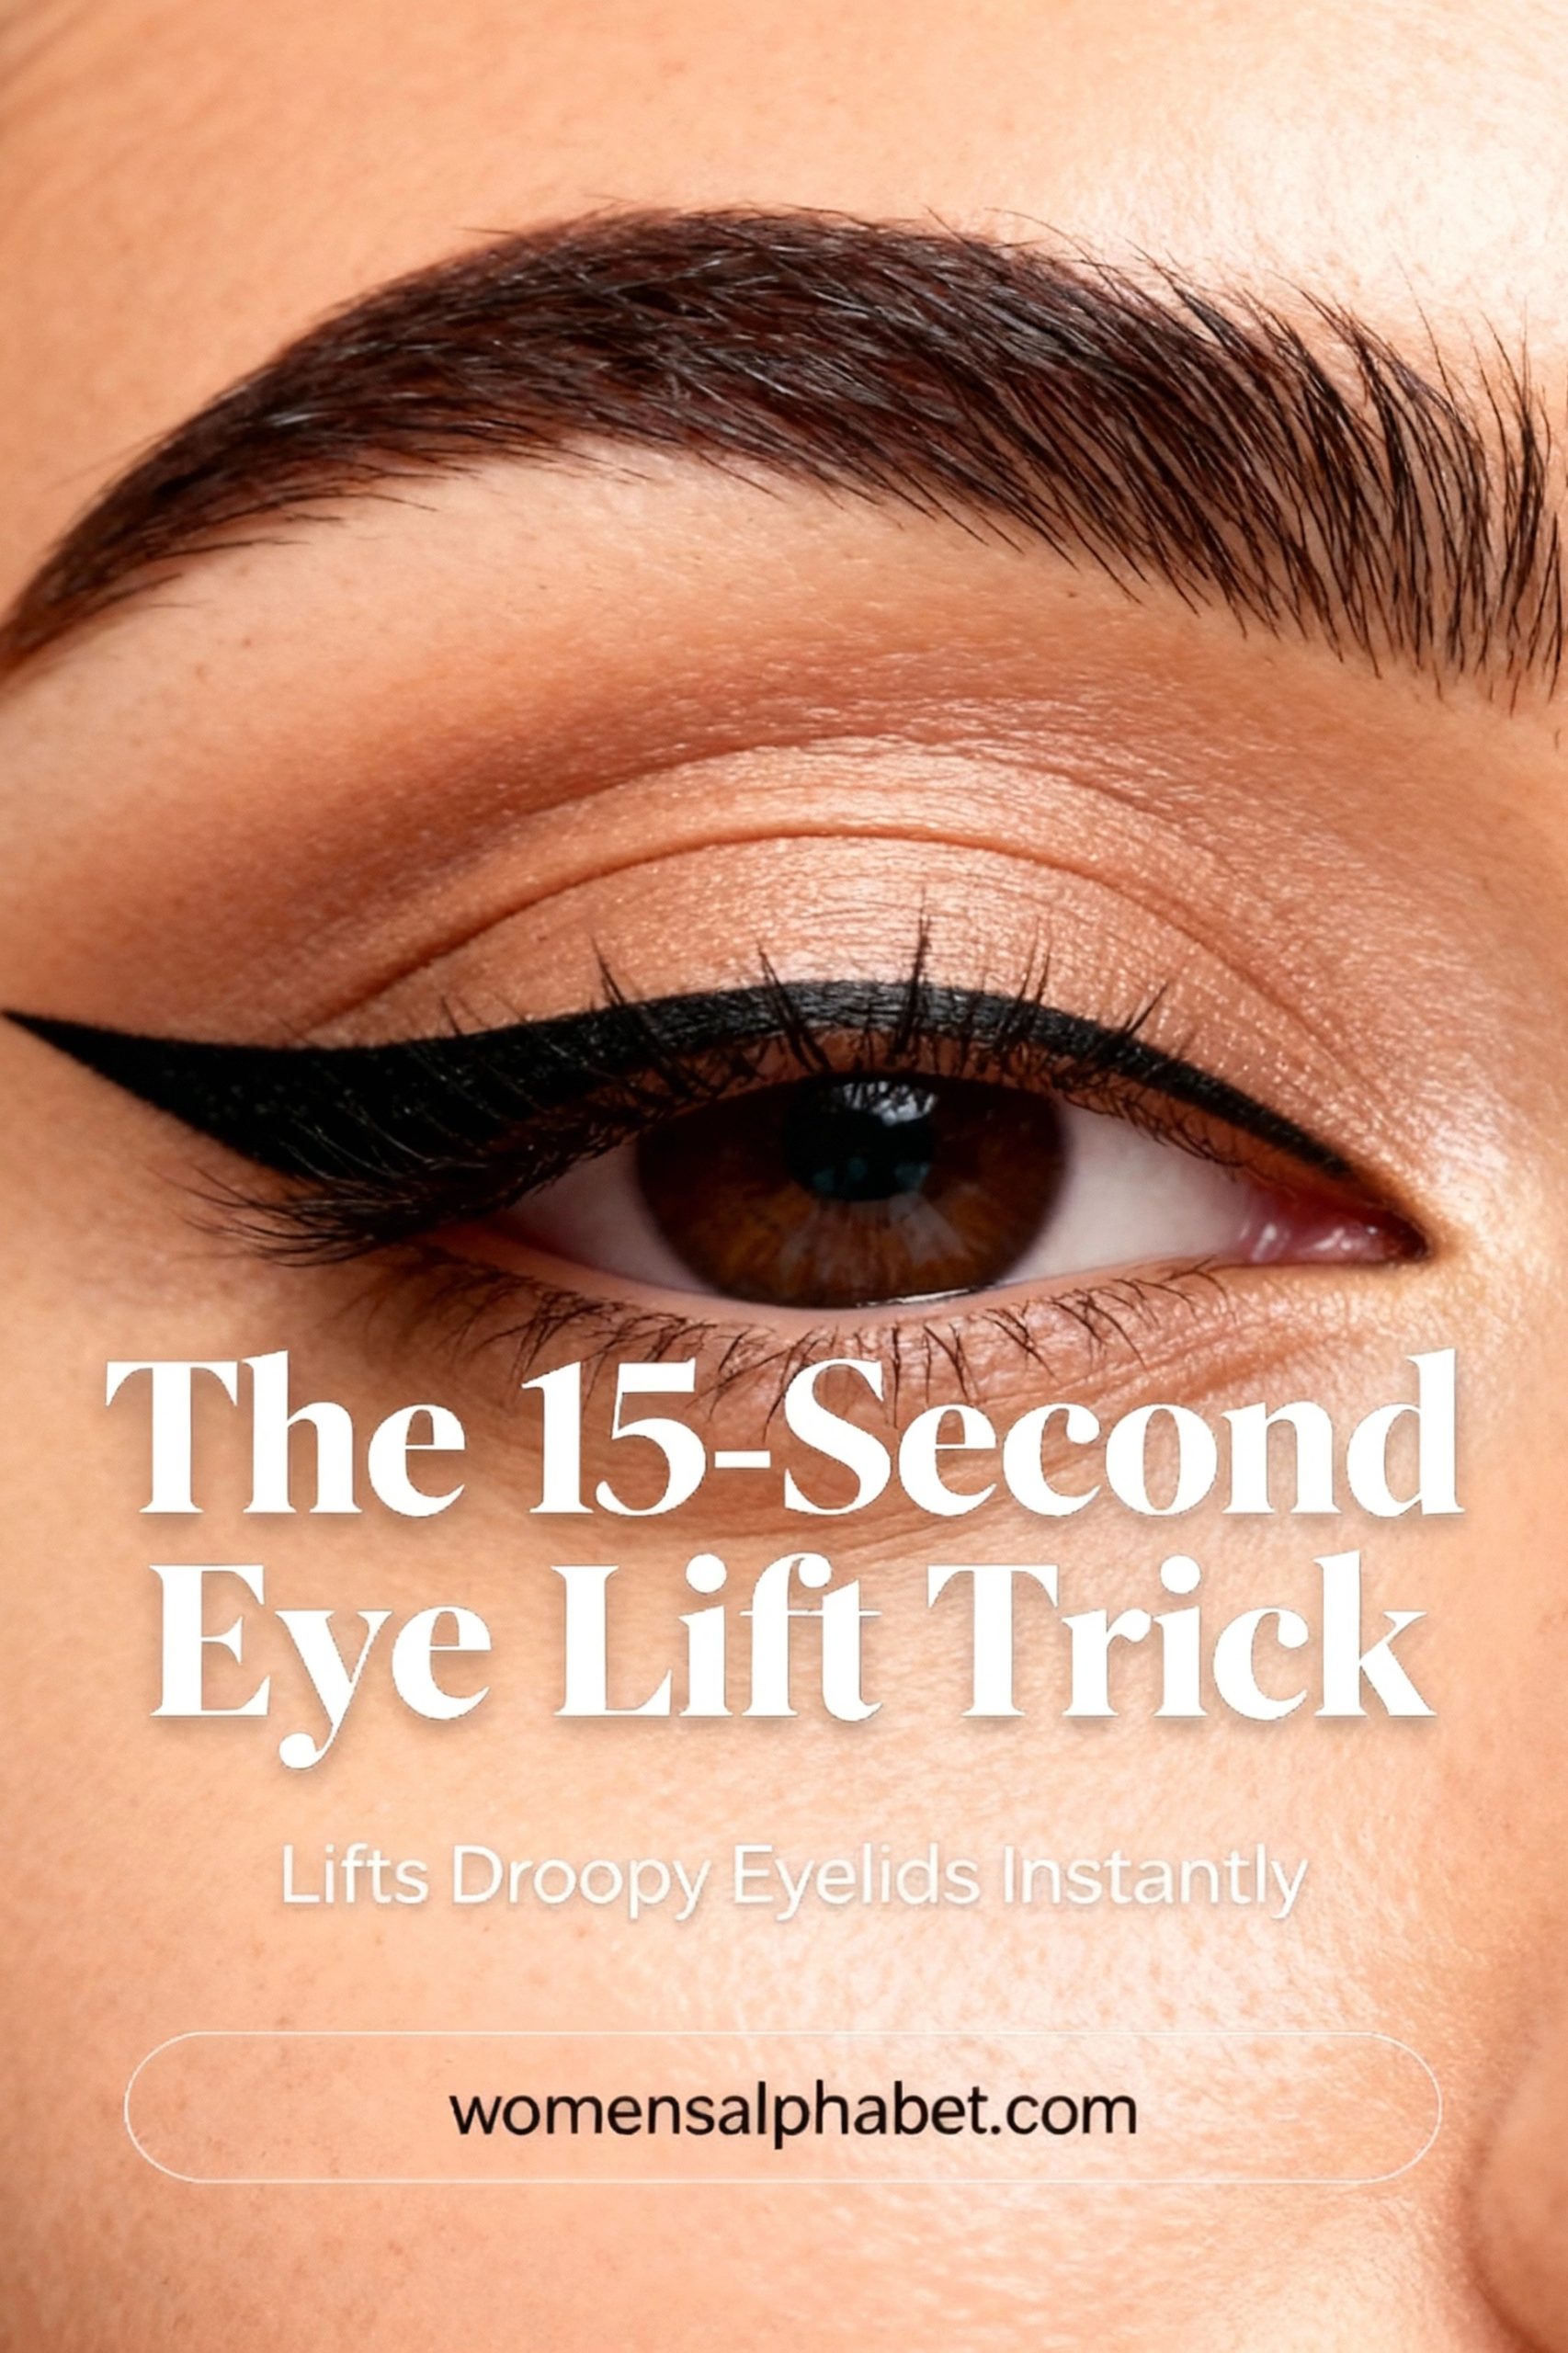
Let’s be honest, we’ve all been there. You spend precious minutes trying to achieve the perfect eyeliner look, only to step back and feel like your eyes somehow look smaller, or even a bit droopy. It’s one of the most common beauty frustrations, but what if we told you the solution wasn’t to try harder, but to do less?
Welcome to the game-changing “Outer-Third” trick. This isn’t just another trend; it’s a clever, time-tested technique that makeup artists use to get an instant lift, making the eyes appear more awake, youthful, and defined. And the best part? It genuinely takes about 15 seconds once you get the hang of it.
Forget the struggle of drawing a perfect line across your entire lid. Today, we’re diving deep into why this simple method works so beautifully and how you can master it today.
Why Does the Outer-Third Trick Actually Work? It’s All About Optics.
The logic behind this technique is surprisingly simple and rooted in the principles of optical illusion. When you draw a dark line all the way across your upper lash line, from the inner corner to the outer corner, you’re essentially creating a full frame around your eye.
For some eye shapes, this can be a beautiful look. But for many, especially those with hooded, mature, or slightly downturned eyes, this full frame can visually “weigh down” the lid, closing the eye off and emphasizing any droopiness.
The Outer-Third trick flips this on its head. By concentrating the eyeliner only on the outer one-third of your lash line, you achieve two powerful things:
- It Produces a Visual “Pull”: The line acts like a subtle arrow, drawing the gaze upward and outward. This produces the illusion of a lift without any surgery or complicated steps.
- It Opens Up the Eye: Leaving the inner two-thirds of your eye free of liner makes the entire eye appear larger, brighter, and more open. You get definition exactly where you need it, without the “shrinking” effect a full line can cause.
Your Step-by-Step Guide to the 15-Second Eye Lift
Ready to try it for yourself? Grab your favorite eyeliner and let’s walk through the incredibly simple steps.
Step 1: Prep Your Canvas (Optional, but recommended)
For the longest-lasting results, apply a thin layer of eyeshadow primer to your lids. This prevents the liner from smudging or fading throughout the day.
Step 2: Find Your Starting Point
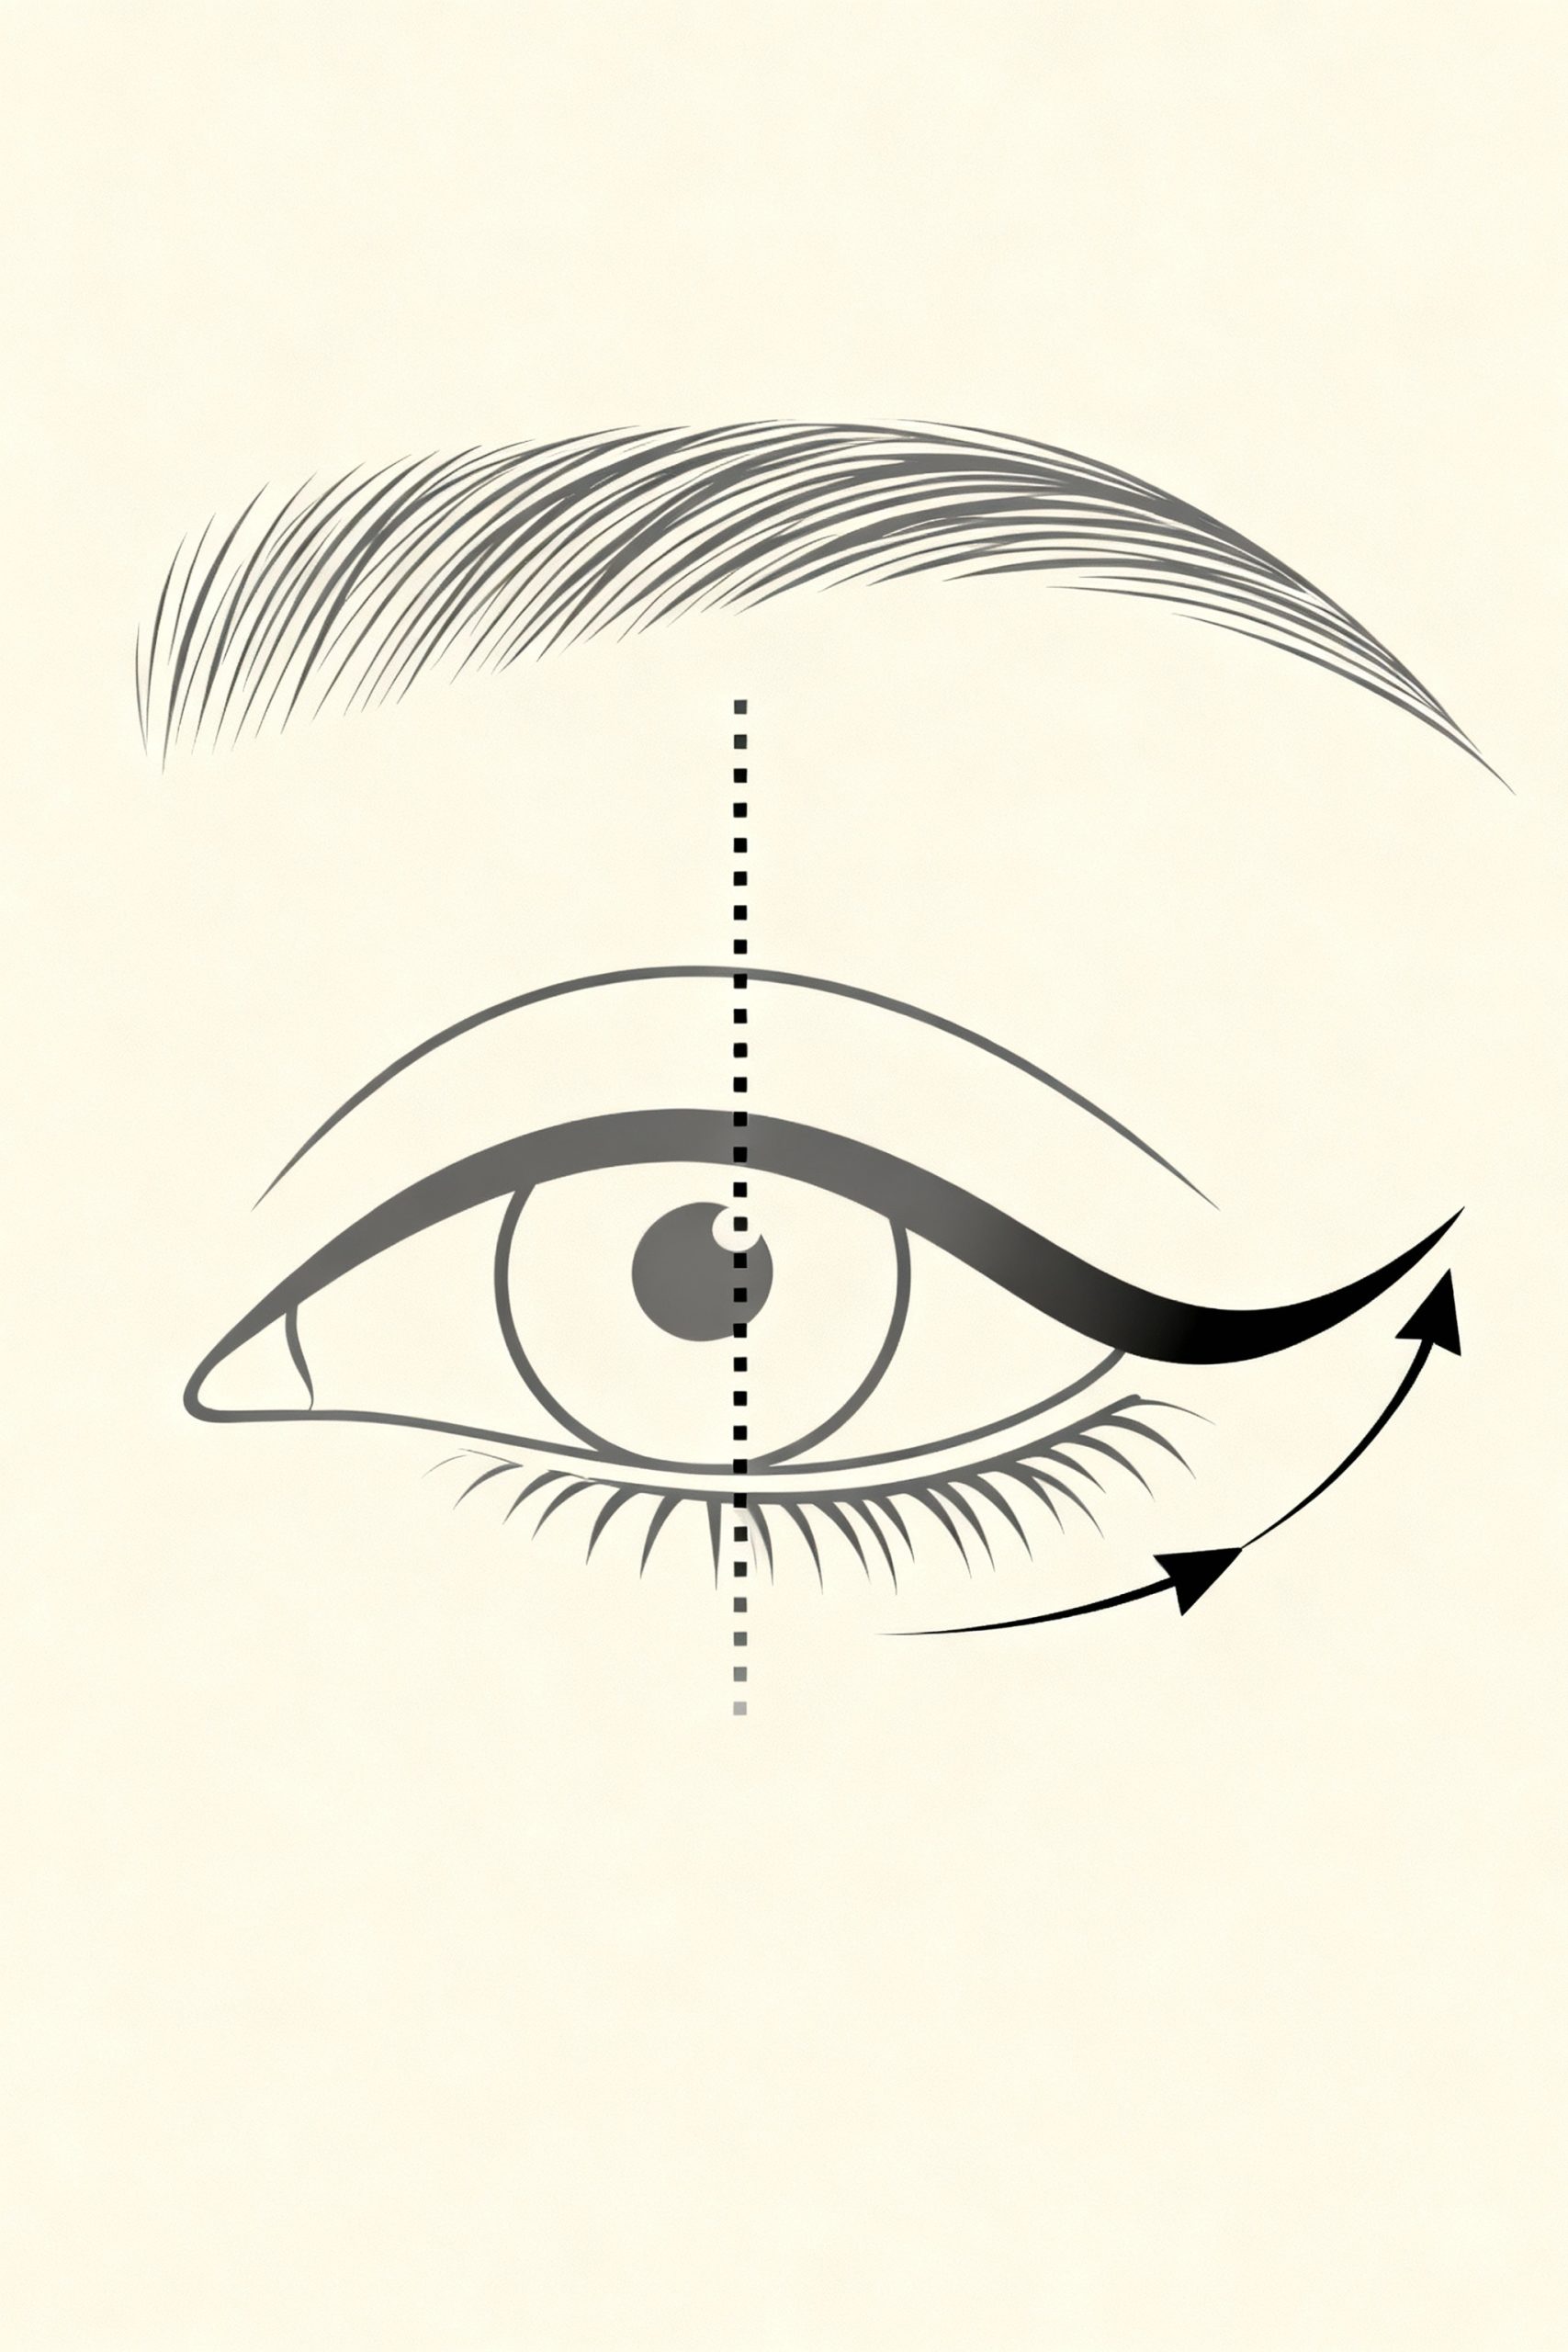
This is the most important part. Look straight into a mirror. Imagine a line going straight up from the center of your pupil. Your eyeliner should start from this point and move outwards toward the edge of your eye. Don’t start any further in!
Step 3: The Gentle Application
Using short, gentle strokes, draw a thin line along the outer one-third of your upper lash line. Try to stay as close to the roots of your lashes as possible. The goal is to achieve the look of a fuller lash line, not a thick, heavy band of color.
Step 4: The Subtle Flick (The “Lift”!)
As you reach the outer corner of your eye, make a very small, subtle flick or wing. The key here is direction: it should follow the natural upward curve of your lower lash line. Think “up and out,” not just “out.” This is what physically provides the lifting effect. Keep it short and sharp for a chic, modern look.
Pro Tip: Choosing Your Perfect Eyeliner
The tool you use can make a big difference in your result. Here’s a quick guide:
- Pencil Eyeliner: The most forgiving option and perfect for beginners. It gives a softer, more smudged look. Ideal for a subtle, everyday lift.
- Gel Eyeliner: Applied with a brush, this gives you great control and a smooth, rich line. It’s perfect for building up thickness gradually.
- Liquid Eyeliner: The best choice for a sharp, defined, and dramatic flick. It requires a steady hand but delivers a powerful, clean finish.
Who Is This Eyeliner Trick Best For?
While this technique is wonderfully versatile, it’s a true game-changer for a few specific eye shapes:
- Hooded & Monolid Eyes: Since a full line of eyeliner can get lost in the crease of a hooded eye, focusing on the outer corner ensures the definition is always visible.
- Downturned or Mature Eyes: This is the ultimate lifting technique for eyes that have a natural downward slant or have begun to droop with age. It actively works against gravity’s pull.
- Close-Set Eyes: By drawing attention to the outer corners, this trick gives the illusion of more space between the eyes, resulting in a more balanced appearance.
Common Mistakes to Avoid
This trick is simple, but a few small missteps can change the outcome. Watch out for these:
- Starting the line too far in. Remember the rule: from the pupil, out. Starting closer to the inner corner will begin to close off the eye again.
- Making the line too thick. The beauty of this technique is its subtlety. A thick, heavy line can look harsh and defeat the purpose of the delicate lift.
- Angling the flick downwards. Always, always flick upwards. A downward flick will drag your entire eye down, doing the exact opposite of what you want to achieve.
A Simple Change for a Stunning Difference
That’s all there is to it. The “Outer-Third” eyeliner trick is proof that in beauty, the most effective techniques are often the simplest. It saves time, flatters almost every eye shape, and delivers a sophisticated lift that looks effortlessly chic.
So next time you reach for your eyeliner, challenge yourself to do less. You might just be surprised by how much more of an impact it makes. Give it a try and see the lift for yourself!


