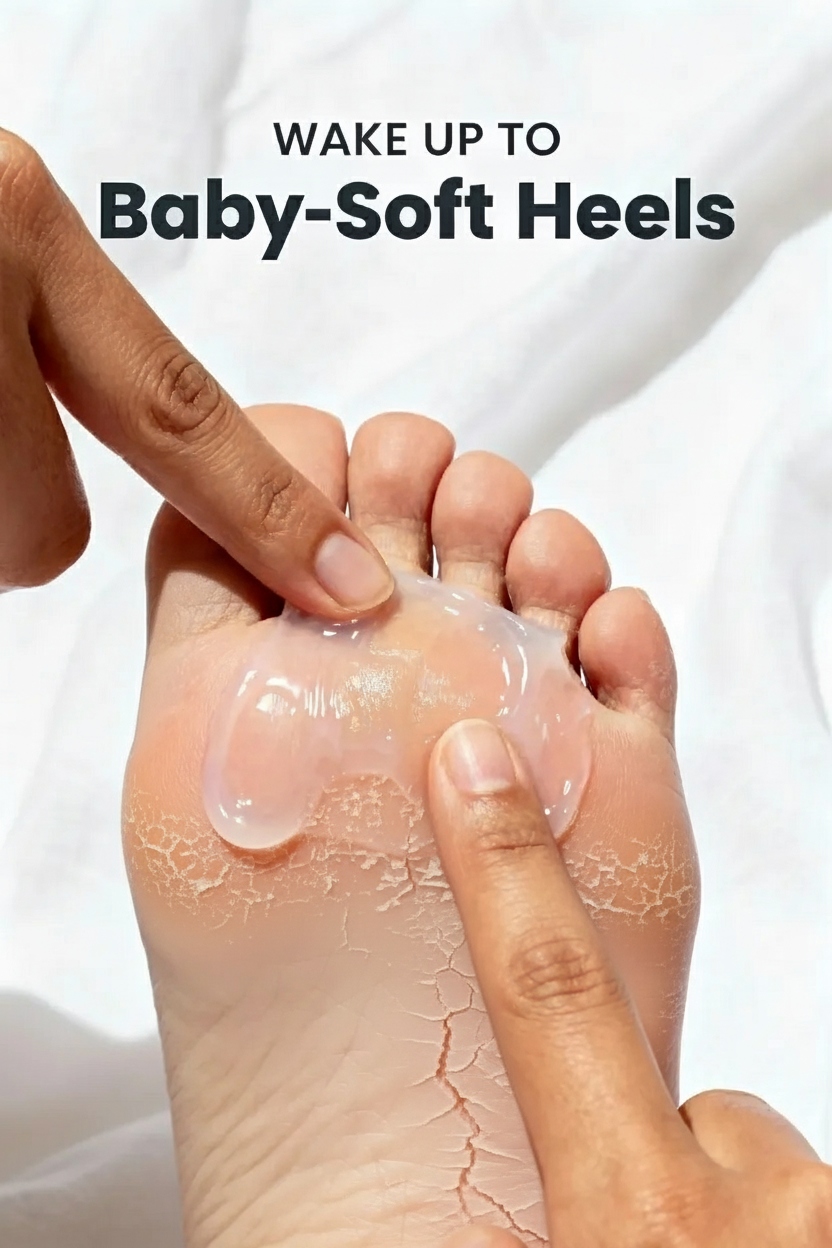
There are few small discomforts as persistent as dry, cracked heels. They can snag on bedsheets, feel tender after a long day, and make you think twice before slipping into your favorite sandals. While countless creams and gadgets promise relief, one of the most profoundly effective solutions is also one of the simplest: a method known as “foot slugging.”
This technique, borrowed from the world of facial skincare, is a deeply restorative overnight routine. It’s not a quick fix; it’s a science-backed process of intensive hydration and moisture-locking that can deliver a remarkable difference in just one night. Forget complicated routines—let’s walk through this transformative guide to waking up with genuinely softer, smoother, and happier feet.
What is Foot Slugging, Really? A Deep Dive into the Method
At its core, foot slugging is a two-part moisture-locking strategy designed to intensely hydrate the uniquely thick skin of your feet. Think of it as establishing the perfect, humid greenhouse environment for your skin to repair itself while you sleep. The process involves two key players:
- A Hydrator: This is a rich, nourishing cream or lotion that sinks into the skin, delivering essential moisture and beneficial ingredients directly to the dry cells.
- An Occlusive: This is a thick, protective ointment (most famously, petroleum jelly) applied over the hydrator. It doesn’t moisturize on its own; instead, it forms a physical barrier, like a shield, that seals the hydrator in and prevents it from evaporating.
When combined and left for several hours, this dynamic duo forces your skin to absorb the moisture you’ve applied, leading to a level of softness that a single layer of lotion could never achieve on its own.
The Simple Science: Why This Two-Step Process Works Wonders
To understand why foot slugging is so effective, you have to understand the unique nature of the skin on your feet. It’s fundamentally different from the skin on your face or arms.
- Naturally Thicker Skin: The soles of our feet have a much thicker outer layer of skin (the stratum corneum) to withstand the pressure of walking. This thickness makes it very difficult for standard moisturizers to penetrate deeply.
- Fewer Oil Glands: Unlike other areas, the skin on our soles has no sebaceous (oil) glands. Without this natural oil production, it’s highly susceptible to dryness and losing moisture to the environment.
This is where the power of occlusion comes in. Throughout the day, our skin constantly loses a small amount of water to the air through a process called Transepidermal Water Loss (TEWL). For already dry heels, this is a major problem. The occlusive layer in foot slugging dramatically reduces TEWL, essentially patching the “leaky roof” of your skin barrier and forcing all that locked-in hydration to work its healing process from within.
Gathering Your Toolkit for Transformation
The beauty of this method lies in its accessibility. You’ll only need a few staple items, but choosing the right ones can elevate your results.
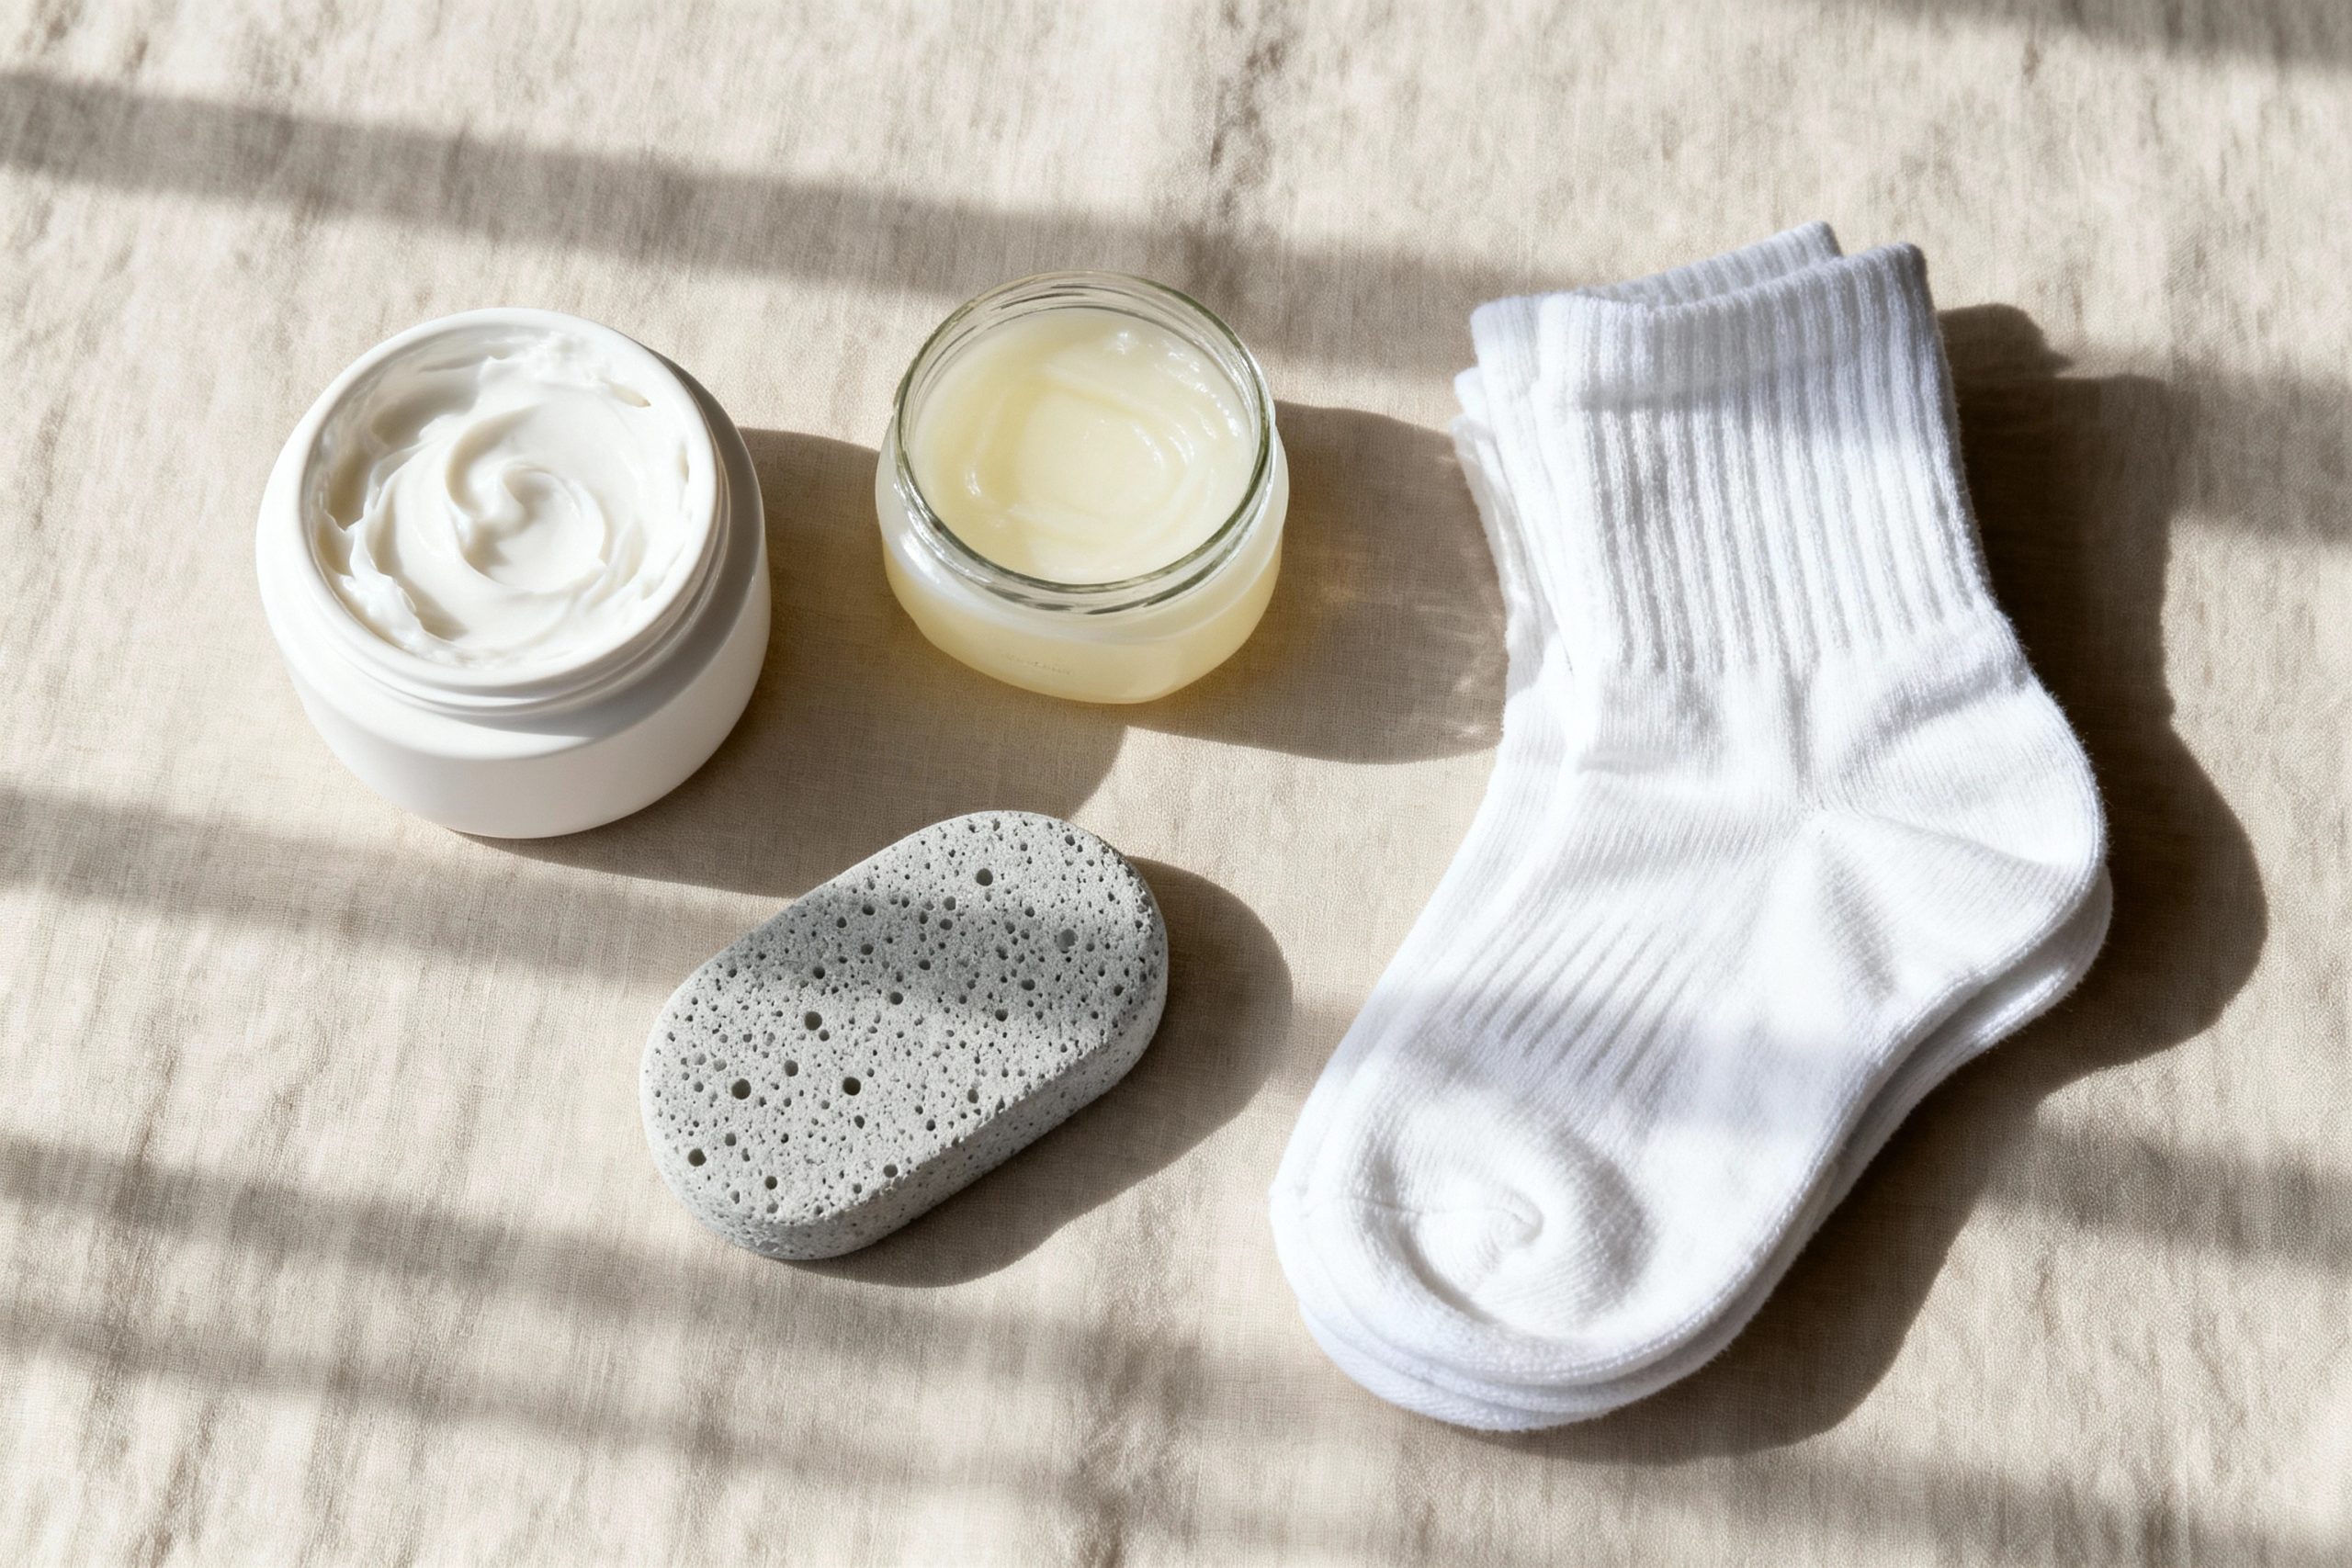
- A Gentle Exfoliator: A natural pumice stone or a simple foot file is perfect. The goal is to gently buff away the very top layer of dead skin so the moisturizer can work more effectively.
- A Rich, High-Performance Moisturizer: This is your hero product. Look for thick creams or body butters with powerhouse ingredients like shea butter, glycerin, ceramides (to support the skin barrier), urea, or lactic acid (which both moisturize and gently exfoliate).
- The Occlusive Sealant: Classic petroleum jelly is the gold standard for occlusion and is incredibly effective.
- A Pair of Breathable Socks: Choose socks made from cotton or bamboo. These materials will keep the product from smearing on your sheets while still allowing your skin to breathe, preventing it from getting overly warm.
Your Step-by-Step Nightly Routine for Smooth Heels
Set aside just five minutes before bed to perform this simple act of self-care. For best results, start with clean feet.
Step 1: Prepare the Canvas
An optional but highly recommended first step is a 10-minute warm foot soak. This softens the skin, making exfoliation easier and more effective. After the soak, pat your feet almost dry, leaving them ever so slightly damp. Now, take your pumice stone or foot file and use gentle, unidirectional strokes to buff the driest, thickest areas of your heels. The keyword is gentle—you are not trying to remove all the dry skin in one go, just smooth the surface.
Step 2: Hydrate Generously
This isn’t the time for a delicate dab of lotion. Squeeze a generous amount of your rich moisturizer into your palm and massage it deeply into your entire foot, from toe to heel. Really focus on working the cream into your heels and any callused areas. This massaging action not only ensures even coverage but also helps boost circulation.
Expert Tip: Leaving your skin slightly damp before applying your moisturizer helps trap that initial bit of water, giving your cream an extra hydration boost to work with. It’s a small detail with a noticeable impact.
Step 3: Apply the “Slugging” Seal
Once the moisturizer has been applied, take a pea-sized amount of petroleum jelly and warm it between your hands. Gently apply a thin, even layer all over the areas you moisturized. Think of it as applying a protective glaze; you don’t need a thick, goopy layer, just enough to form a complete seal.
Step 4: Tuck Your Feet in for the Night
Carefully slide your cotton socks on. This will lock in warmth, which can help the products absorb even better, and most importantly, it protects your bedding. Now, all that’s left to do is get a good night’s rest and let the deep hydration process unfold.
When you wake up and remove the socks, you’ll be greeted by visibly smoother and noticeably softer heels. Consistency is key; perform this process once or twice a week to maintain your results and keep cracked heels at bay for good.


