

An Iconic Grilled Chicken Sandwich
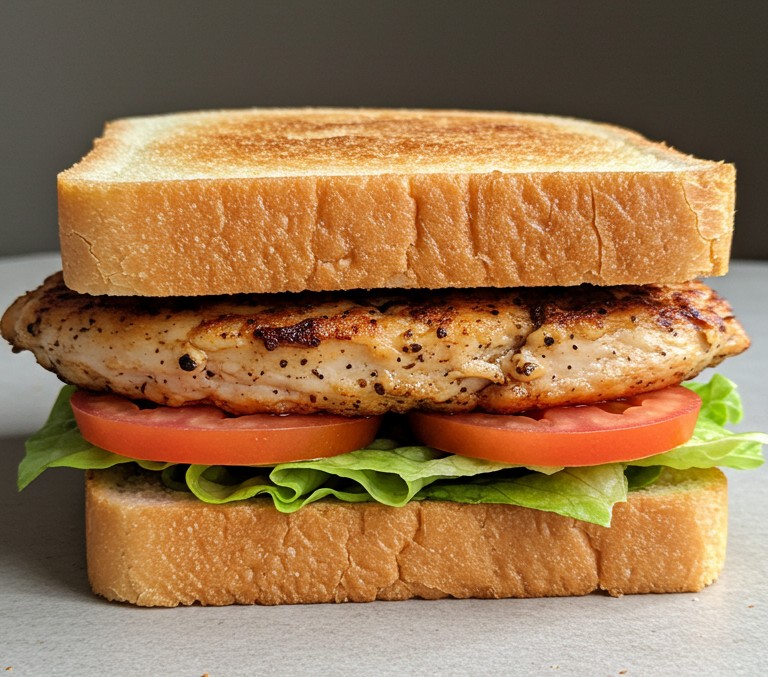
This guide illuminates the path to assembling a truly satisfying Grilled Chicken Sandwich, a classic that brings comfort and flavor with every bite. The focus here is on achieving the delicious result presented in the image – a beautifully grilled chicken breast, fresh vegetables, and perfectly toasted bread. This journey is especially for those new to the kitchen, aiming to build confidence alongside a fantastic halal meal.
What You’ll Need
Here are the components and tools required to prepare this delightful sandwich:
Ingredients:
- 🐔 1 (approx. 150-200g) halal boneless, skinless chicken breast
- 🍞 2 slices of white sandwich bread
- 🥬 2-3 large lettuce leaves (like Romaine or green leaf)
- 🍅 1 medium ripe tomato
- 🫒 1 tablespoon olive oil (or other cooking oil)
- 🧂 Salt, to taste
- 🌶️ Freshly ground black pepper, to taste (coarse ground is visible in the image)
Equipment:
- 🍳 Grill pan (or a regular frying pan/skillet)
- 🔪 Sharp knife
- 🪵 Cutting board
- 🔥 Toaster (or use the pan for the bread)
- 🤏 Tongs
- 🍽️ Plate for serving
Assembling Your Masterpiece: A Step-by-Step Guide
Follow these instructions carefully to replicate the appealing sandwich shown in the photograph. Every step is explained with beginner cooks in mind.
1. Prepare the Vegetables
First, attention goes to the fresh components. Wash the lettuce leaves thoroughly under cold running water and pat them dry gently with a paper towel or use a salad spinner. Set them aside. Next, wash the tomato. Using the sharp knife and cutting board, carefully slice the tomato into two even, round slices, approximately ¼ inch (0.5 cm) thick, just like the ones nestled in the pictured sandwich.
2. Get the Chicken Ready
Place the chicken breast on the cutting board. If it’s very thick in one area, it can be gently pounded with a meat mallet or a rolling pin between two pieces of parchment paper to ensure a more even thickness. This helps it cook uniformly. However, the chicken in the image maintains a good thickness, so excessive flattening is not necessary. Pat the chicken breast dry with a paper towel; this helps achieve a better sear. Now, season the chicken generously on all sides with salt and freshly ground black pepper. Don’t be shy with the pepper – the visible dark flecks on the chicken in the image indicate a good amount was used, contributing to its flavor.
3. Cook the Chicken to Perfection
Place the grill pan (or frying pan) over medium-high heat. Allow it to get properly hot. A good test is to flick a tiny drop of water on it; if it sizzles and evaporates immediately, the pan is ready. Add the olive oil to the hot pan. It should shimmer. Carefully lay the seasoned chicken breast onto the pan using tongs. It should sizzle upon contact. Cook the chicken for about 5-7 minutes on the first side, undisturbed. This allows it to develop the distinct, dark grill marks and the beautiful golden-brown seared exterior, as seen on the chicken in the photograph. The surface of the chicken in the image is not just cooked; it’s appetizingly browned with those characteristic lines from the grill. Using tongs, flip the chicken breast and cook for another 5-7 minutes on the other side, or until it is cooked through. The internal temperature should reach 165°F (74°C) when checked with a meat thermometer. If a thermometer isn’t available, make a small cut into the thickest part of the chicken; the juices should run clear, and the meat should be opaque white all the way through. Once cooked, transfer the chicken breast to a clean plate and let it rest for a few minutes. Resting is important as it allows the juices to redistribute throughout the meat, resulting in a more tender and flavorful piece of chicken.
4. Toast the Bread
While the chicken is resting, it’s time to prepare the bread. The bread in the image possesses an even, light golden-brown toastiness across its surface. Place the two slices of white bread into a toaster and toast them to your preferred level of brownness, aiming for that appealing color shown. Alternatively, if a toaster isn’t handy, the bread can be toasted in the same pan used for the chicken (after wiping out any excess oil or bits) over medium heat for 1-2 minutes per side, or until golden brown.
5. Construct Your Sandwich
Now for the exciting part – putting it all together to match the inviting stack in the image!
- Place one slice of the golden-brown toast on a clean plate. This is the foundation.
- Arrange the prepared lettuce leaves flatly on top of the toast. The image shows the lettuce extending slightly beyond the edges of the bread, providing a fresh green border.
- Neatly place the two tomato slices side-by-side (or slightly overlapping, as in the image) on top of the lettuce.
- Position the beautifully grilled chicken breast centrally over the tomato slices. Its seasoned, seared surface is the star.
- Complete the sandwich by placing the second slice of toast on top of the chicken.
Your impressive Grilled Chicken Sandwich, mirroring the one in the picture, is now ready! The layers are distinct: the toasted bread, the crisp lettuce, the juicy tomato, and the substantial, flavorful chicken.
Enjoying Your Homemade Delight
This sandwich is best enjoyed immediately, while the chicken is warm and the toast is crisp. The simple combination of well-prepared ingredients yields a truly satisfying meal. Feel the accomplishment of having prepared such a delicious and visually appealing dish. This experience is a wonderful step in any culinary journey. Why not capture a photo of your finished sandwich and share the delicious results with friends and family? Happy cooking!