

Free Crochet Cat Beanie Pattern for Beginners
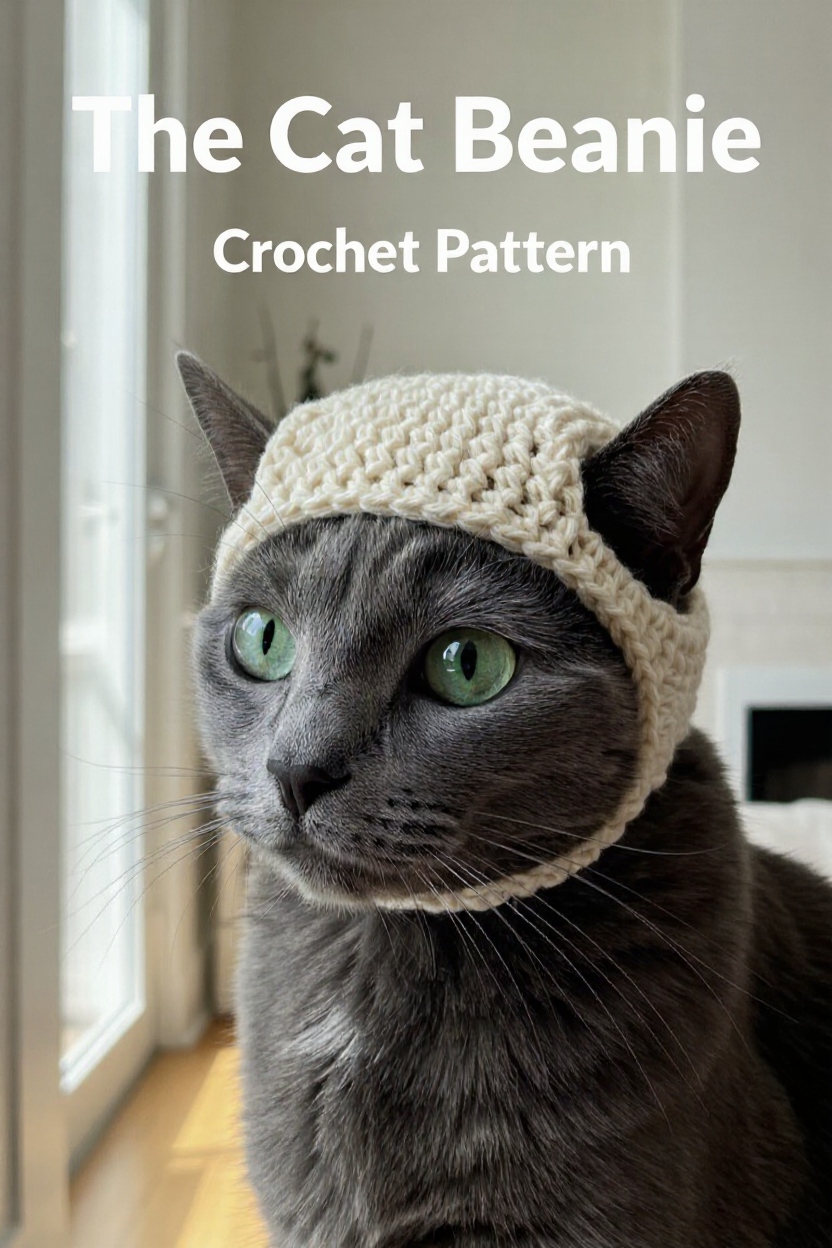
“Have you ever looked at your cat and thought, “You are majestic, but you could use a tiny hat”? Looking at this dapper gray cat in its custom-fit beanie, the answer is a resounding yes! There’s a special kind of joy that comes from making something with your own hands, especially when it’s for a beloved furry companion.
This guide is here to walk you through how to fashion this exact adorable cat beanie. Don’t worry if you’ve never picked up a crochet hook before. We’ll go through every step together, and soon you’ll have a charming accessory ready for your own stylish feline.
What You’ll Need
Before we begin, let’s gather our tools. The beanie in the photograph is made with a sturdy, soft yarn in a beautiful off-white shade, which is perfect for a classic look.
- 🧶 Worsted-weight cotton yarn in a cream or off-white color. Cotton is durable and easy to wash.
- 🪝 A 4.0mm (G-6) crochet hook.
- ✂️ A pair of scissors.
- 🪡 A yarn needle for weaving in the ends.
Getting to Know Your Stitches
Every crochet project is just a combination of simple loops and knots. We’ll be using a few basic stitches for this beanie. Let’s get familiar with them.
Slip Knot: This is how every crochet project begins. It’s simply the first adjustable loop that you slide onto your hook.
Chain (ch): This is the foundation stitch. To make a chain, you just wrap the yarn over your hook (this is called a “yarn over”) and pull that yarn through the loop already on your hook. That’s one chain!
Half Double Crochet (HDC): This is the main stitch for the body of the hat! This stitch gives the beanie its wonderfully dense and textured fabric.
- Yarn over your hook first.
- Insert your hook into the designated stitch.
- Yarn over again and pull a loop through the stitch. You will now have three loops on your hook.
- Yarn over one last time and pull the yarn through all three loops on your hook. You’ve just completed a half double crochet!
Single Crochet (SC): We’ll use this stitch for the final edging round. It creates a clean, tight border.
- Insert your hook into the designated stitch.
- Yarn over and pull a loop through. You will have two loops on your hook.
- Yarn over again and pull the yarn through both loops on your hook.
Slip Stitch (sl st): This is a very short stitch used to join pieces of your work together, especially when working in a circle. You insert your hook into a stitch, yarn over, and pull the yarn through both the stitch and the loop on your hook in one fluid motion.
Let’s Make The Cat Beanie!
This beanie is worked from the top down. The first four rounds are worked in a continuous spiral to avoid a visible seam. Using a stitch marker to mark the first stitch of each round can be a lifesaver!
Part 1: The Beanie Top
We begin by forming a small, flat circle that will rest on top of your cat’s head.
Round 1: Start with a slip knot and chain 2. In the second chain from your hook, put 8 HDC stitches. (8 stitches).
Round 2: Place 2 HDC stitches into every single stitch from the previous round. This is an increase, and it helps the circle grow flat. (16 stitches).
Round 3: Now we will alternate. Make 1 HDC in the first stitch, then make 2 HDC in the next stitch. Repeat this pattern all the way around. (24 stitches).
Round 4: We’ll expand the pattern. Make 1 HDC in each of the first two stitches, then make 2 HDC in the next stitch. Repeat this pattern all the way around. (32 stitches).
At this point, you should have a small, flat disc. This is the main cap of the beanie.
Part 2: Forming the Ear Holes
This is the clever part that gives the beanie its unique shape. From this point, we will join each round with a slip stitch.
Round 5:
- Make 1 HDC in each of the next 5 stitches.
- Now, chain 8.
- Skip the next 7 stitches on the beanie top (this forms the first ear hole).
- Make 1 HDC in each of the next 9 stitches.
- Chain 8 again.
- Skip the next 7 stitches (this forms the second ear hole).
- Make 1 HDC in each of the last 4 stitches.
- Join your work to the very first HDC of this round with a slip stitch.
Part 3: Finishing the Edge
This crucial round creates the sturdy, finished edge around the entire opening, including the ear holes, matching the polished look in the photo.
Round 6:
- Chain 1 (this does not count as a stitch).
- Work 1 Single Crochet (SC) into each of the first 5 stitches.
- Work 8 SC directly into the chain-8 space (this covers the chain and forms the top edge of the ear hole).
- Work 1 SC into each of the next 9 stitches.
- Work 8 SC into the second chain-8 space.
- Work 1 SC into each of the last 4 stitches.
- Join with a slip stitch to the very first SC of this round. (You will have 34 stitches total in this round).
Part 4: Straps and Finishing Touches
We’re almost there! Now we’ll add the straps in the correct place to secure the beanie under your cat’s chin, just like in the photo.
Finishing Part 3:
- After joining with a slip stitch at the end of Round 6, cut your yarn, leaving a 6-inch tail. Pull the tail through the loop on your hook to fasten off. We will now attach the straps separately.
Chin Straps:
- First Strap: Look at the beanie with the front facing you. Attach your yarn with a slip stitch to the stitch right *before* the first ear hole begins (this is the 5th SC of the front section).
- Chain 25. This length should be good for most cats, but you can add or remove a few chains if your cat’s head is larger or smaller.
- Cut the yarn, leaving a 6-inch tail, and pull it through the last loop to fasten off.
- Second Strap: Go to the other side of the beanie. Attach your yarn with a slip stitch to the stitch immediately *after* the second ear hole ends.
- Chain 25 again to make the second strap. Fasten off. This placement ensures the straps are symmetrical and will sit comfortably on either side of the cat’s face.
Finishing: The final step is to weave in all the loose yarn tails (from the beginning, the end of Round 6, and both straps) with your yarn needle. This secures your work and gives it a clean, professional appearance. Just thread the tail through the needle and sew it back and forth through the inside stitches of the beanie a few times before snipping the excess.
And there you have it! A finished cat beanie, identical to the one in the photo, all put together with your own two hands. The result is a charming and practical little hat that will make your feline friend the talk of the town.
Take a moment to admire your handiwork. You’ve taken a simple strand of yarn and turned it into something truly special. Be sure to snap a picture of your cat modeling their new headwear.
If I put a hat
On my cat
I am dead.
🙃