
The Weekend Crochet Project: An Easy Laptop Sleeve for Beginners
In a world of mass-produced accessories, there’s a special kind of style that only comes from a handmade touch. This crochet laptop sleeve pattern makes a finished piece that’s both modern and personal, pairing a clean, minimalist aesthetic with the rich texture of crochet. The dense, woven-like fabric not only looks sophisticated but provides a sturdy, cushioned layer to protect your tech.
The beauty of this design lies in its simplicity. A sophisticated texture is made using a simple two-stitch repeat, making it a perfect project for a confident beginner or anyone looking for a relaxing and rewarding make. This guide will walk you through creating a sleek, custom-fit sleeve that is as durable as it is beautiful.
What You’ll Need
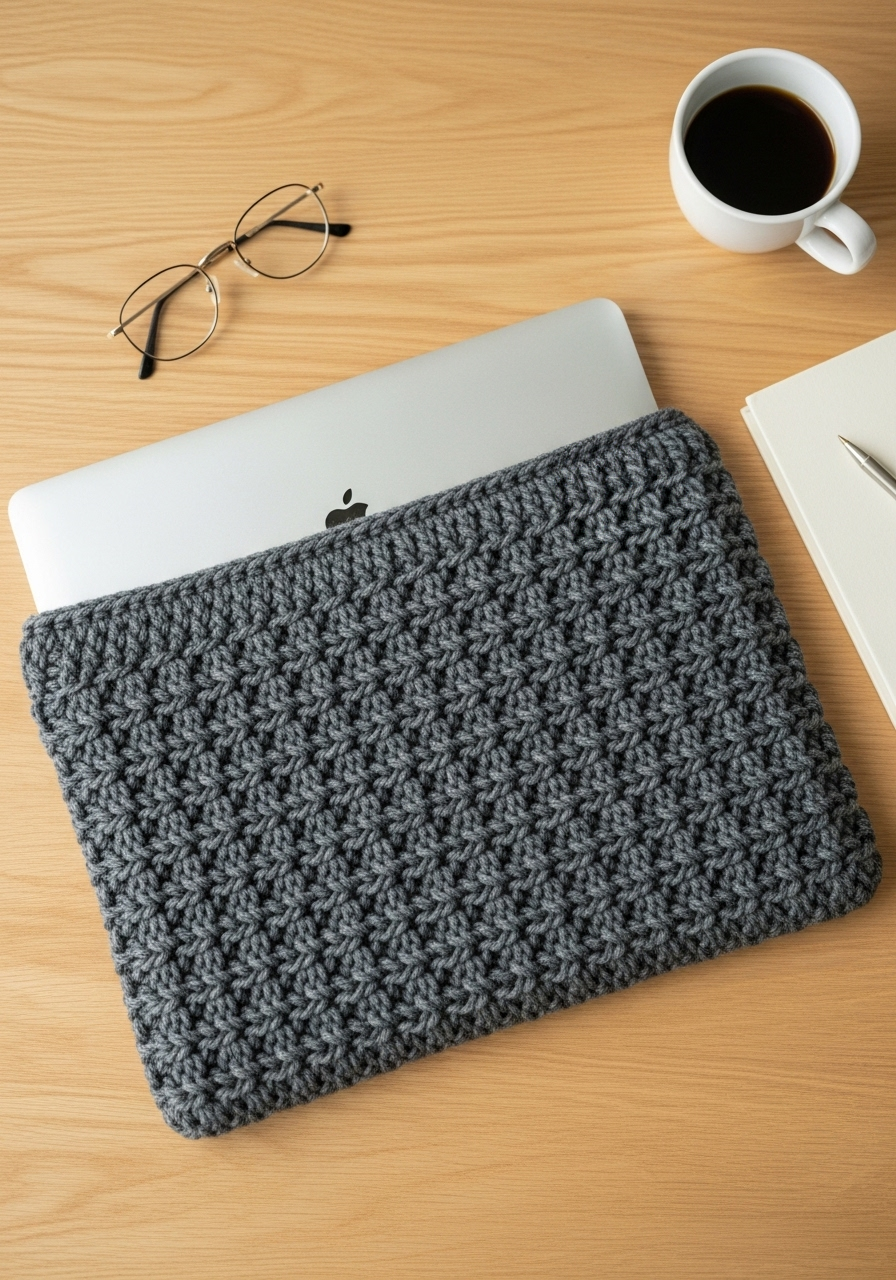
Before you begin, gather these simple tools and materials. The sleeve in the photograph is made with a solid, dark gray yarn, which gives it that sophisticated, minimalist look.
- 🧶 Yarn: About 200-250 yards of a sturdy worsted-weight (Category 4) yarn. A smooth acrylic or a wool blend will give you great stitch definition and durability.
- 🪝 Crochet Hook: A 5.0mm (H-8) hook is a great match for worsted-weight yarn.
- 💻 Your Laptop: You’ll need it on hand to get the measurements just right for a perfect, custom fit.
- ✂️ Scissors: For trimming your yarn.
- 🪡 Tapestry Needle: This is essential for weaving in your ends and giving your work a professional finish.
Learning the Stitches
The gorgeous, woven-like fabric of this sleeve is produced using only basic stitches. Let’s go over them so you feel completely confident.
The Slip Knot & Chain (ch)
This is how every crochet project begins. A slip knot is simply a looped knot you put on your hook that can be tightened. The chain stitch is the foundation. To make one, you just wrap the yarn over your hook (this is called a “yarn over”) and pull that loop through the loop already on your hook. That’s one chain! You’ll make a long row of these to start.
The Single Crochet (sc)
This is a short, dense stitch.
- Insert your hook into the designated stitch.
- Yarn over and pull a loop through the stitch. You will now have two loops on your hook.
- Yarn over again and pull through both loops on your hook. You’ve just completed a single crochet.
The Double Crochet (dc)
This stitch is about twice as tall as a single crochet.
- Yarn over before you do anything else.
- Insert your hook into the designated stitch.
- Yarn over and pull a loop through. You will now have three loops on your hook.
- Yarn over and pull through the first two loops on the hook. You’ll have two loops remaining.
- Yarn over one last time and pull through the final two loops. That’s a double crochet.
Building Your Sleeve: The Pattern
This sleeve is worked up as a flat rectangle and then seamed together. It’s a straightforward and rewarding process.
Step 1: Measuring and Your Starting Chain
Lay your laptop flat. Take your tape measure and find the width. Add about half an inch for a little wiggle room. Now, begin making your foundation chain.
Chain until your chain is the length you just measured. The most important part of this step is to finish with an EVEN number of chains. Count them to be sure! This is critical for the stitch pattern to work correctly.
Let’s say for a 13-inch laptop, you end up with 42 chains.
Step 2: Working the Main Body
This is where the pattern truly comes to life and that beautiful texture emerges. We’ll call this the Textured Stitch.
Row 1:
- Find the second chain from your hook.
- In that single chain stitch, you will place one single crochet (sc) and one double crochet (dc).
- Now, skip the next chain stitch completely.
- Move to the following stitch and repeat the pattern: place (1 sc, 1 dc) all in that same stitch.
- Continue this sequence—skip one stitch, then (1 sc, 1 dc) in the next—all the way to the end of your chain. You should end with one stitch left. Place one single crochet in that final stitch.
Row 2 and Beyond:
- Chain 1 (this does not count as a stitch, it just helps you turn). Turn your work so you’re ready to go back across the row you just made.
- In the very first stitch (which was the last sc you made), place (1 sc, 1 dc).
- Skip the next stitch (this will be the dc from the pair below).
- You will now be at the single crochet of the next pair. In that stitch, place another (1 sc, 1 dc).
- You’ve got it! Just keep repeating this pattern of skipping the double crochet and working your (1 sc, 1 dc) into every single crochet from the row below.
Continue working rows of this Textured Stitch. Your rectangle will grow quickly! Keep going until the piece is long enough to fold in half over your laptop, covering it completely with about an inch of extra fabric at the top.
Step 3: Forming the Top Border
The sleeve in the image has a clean, simple border at the opening, which adds a polished touch. To get this look, you will stop the Textured Stitch and work a few final rows differently.
- At the end of your last Textured Stitch row, chain 1 and turn.
- Work one single crochet into every single stitch across the entire row.
- Repeat this for 2-3 more rows. This will form that smooth, flat border you see at the opening.
- Once your border is done, cut your yarn, leaving a long tail (about 20 inches) for seaming. Pull the tail through the loop on your hook to fasten off.
Step 4: Assembling Your Laptop Sleeve
Lay your finished rectangle flat. Fold it in half lengthwise, making sure the top border lines up perfectly. Now, it’s time to seam it into a sleeve.
Thread that long yarn tail onto your tapestry needle. You will be stitching up the side and the bottom. A whip stitch is a simple and strong method: just pass your needle through the loops of both layers, from inside to outside, wrapping the yarn around the edge as you go.
Stitch down one side, then continue right around the corner and across the bottom edge. When you get to the other corner, fasten your yarn securely and use the tapestry needle to weave the end back into your work so it’s hidden. Repeat on the other side with a new piece of yarn. Weave in any remaining ends.
Turn your sleeve right-side out, and your project is complete.
The pride of sliding your laptop into a protective sleeve you fashioned with your own two hands is immense. It’s a little piece of handmade comfort you can carry with you every day. We would absolutely love to see the beautiful sleeve you bring to life.