

The Perfect Custard Trifle with Fresh Fruit & Cream
A spectacular dessert doesn’t have to be complicated. Imagine setting a beautiful, layered fruit trifle on the table, brimming with creamy custard, soft cream, and glistening fresh fruit. This Sunshine Fruit Custard Trifle is a showstopper that brings so much joy to any occasion, from family dinners to special celebrations.
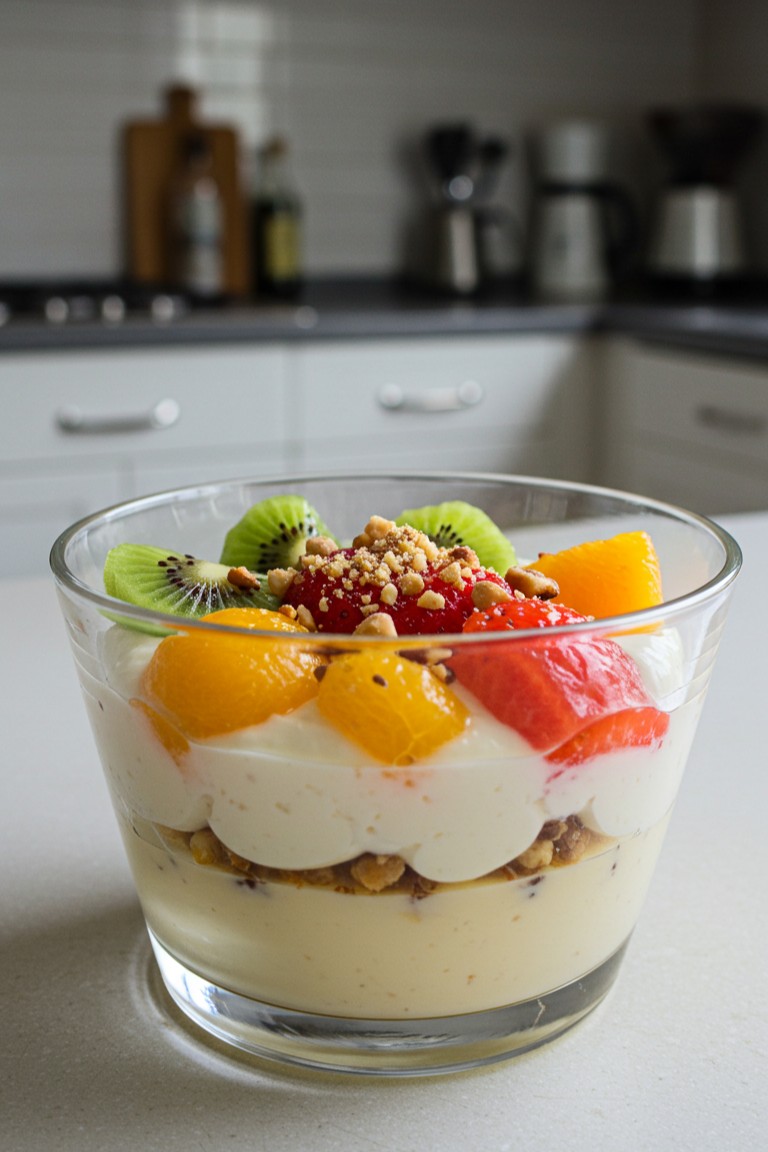
This guide walks through every step to assemble the exact dessert shown in the picture. It’s a wonderful project for anyone new to making desserts, turning simple, wholesome ingredients into an impressive centerpiece. The satisfaction of seeing those perfect layers through the glass bowl is a reward in itself!
What You’ll Need
Here are the ingredients and tools required to put together this delightful trifle.
📋 Ingredients
- 🥛 2 cups Whole milk
- 🍮 1/2 cup Vanilla custard powder (ensure it’s a halal-certified brand if applicable)
- 🍬 1/4 cup Granulated sugar (or to taste)
- 💧 1 tsp Alcohol-free vanilla extract
- 🍰 6-8 Ladyfinger biscuits or slices of plain sponge cake
- 🍊 1/4 cup Orange juice (for soaking)
- 🥣 1/4 cup Granola or crushed digestive biscuits
- 🍦 1 ½ cups Heavy whipping cream, cold
- 🍚 3 tbsp Powdered sugar
- 🥝 2 Kiwis, peeled and sliced
- 🍊 2 Navel oranges
- 🍓 1/2 cup Strawberries, hulled and sliced
- 🍓 2 tbsp Strawberry jam or compote
- 🥜 2 tbsp Crushed walnuts or pecans
🔪 Kitchen Tools
- Medium saucepan
- 🥣 Medium mixing bowl
- Whisk
- 🥄 Rubber spatula
- 🔪 Sharp knife
- 📋 Cutting board
- 🍧 Large, clear glass trifle bowl (about 8-cup capacity)
- ⚡ Electric hand mixer or stand mixer
- ⭐ Piping bag with a large star or round tip (optional, for a decorative finish)
Assembling Your Masterpiece: A Step-by-Step Guide
This process is broken down into simple stages: making the custard, preparing the fruit, whipping the cream, and finally, layering everything together.
Part 1: The Creamy Custard Base
The foundation of this trifle is a smooth, rich vanilla custard.
- Pour about 1 ½ cups of the milk into the medium saucepan and place it over medium heat. Add the granulated sugar and stir until it dissolves. Bring the milk to a gentle simmer, but do not let it boil.
- While the milk is heating, pour the remaining ½ cup of cold milk into your mixing bowl. Add the custard powder and whisk vigorously until you have a completely smooth, thin paste with no lumps. This is called a slurry, and it’s the secret to lump-free custard.
- Once the milk on the stove is simmering, slowly pour the custard slurry into the saucepan while whisking continuously. This constant motion is key to preventing lumps.
- Keep whisking over medium heat. The mixture will begin to thicken quite quickly. Once it’s thick enough to coat the back of a spoon, remove it from the heat. Stir in the vanilla extract.
- Pour the finished custard directly into the bottom of your clear glass trifle bowl. Cover the surface with plastic wrap, pressing it directly onto the custard to prevent a skin from forming. Let it cool to room temperature, then place it in the refrigerator to chill completely for at least 2 hours. A fully chilled custard is essential for the next layers.
Part 2: Preparing the Vibrant Fruit
The fresh fruit topping is what makes this trifle so stunning.
- To get the beautiful orange pieces seen in the photo, you will need to segment the oranges. This technique removes all the pith and membrane. First, slice off the top and bottom of an orange. Stand it on your cutting board and, using your knife, carefully slice away the peel and white pith, following the curve of the fruit. Once peeled, hold the orange over a bowl and carefully cut between the membranes to release each segment. Set the segments aside.
- Prepare the rest of the fruit. Slice the kiwis into rounds about 1/4-inch thick. Slice the strawberries. Set all the prepared fruit aside.
Part 3: The Billowy Cream Layer
The light, fluffy cream layer adds a wonderful texture and richness. For best results, make sure your cream, bowl, and beaters are very cold.
- Pour the cold heavy whipping cream into a chilled mixing bowl. Add the powdered sugar.
- Using an electric mixer on medium-high speed, whip the cream until it forms stiff peaks. You’ll know it’s ready when you can lift the beaters out of the cream and the peak that forms stands tall without drooping. Be careful not to over-whip, or it will turn grainy.
- For the decorative, scalloped effect seen in the photograph, transfer the whipped cream into a piping bag fitted with a large star or round tip. If you don’t have a piping bag, you can simply spoon the cream over the next layer.
Part 4: Building the Trifle Layers
With all the components ready, it’s time to assemble the trifle!
- Remove the chilled custard from the refrigerator.
- Dip each ladyfinger or piece of sponge cake briefly in the orange juice—just enough to moisten it, not make it soggy. Arrange the soaked pieces in a single layer on top of the set custard.
- Sprinkle the granola or crushed biscuits evenly over the cake layer. This provides the distinct crunchy texture between the custard and the cream.
- Pipe or spoon the whipped cream on top of the granola layer, covering it completely. If piping, work from the outside in to get that lovely scalloped edge against the glass.
- Now for the final, artful arrangement. Place the sliced kiwis around the outer edge. Arrange the orange segments and sliced strawberries inside the ring of kiwi.
- Spoon the strawberry jam right in the center of the fruit.
- Finish by sprinkling the crushed nuts over the jam and surrounding fruit. The trifle is now complete! For the best flavor, let it chill in the refrigerator for at least 30 minutes before serving to allow the layers to set together.
There’s a special kind of delight in seeing all those beautiful, distinct layers come together. This trifle is more than just a dessert; it’s a centerpiece meant for sharing. Give this recipe a go, and enjoy the moments it brings to your table. We’d be thrilled to see pictures of your finished trifle.