
Crochet a Simple Square Drink Coaster
Please Note: The title on our Pinterest image mistakenly says “Knit.” This is a crochet project made with the single crochet stitch as detailed in the pattern below. We apologize for any confusion!
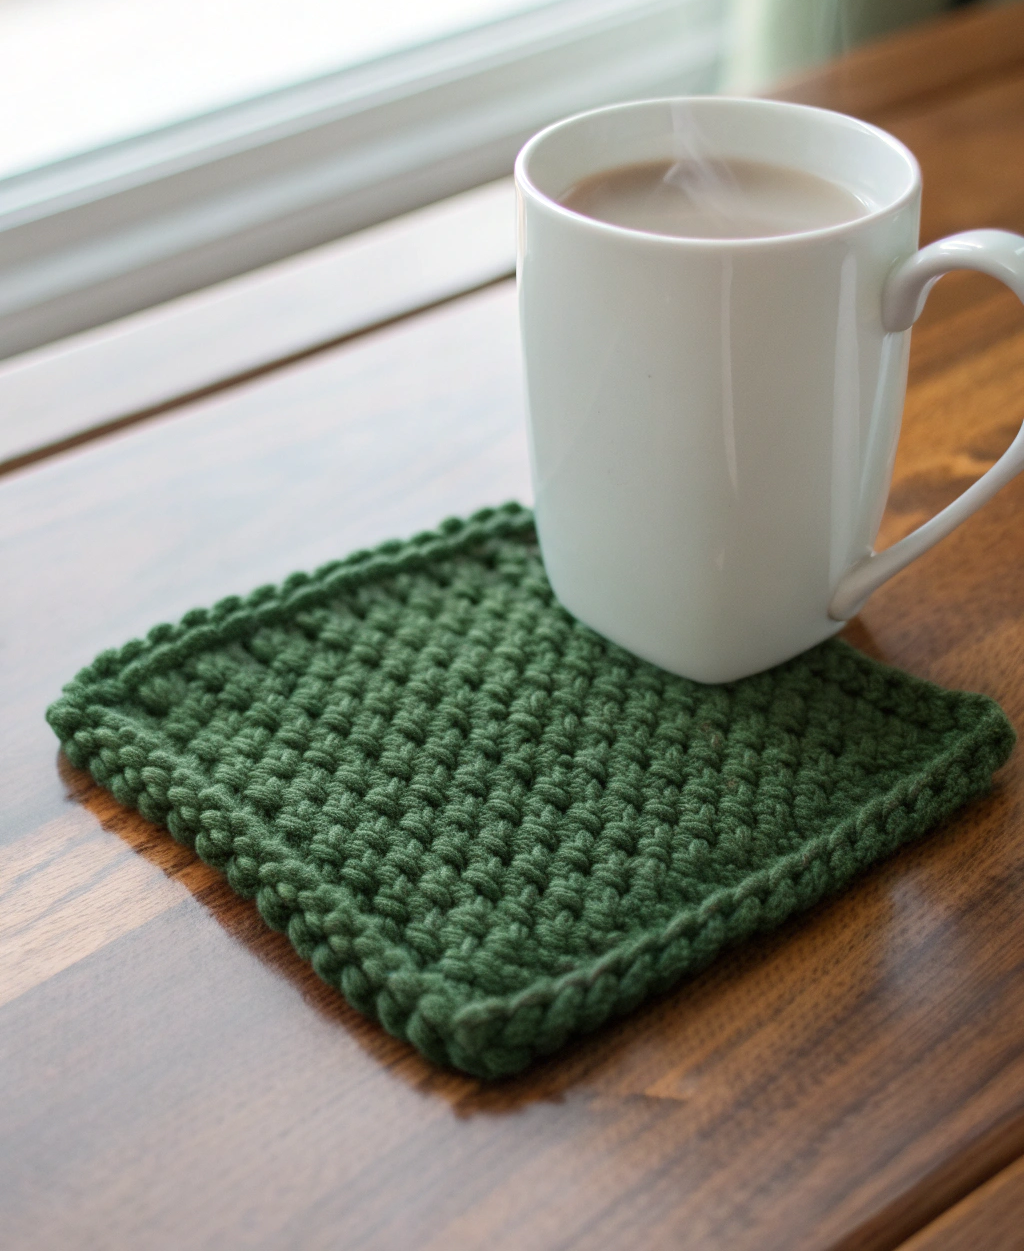
There’s a special kind of joy in making something lovely and practical with your own hands! Just look at that gorgeous dark green crocheted coaster in the picture – isn’t it charming? It’s the perfect little project to bring a handmade touch to your home, and guess what? We’re so excited to show you exactly how to make one just like it! If you’re just starting your crochet journey, you’re in the perfect place because we’ll go through everything step-by-step, nice and easy.
Just picture it: your favorite warm drink, like the one you see, resting cozily on a coaster you fashioned all by yourself. It might seem like a small thing, but oh, the wonderful feeling of accomplishment it brings!
What You’ll Need
To assemble this charming drink coaster, you’ll want to gather these supplies:
- 🧶 Worsted Weight Cotton Yarn: The coaster in the image is made from a sturdy, absorbent yarn in a beautiful solid dark green color. Cotton is an excellent choice for coasters because it handles moisture well. One small ball will be plenty.
- 🥢 Crochet Hook: A size H-8 (5.0 mm) hook is a good match for worsted weight yarn and will help you achieve the tight, dense texture seen in the photo.
- ✂️ Scissors: For snipping your yarn.
- 🧵 Tapestry Needle: This has a large eye and a blunt tip, perfect for weaving in the yarn ends neatly when you’re finished.
Understanding the Basics First
Before we dive into the rows, let’s talk about the fundamental techniques you’ll use. The coaster showcases a lovely, simple texture. This is achieved using one of the most basic crochet stitches: the Single Crochet.
Getting Started: The Slip Knot and Chain (ch)
Your project begins with a slip knot and a foundation chain. This is how you make the base for your first row.
- Make a slip knot and place it on your hook. Gently pull the yarn tails to tighten it onto the hook. This is your starting point!
- To make a chain stitch: Wrap the yarn over your hook (from back to front) and use the hook to pull that yarn through the loop that’s already on your hook. You’ve just made your first chain! Repeat this process until you have the required number of chains.
The Single Crochet Stitch (sc): The Heart of Your Coaster
The Single Crochet stitch is the hero of this project. It creates the dense, sturdy fabric you see in the photo, which is perfect for a coaster.
- Insert your hook into the designated stitch (for the first row, this will be a chain).
- Yarn over your hook and pull the yarn back through the stitch. You will now have two loops on your hook.
- Yarn over your hook again.
- Pull this new loop of yarn through both of the loops on your hook. You’ll be left with just one loop on your hook. You have now worked one single crochet stitch!
Why Single Crochet?
The beautiful, tight fabric you see on the dark green coaster in the image is the result of rows of single crochet stitches. Unlike some other stitches, single crochet produces a solid fabric with no gaps, making it highly absorbent and durable. It also gives the coaster a naturally flat and square shape with neat edges, just like the ones visible in the photograph.
Let’s Make Your Drink Coaster!
The coaster in the image is a perfect square. We’ll aim to replicate this shape.
Finished Size: Approximately 4 inches x 4 inches (10 cm x 10 cm), like a standard drink coaster.
Instructions (US Crochet Terms):
- To Start: Chain 17.
- Tip: Try to keep your chain tension even—not too tight, not too loose. If it’s too tight, working into it for the first row will be tricky.
- Row 1: Single crochet (sc) in the 2nd chain from the hook. Then, work 1 sc in each remaining chain across. You should have a total of 16 stitches.
- Row 2: Chain 1 and turn your work. (This “turning chain” brings your yarn up to the correct height for the new row and does not count as a stitch). Work 1 sc in the very first stitch and in each stitch across the row. You should still have 16 stitches.
- Troubleshooting: Counting your stitches at the end of every few rows is a great habit for beginners. It’s easy to accidentally add or skip a stitch at the beginning or end of a row. If your count is off, it’s okay to pull out the stitches (this is called ‘frogging’ because you ‘rip-it, rip-it’!) and try again.
- Row 3 through Row 16: Repeat Row 2. Continue working rows of single crochet until your piece measures approximately 4 inches (10 cm) from the starting edge, or until it looks like a square.
- The coaster in the image is perfectly square. The easiest way to check is to fold one bottom corner up to meet the top edge. If the side edge matches the top edge in length, it’s a square! For this pattern, that should be around 16 rows.
Fastening Off: Finishing Touches
Fastening off secures your work so it doesn’t unravel. This completes the coaster.
- After you complete your final stitch of the last row, cut your yarn, leaving about a 6-inch tail.
- Yarn over your hook one last time.
- Pull the yarn tail completely through the loop on your hook.
- Remove the hook and pull the tail tight to create a secure knot.
Weaving in Ends
You’ll have two yarn tails: one from the beginning and one from the end.
- Thread one yarn tail onto your tapestry needle.
- Weave the needle back and forth through the stitches on the back of your coaster for about an inch or two. Change direction a couple of times to make sure it’s secure.
- Snip any remaining yarn close to the fabric.
- Repeat with the other yarn tail.
Your Beautiful Handmade Coaster!
And there you have it! A charming, functional drink coaster, brought into being by your own two hands. See how the single crochet stitch provides that lovely, dense texture and sturdiness, just like the one in the picture? That dark green really gives it a classic, cozy look.
Don’t you just love the feeling of turning a simple string of yarn into something so tangible? This little square is a testament to your growing skills. Why not make a set? They’re quick, satisfying, and build confidence for bigger projects.
We’d be thrilled to see your finished coasters! Feel free to share photos of your new pieces online. Happy crocheting, and enjoy every stitch of your crafting journey!