
Golden Crust Halal Margherita Pizza
There’s an undeniable charm to a perfectly baked pizza, especially when it boasts a glorious cheese pull like the one showcased. This guide walks beginner cooks through the satisfying journey of preparing an absolutely delightful Halal Margherita Pizza right in their own kitchens. Imagine presenting a homemade pizza with a beautifully golden, slightly blistered crust, vibrant tomato sauce, and an expanse of molten, stretchy mozzarella cheese – a true feast for the eyes and the palate.
Why This Margherita Shines
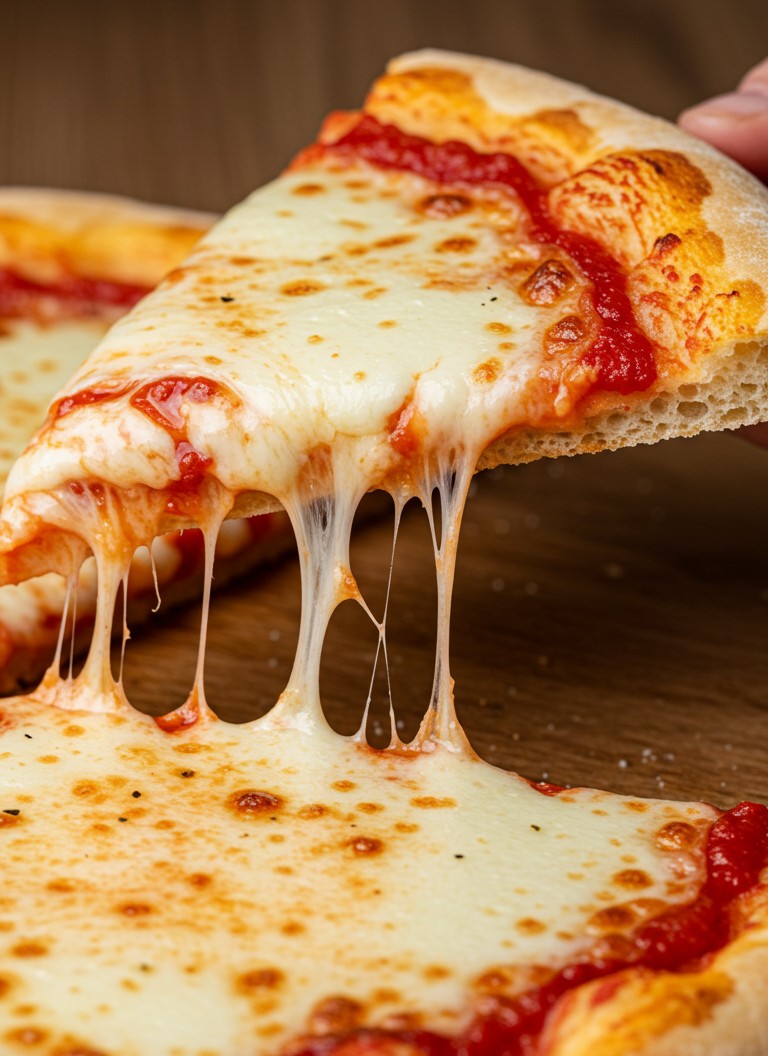
This isn’t just any pizza; it’s an experience. The beauty of this Margherita, as seen in the image, lies in its simplicity and the quality of its components. The crust is a masterpiece – golden-brown with those coveted darker spots indicating a perfect bake, and an interior that promises a soft, airy chew. The sauce is a rich, vibrant red, applied with just the right touch. And the cheese – oh, the cheese! It’s abundant, perfectly melted into a blanket of creamy white with enticing golden-brown bubbles, stretching into those irresistible strands that make pizza so iconic. Fine, dark specks, characteristic of dried oregano and a hint of black pepper, are scattered across the molten cheese, adding subtle flavor and visual texture.
Gathering Your Halal Treasures: Ingredients & Tools
Success begins with the right components. Here’s what one needs to assemble this spectacular pizza:
Halal Ingredients Needed
- 🌾 500g Strong bread flour (this provides the chewiness essential for an authentic crust)
- 💧 300ml Lukewarm water (around 105-115°F or 40-46°C – comfortable to the touch)
- 🥄 1 teaspoon Active dry yeast
- 🧂 1.5 teaspoons Fine sea salt
- ✨ 1 teaspoon Granulated sugar (this gives the yeast a little boost)
- 🫒 2 tablespoons Extra virgin olive oil (plus a little extra for greasing)
- 🍅 1 can (400g) Whole San Marzano tomatoes (these Italian tomatoes lend an authentic, sweet flavor to the sauce)
- 🌿 1 teaspoon Dried oregano
- ⚫ ½ teaspoon Freshly ground black pepper
- 🧀 250-300g Fresh halal mozzarella cheese (low-moisture, full-fat variety is paramount for achieving the magnificent melt and stretch seen in the image)
- 🌽 Semolina flour or fine cornmeal (for dusting the peel/baking sheet)
Kitchen Essentials
- 🥣 Large mixing bowl
- 🥄 Measuring spoons
- 🥤 Measuring cup
- 🔪 Sharp knife
- 🪵 Cutting board
- 🥘 Small saucepan or bowl (for the sauce)
- 🥄 Wooden spoon or spatula
- 🍕 Pizza stone or a heavy-duty baking sheet (a preheated pizza stone helps achieve that crisp base)
- 🔪 Pizza cutter or a large sharp knife
- 📏 Rolling pin (optional, as hand-stretching can also yield wonderful results)
- ♨️ Oven (capable of reaching high temperatures)
Crafting Your Margherita Masterpiece: Step-by-Step
Patience and attention to detail will transform these simple ingredients into a culinary delight.
1. Awakening the Yeast & Mixing the Dough
Begin by proofing the yeast. This is a simple step to ensure the yeast is active and ready to work its magic. In a small bowl, pour the lukewarm water, then sprinkle the sugar and active dry yeast over the top. Gently stir and let it stand for 5-10 minutes. If the yeast is active, the mixture will become foamy and bubbly. This foam is the sign it’s ready!
In the large mixing bowl, combine the strong bread flour and fine sea salt. Make a well in the center. Pour the foamy yeast mixture and the extra virgin olive oil into the well. Using a fork or your hands, gradually incorporate the flour into the liquid ingredients until a shaggy dough forms.
2. Developing the Dough Through Kneading
Turn the dough out onto a lightly floured surface. Now, it’s time for kneading. This process develops gluten, which gives the pizza crust its structure and desirable chewiness. To knead, fold the dough in half towards you, then push it away with the heel of your hand. Rotate the dough a quarter turn and repeat. Continue this rhythmic folding and pushing for about 10-12 minutes by hand, or about 7-8 minutes using a stand mixer fitted with a dough hook on low speed. The dough is ready when it becomes smooth, elastic, and springs back when gently poked. It should no longer be overly sticky.
3. The First Rise: Letting the Dough Flourish
Lightly oil the large mixing bowl. Place the kneaded dough into the bowl, turning it once to coat it lightly with oil. This prevents a dry crust from forming on top. Cover the bowl with a clean kitchen towel or plastic wrap. Let the dough rise in a warm, draft-free place for about 1 to 1.5 hours, or until it has doubled in size. This resting period allows the yeast to ferment, developing flavor and a light, airy texture.
4. Preparing the Simple, Vibrant Tomato Sauce
While the dough is rising, prepare the tomato sauce. The image shows a sauce that is pure and tomato-forward. For this, open the can of San Marzano tomatoes. Pour them into a bowl and crush them with your hands or a fork until they reach a slightly chunky, but mostly smooth consistency, much like the texture visible on the pizza. Stir in 1/2 teaspoon of the dried oregano, the black pepper, and a pinch of salt if desired (remember the dough also has salt). There’s no need to cook this sauce; its fresh flavor is key.
5. Shaping and Assembling Your Pizza
Once the dough has doubled, gently punch it down to release the air. Turn it out onto a lightly floured surface. If making two smaller pizzas, divide the dough in half. Otherwise, proceed with the full amount for one larger pizza.
Preheat the oven to its highest setting, typically 475-500°F (245-260°C), with the pizza stone or heavy-duty baking sheet inside for at least 30 minutes. A very hot surface is crucial for achieving that golden, slightly charred crust seen in the image.
Sprinkle your pizza peel (a flat paddle for transferring pizza to the oven) or the back of a baking sheet with semolina flour or cornmeal. This acts like little ball bearings, helping the pizza slide off easily. Gently stretch or roll the dough into a 12-14 inch circle, depending on preference. Try to keep the edges slightly thicker to form a nice crust, or “cornice.” Place the shaped dough onto the prepared peel or dusted baking sheet.
Spoon a thin, even layer of the prepared tomato sauce over the dough, leaving about a 1-inch border for the crust. Remember, the sauce should be a vibrant red accent, not a swimming pool. Tear or slice the fresh halal mozzarella cheese and distribute it generously over the sauce. The ample quantity of well-melted cheese with some golden-brown blistering is a hallmark of the pizza in the photograph. Sprinkle the remaining 1/2 teaspoon of dried oregano over the cheese.
6. Baking to Golden Perfection
Carefully slide the assembled pizza from the peel onto the hot pizza stone or baking sheet in the preheated oven. Bake for 10-15 minutes, or until the crust is golden brown with some appealing darker, blistered spots, and the cheese is completely melted, bubbly, and exhibits those attractive golden-brown areas. The exact baking time will depend on the oven’s temperature and the desired level of crispness. Keep an eye on it; high-temperature baking happens fast!
Achieving That Glorious Cheese Pull
The spectacular cheese pull visible in the image is a sign of a well-made pizza. To maximize this effect:
- Use high-quality, low-moisture, full-fat halal mozzarella. Fresh mozzarella packed in water has too much moisture and can make the pizza soggy; the block or pre-shredded low-moisture kind is better for melting and stretching.
- Apply a generous amount of cheese.
- Avoid overbaking. When cheese is baked for too long, it can become oily and lose its stretchiness. Pull the pizza out when it’s perfectly bubbly and just starting to brown in spots.
- Serve it hot! The cheese pull is at its prime when the pizza is fresh from the oven.
Savoring and Sharing
Once baked, carefully remove the pizza from the oven. Let it rest for a minute or two before slicing with a pizza cutter or sharp knife. This brief rest allows the cheese to set slightly, making for neater slices but still ensuring that amazing stretch.
The satisfaction of pulling apart a slice of your own homemade Halal Margherita, watching the cheese stretch beautifully, is a reward in itself. This pizza, with its perfect crust, zesty sauce, and abundant mozzarella, is sure to become a household favorite. Enthusiasts are encouraged to try their hand at this recipe and share images of their impressive cheesy results!
This journey from simple ingredients to a stunning, delicious pizza is a testament to the joy of home cooking. Enjoy every step and every bite.