
Golden Green Falafel Pitas
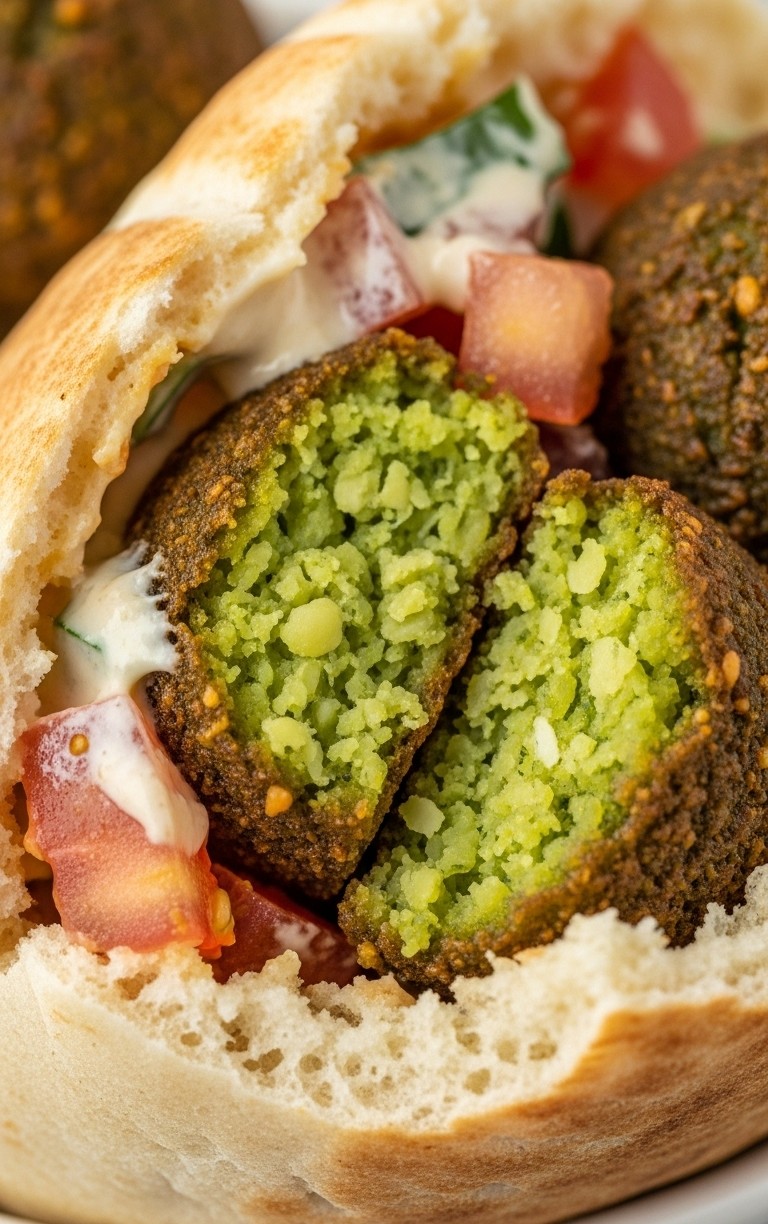
Ever dream of biting into a perfectly warm pita, overflowing with crispy, flavorful falafel and fresh salad? Well, get ready, because this guide will walk any budding chef through the simple joys of preparing incredible Falafel Pitas right at home. The star of the show is the falafel itself – boasting a wonderfully crisp, deep brown exterior that gives way to a stunningly vibrant green, herb-packed interior, just like the one pictured. It’s a delightful journey of textures and tastes!
Your Halal Falafel Adventure Awaits
This recipe focuses on achieving those beautiful, verdant falafel, full of fresh herb goodness, nestled with a simple salad and a creamy sauce in soft pita bread. The satisfaction of making this popular street food in your own kitchen is something special.
🛒 Gather Your Ingredients
Here’s what you’ll need. Remember to select halal-certified options where applicable.
For the Vibrant Green Falafel:
- 🫘 1 cup dried chickpeas (absolutely do NOT use canned chickpeas for this recipe; dried are essential for the right texture)
- 🧅 1 small yellow onion, roughly chopped
- 🧄 3-4 cloves garlic, roughly chopped
- 🌿 1 very large bunch fresh parsley, stems trimmed (about 2 packed cups of leaves)
- 🌿 1 large bunch fresh cilantro, stems trimmed (about 1.5 packed cups of leaves)
- 🥄 1 teaspoon ground cumin
- 🥄 ½ teaspoon ground coriander
- 🌶️ ¼ teaspoon cayenne pepper (optional, for a tiny kick)
- 🧂 1 teaspoon salt (or to taste)
- ⚫ ½ teaspoon black pepper
- ✨ ½ teaspoon baking soda (this helps with a fluffy interior)
- 🌾 1-2 tablespoons all-purpose halal flour (or chickpea flour, as a binder)
- 🌻 Vegetable or sunflower oil, for frying (about 3-4 cups for shallow frying in a pot)
For the Creamy Tahini Sauce:
- 🥄 ½ cup halal tahini paste
- 🍋 ¼ cup fresh lemon juice
- 💧 ¼ – ⅓ cup cold water (to adjust consistency)
- 🧄 1 small clove garlic, minced very finely or grated
- 🧂 Pinch of salt
For Assembling the Pitas:
- 🥙 4-6 pieces of halal pita bread
- 🍅 2 medium ripe tomatoes
- 🥒 1 medium cucumber
🛠️ Essential Kitchen Tools
- 🥣 Large bowl (for soaking chickpeas)
- 🍲 Food processor
- 🍳 Deep, heavy-bottomed pot or a deep skillet (for frying)
- 🥄 Slotted spoon
- 🍽️ Plate lined with paper towels
- 🔪 Sharp knife
- 🪵 Cutting board
- 📏 Measuring cups and spoons
- 🥣 Small bowl (for the tahini sauce)
- whisk
🧑🍳 Let’s Make Falafel Perfection: Step-by-Step
Follow these instructions carefully, and you’ll be well on your way to delicious homemade falafel pitas.
1. The All-Important Chickpea Soak
Place your dried chickpeas in the large bowl. Cover them with plenty of cold water – at least three times their volume, as they will expand significantly. Let them soak at room temperature for a minimum of 12 hours, or ideally, overnight (up to 24 hours). This step is absolutely crucial for achieving the correct texture for your falafel. They should be tender enough to break apart easily with your fingers but not mushy. Once soaked, drain the chickpeas thoroughly and rinse them.
2. Building the Vibrant Falafel Mix
Transfer the soaked and drained chickpeas to the bowl of your food processor. Add the roughly chopped onion, garlic, the large quantities of parsley leaves, and cilantro leaves. The generous amount of these fresh herbs is what gives the falafel in the image its distinctive, bright green interior.
Add the ground cumin, ground coriander, cayenne pepper (if using), salt, and black pepper to the food processor. Pulse the mixture repeatedly. You are aiming for a texture that is finely minced, somewhat like coarse sand or couscous, where the ingredients are well combined but not a smooth paste. The mixture should hold together when you squeeze a small amount in your hand. Scrape down the sides of the processor bowl a few times to ensure everything is evenly processed. Achieving this slightly coarse texture is key to replicating the falafel seen in the image, where individual bits of herb and chickpea are still discernible.
Transfer the mixture to a bowl. Stir in the baking soda and 1 tablespoon of flour. If the mixture feels too wet and doesn’t hold its shape well, add the second tablespoon of flour. Mix gently. Cover the bowl with plastic wrap and refrigerate for at least 30 minutes, or up to an hour. This resting period helps the flavors meld and makes the mixture easier to shape.
3. Shaping Your Falafel
Once rested, it’s time to form the falafel. You can make them into small balls (about 1 to 1.5 inches in diameter) or slightly flattened patties. The falafel in the image are ball-shaped with a slightly rustic, imperfect form. Take a small handful of the mixture (about 2 tablespoons) and gently press and roll it between your palms to form a ball. Don’t pack them too tightly. Place the formed falafel on a clean plate or baking sheet. If the mixture sticks to your hands, lightly dampen your hands with water.
4. Frying to Golden Perfection
Pour vegetable or sunflower oil into your heavy-bottomed pot or deep skillet to a depth of at least 1.5-2 inches. Heat the oil over medium-high heat until it reaches about 350-360°F (175-180°C). If you don’t have a thermometer, you can test if the oil is ready by dropping a tiny piece of the falafel mixture into it. If it sizzles vigorously and floats to the surface, turning golden, the oil is hot enough. Ensure the oil is properly heated before adding the falafel; otherwise, they will absorb too much oil and become greasy.
Carefully place a few falafel balls into the hot oil using your slotted spoon. Do not overcrowd the pot, as this will lower the oil temperature and result in unevenly cooked or soggy falafel. Fry them in batches. Fry the falafel for about 3-5 minutes per side, or until they are a deep, rich golden brown and wonderfully crispy on the outside. The color should match the deeply browned exterior of the falafel in the image. Once cooked, remove the falafel from the oil with the slotted spoon, allowing excess oil to drip back into the pot. Transfer them to the plate lined with paper towels to drain.
5. Whipping Up the Creamy Tahini Sauce
While your falafel might be resting or as they fry, you can prepare the simple tahini sauce. In the small bowl, whisk together the tahini paste and fresh lemon juice. The mixture will thicken up considerably – this is normal! Add the minced garlic and a pinch of salt. Gradually whisk in the cold water, a tablespoon at a time, until the sauce reaches a smooth, pourable consistency, similar to heavy cream. Taste and add more salt or lemon juice if needed.
6. Prepping the Fresh Fillings
Wash and dice your tomatoes into small, bite-sized pieces. Wash the cucumber, and you can leave the skin on for extra color and nutrients, as seen in the diced green pieces in the image. Dice the cucumber into similar small pieces.
7. Assembling Your Delicious Pita
Gently warm your pita bread. You can do this for a few seconds in a microwave, a warm oven, or a dry skillet. This makes them softer and more pliable. Carefully tear or cut open one end of each pita to form a pocket. Now for the fun part! Take a warm pita. Add a few fresh-from-the-fryer falafel balls – the image shows about three, with one invitingly cut in half to showcase that gorgeous green interior. Tuck in a generous spoonful of the diced tomatoes and cucumbers. Finally, drizzle a good amount of the creamy tahini sauce over everything.
✨ Tips for Falafel Success
- Fresh Herbs are Key: Don’t skimp on the parsley and cilantro! They are crucial for that vibrant green color and fresh taste.
- Oil Temperature: Maintaining the correct oil temperature is vital for crispy, non-greasy falafel.
- Don’t Overmix: Pulse the falafel mixture; don’t turn it into a smooth purée. Texture is good!
- Taste and Adjust: Before frying all your falafel, you can fry one test falafel to check the seasoning. Let it cool slightly, taste it, and adjust salt in the main mixture if needed.
There you have it! A fantastic Falafel Pita, bursting with flavor and homemade goodness. That first bite, with the crispy falafel, fresh salad, creamy sauce, and soft pita, is pure delight.
Now, go forth and enjoy the process of putting together these wonderful pitas. It’s always a treat to see home cooks embrace new recipes, so feel free to share how your falafel adventure turns out!