
Golden Pistachio Cloud Donuts
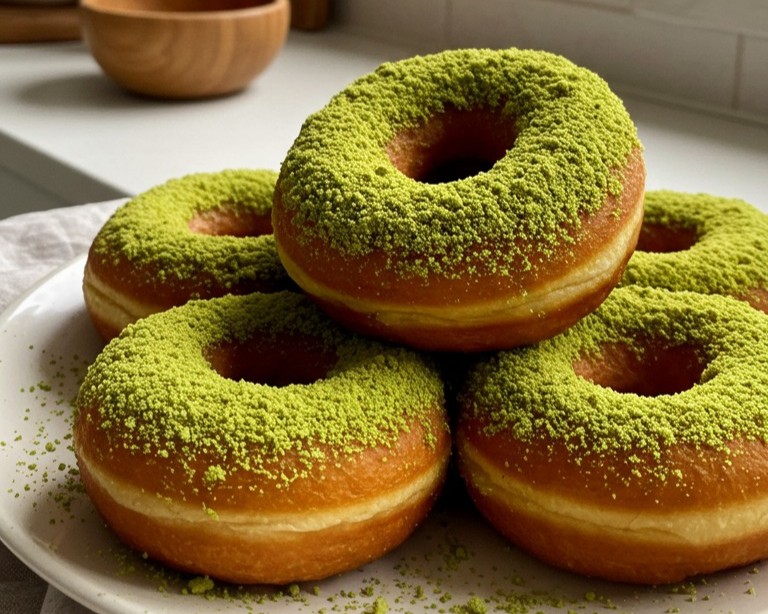
The allure of a perfect homemade donut is on full display in the photograph. Piled high on a white plate sit five exquisitely golden-brown donuts, their tops blanketed in a vibrant green, powdery coating of pistachios. The promise of a pillowy-soft, airy dough beneath that nutty finish is what makes them so tempting. This guide offers a clear path to replicating these gorgeous treats, a delightful project for any home baker.
The Essential Toolkit
Having the right tools makes the process smooth and enjoyable. Here’s what is needed:
- 🥣 Stand mixer (with a dough hook attachment) or a large mixing bowl
- 📏 Rolling pin
- 🍩 3-inch (7.5 cm) donut cutter or two round cutters (one large, one small)
- 🍳 Large, heavy-bottomed pot or Dutch oven for frying
- 🌡️ Deep-fry or candy thermometer
- 🥢 Tongs or a spider strainer for handling donuts in oil
- 🌬️ Wire cooling rack
- 🍽️ Baking sheets lined with parchment paper
- ☕ Food processor or a high-powered blender for the topping
Gathering Your Ingredients
For light, fluffy donuts with that signature pistachio finish, high-quality, halal-certified ingredients are key.
For the Donuts:
- 🥛 1 cup (240ml) Whole Milk
- 🥄 2 ¼ teaspoons (1 packet or 7g) Active Dry Yeast
- 🍚 ¼ cup (50g) Granulated Sugar, plus a pinch
- 🥚 1 Large Egg, at room temperature
- 🧈 ¼ cup (57g) Unsalted Butter, melted and cooled (ensure it’s halal)
- 🧂 ¾ teaspoon Salt
- 🌾 3 cups (360g) All-Purpose Flour, plus more for dusting
- 🌻 4-6 cups (1-1.5L) Vegetable or Canola Oil, for frying
For the Pistachio Topping:
- 🥜 ¾ cup (100g) Raw, unsalted, shelled pistachios (ensure they are halal)
- 🍬 2 tablespoons (15g) Powdered Sugar
The Step-by-Step Method
Follow these steps with care, and soon a batch of these amazing donuts will be ready to enjoy. The process is broken down into manageable stages, perfect for anyone new to making yeast dough.
Step 1: Awakening the Yeast
The first part of the journey is to awaken the yeast. This process, often called blooming, confirms that the yeast is active and ready to make the dough rise.
Gently warm the milk in a small saucepan or the microwave until it is lukewarm—not hot. A good test is to dab a bit on the wrist; it should feel comfortably warm. Pour the warm milk into the bowl of a stand mixer or a large mixing bowl. Sprinkle the yeast and a pinch of granulated sugar over the milk. Give it a gentle stir and let it stand for 5-10 minutes. Success is marked by a creamy, foamy layer on the surface, which means the yeast is alive and ready. If this doesn’t happen, the yeast may be old, and it’s best to start over with a fresh packet.
Step 2: Mixing the Dough
Once the yeast is bloomed, add the rest of the granulated sugar, the beaten egg, and the cooled melted butter to the bowl. Whisk everything together until just combined.
Fit the stand mixer with the dough hook. Add the flour and salt to the bowl. Mix on low speed until a shaggy dough begins to pull away from the sides of the bowl. Increase the speed to medium and let the mixer knead the dough for about 5-7 minutes.
For those mixing by hand, add the flour and salt to the wet ingredients and mix with a wooden spoon until a rough dough forms. Turn the dough out onto a lightly floured surface and knead by hand for about 8-10 minutes.
The dough is perfectly kneaded when it’s smooth, elastic, and slightly tacky. It should spring back slowly when poked.
Step 3: The First Rise
Form the dough into a smooth ball and place it in a lightly oiled bowl, turning it once to coat the entire surface. This prevents a dry “skin” from forming. Cover the bowl with plastic wrap or a clean kitchen towel. Place it in a warm, draft-free spot for about 1 to 1.5 hours, or until the dough has doubled in size.
Step 4: Shaping the Donuts
Gently punch down the risen dough to release the air. Transfer it to a lightly floured surface and roll it out with a rolling pin until it’s about ½-inch (1.3 cm) thick.
Using the 3-inch donut cutter, cut out as many donuts as possible. Place them on the parchment-lined baking sheets, leaving a few inches of space between each one. Gather the scraps (including the donut holes!) and gently re-roll them to cut out more donuts.
Step 5: The Second Rise
Cover the shaped donuts loosely with plastic wrap or another kitchen towel. Let them rise again in a warm place for about 30-45 minutes. They are ready for frying when they are visibly puffy. A gentle poke with a finger should leave an indentation that slowly springs back.
Step 6: Frying to Golden Perfection
This step produces the beautiful golden-brown exterior seen in the photograph.
Pour the oil into the heavy-bottomed pot until it’s about 2-3 inches deep and clip the thermometer to the side. Heat the oil over medium heat to 350-360°F (175-180°C). Maintaining this temperature is key to donuts that are cooked through but not greasy.
Warning: Be extremely careful when working with hot oil.
Using tongs or a spider strainer, gently place 2-3 donuts into the hot oil, being careful not to overcrowd the pot. Fry for about 60-90 seconds per side. The donuts will puff up almost immediately. Once the bottom is a deep golden brown, carefully flip them. The distinct pale ring that forms around the middle is a sign of a perfectly proofed and fried donut.
Once both sides are golden brown, remove the donuts from the oil and place them on the wire cooling rack to drain.
Step 7: The Pistachio Dust Topping
To achieve that stunning, vibrant green powder topping, add the shelled pistachios and the powdered sugar to a food processor. Pulse in short bursts until the nuts are transformed into a fine, sand-like powder. Be careful not to over-process, or it will turn into pistachio butter.
While the donuts are still warm but cool enough to handle, gently press one side of each donut into the pistachio powder, ensuring a thick, even coat. The slight stickiness from the warm, freshly fried surface will help the topping adhere beautifully.
A plate piled high with these fluffy, pistachio-dusted donuts is a fantastic accomplishment. They are best savored while still warm, perhaps with a cup of coffee or tea. Sharing these homemade gems is part of the joy, so feel free to show off the wonderful results of this baking adventure.