
Golden Strawberry Cloud Cake
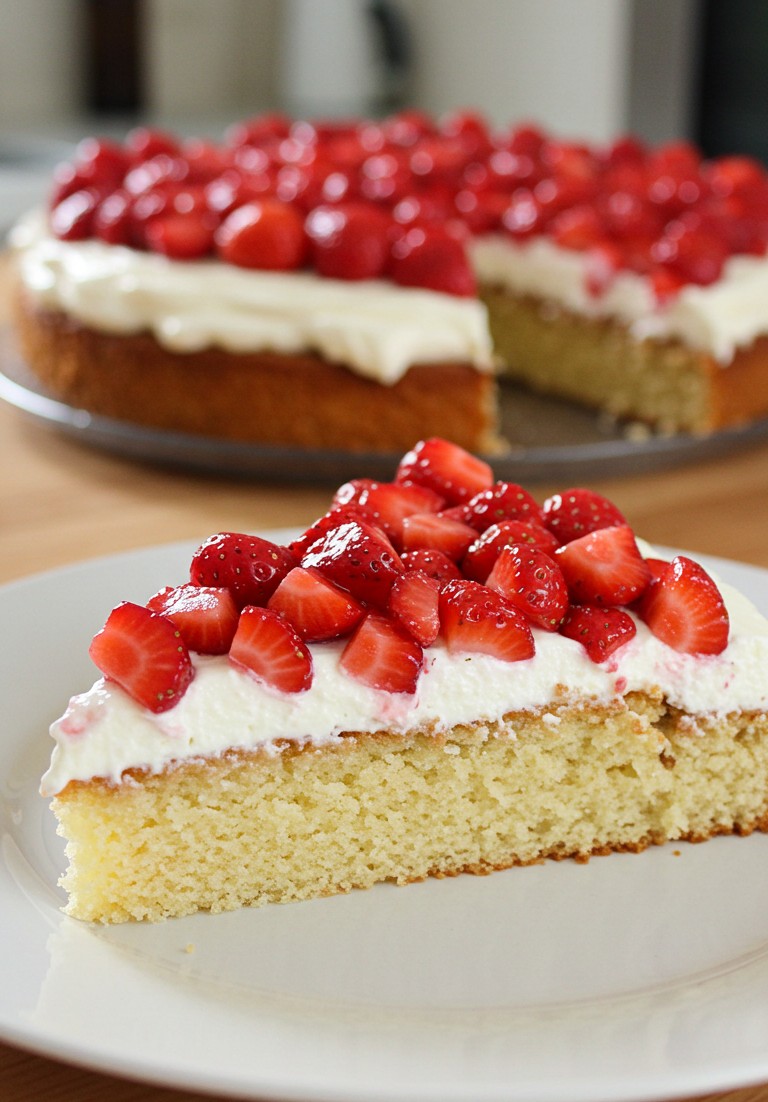
This Golden Strawberry Cloud Cake, captured in the image, is a vision of simple elegance and pure deliciousness. A slice, presented invitingly on a white plate, showcases its beautiful structure: a tender, golden sponge base, a luscious layer of pristine white cream, and a vibrant crown of freshly sliced strawberries. In the background, the rest of this delightful bake rests, promising more moments of sweet enjoyment. This guide will walk anyone, even those new to the kitchen, through the process of preparing this exact, beautiful dessert.
The Joy of a Homemade Classic
There’s a special kind of satisfaction in producing a beautiful cake from simple ingredients. This particular Strawberry Cloud Cake is wonderfully straightforward, making it an excellent project for beginner bakers. Following these detailed steps will lead to a stunning dessert perfect for sharing with loved ones, bringing a touch of homemade warmth to any occasion. The outcome is a light, flavorful cake that perfectly balances the sweetness of the sponge and cream with the tartness of fresh strawberries, just as seen in the photograph.
Essential Halal Ingredients
Here are the components needed to assemble this delightful cake. It’s important to ensure all ingredients meet individual dietary standards.
- 🍓 Fresh Strawberries: Approximately 1.5 pounds (about 600-700g), ripe and fragrant
- 🥛 Halal Heavy Whipping Cream: 2 cups (480ml), well-chilled
- 🍚 Powdered Sugar (Icing Sugar): 1/3 cup (about 40g), plus extra for dusting if desired
- 🍦 Halal Vanilla Extract: 2 teaspoons (one for cake, one for cream), preferably alcohol-free
- 🧈 Halal Unsalted Butter: 1/2 cup (113g), softened to room temperature
- 🍭 Granulated Sugar: 1 cup (200g)
- 🥚 Large Halal Eggs: 2, at room temperature
- 🥛 Halal Milk: 1/2 cup (120ml), at room temperature
- 🌾 All-Purpose Flour: 1 1/2 cups (180g)
- 🥄 Baking Powder: 1 1/2 teaspoons (ensure it’s from a halal-compliant source if concerned about additives)
- 🧂 Salt: 1/4 teaspoon
Necessary Kitchen Tools
Having the right tools makes the baking process smoother.
- 🎂 9-inch Round Cake Pan
- 📜 Parchment Paper
- 🥣 Large Mixing Bowl
- 🥄 Medium Mixing Bowl
- 🌪️ Electric Mixer (Handheld or Stand)
- ✨ Sifter or Fine-Mesh Sieve
- 📏 Measuring Cups and Spoons
- 🔪 Sharp Knife (for strawberries)
- 🍓 Cutting Board
- Spatula
- 🌬️ Wire Cooling Rack
- 🍽️ Serving Plate (the cake in the image is on a dark platter, the slice on a white plate)
Preparing Your Radiant Strawberry Cake: A Step-by-Step Guide
This process is divided into three main parts: baking the sponge, whipping the cream, and assembling the final cake.
Part 1: Baking the Golden Sponge
The foundation of this cake is its light and tender golden sponge, exactly like the one shown in the image. Room temperature ingredients (butter, eggs, milk) are important because they combine more easily and uniformly, resulting in a lighter cake texture.
- Preheat the Oven and Prepare the Pan: Set the oven to 350°F (175°C). Preheating ensures the oven is at the correct, stable temperature when the cake goes in, which is crucial for a proper bake. Lightly grease the bottom and sides of the 9-inch round cake pan with butter or cooking spray. Line the bottom with a circle of parchment paper – this guarantees the cake will come out easily. Then, lightly flour the sides of the pan, tapping out any excess. This process of greasing and flouring prevents the cake from sticking.
- Combine Dry Ingredients: In the medium mixing bowl, place the all-purpose flour, baking powder, and salt. Sift these ingredients together using a sifter or by whisking them thoroughly with a fork or whisk. Sifting aerates the flour and removes lumps, contributing to a lighter cake. Set this bowl aside.
- Cream Butter and Sugar: In the large mixing bowl, place the softened unsalted butter and granulated sugar. Using an electric mixer on medium speed, beat them together for about 3-5 minutes. This step is called creaming. The mixture should become pale, light, and fluffy in texture. This incorporates air, which helps the cake rise. Scrape down the sides of the bowl occasionally with a spatula to ensure even mixing.
- Add Eggs and Vanilla: Add the room temperature eggs one at a time, beating well after each addition until fully incorporated. Adding them one by one helps them emulsify properly into the batter. Beat in 1 teaspoon of vanilla extract.
- Alternate Dry and Wet Ingredients: Now, the dry ingredients (from step 2) and the milk will be added to the butter mixture. Add approximately one-third of the dry ingredients to the wet mixture and mix on low speed until just combined. Then, add half of the milk and mix until just combined. Repeat this process: another third of the dry ingredients, the remaining milk, and finally the last third of the dry ingredients. Mix only until each addition is incorporated. Alternating dry and wet ingredients in this way helps keep the batter smooth and prevents the gluten in the flour from overdeveloping, which could make the cake tough. Be careful not to overmix at this stage; mix just until the flour streaks disappear.
- Bake the Cake: Pour the batter evenly into the prepared cake pan and smooth the top with a spatula. Bake in the preheated oven for 30-35 minutes. The cake is done when it is golden brown (just like the one in the image), springs back when lightly touched in the center, and a wooden skewer or toothpick inserted into the center comes out clean.
- Cool the Cake: Once baked, let the cake cool in the pan on a wire cooling rack for about 10-15 minutes. This initial cooling in the pan helps the cake firm up slightly. Then, carefully invert the cake onto the wire rack, remove the parchment paper, and let it cool completely to room temperature. This can take 1-2 hours. It is crucial for the cake to be completely cool before adding the cream topping, otherwise, the cream will melt.
Part 2: Whipping the Perfect Cream Topping
The cake in the image features a generous, stable layer of white cream. This is achieved with well-whipped heavy cream.
- Chill Equipment (Optional Tip): For the best results when whipping cream, ensure the heavy cream is very cold. Chilling the mixing bowl and beaters (if using a handheld mixer) for about 15-20 minutes in the freezer beforehand can also help the cream whip up faster and achieve more volume.
- Whip the Cream: Pour the cold heavy whipping cream into a chilled mixing bowl. Add the powdered sugar and the remaining 1 teaspoon of vanilla extract.
- Achieve Stiff Peaks: Begin whipping on medium-low speed with an electric mixer, gradually increasing the speed to medium-high. Continue to whip until the cream thickens and forms stiff peaks. Stiff peaks mean that when the beaters are lifted, the peaks of cream that form will hold their shape and point straight up, or perhaps curl over slightly at the very tip, but the base of the peak will be firm. The cream should look smooth and voluminous, like the topping seen in the photograph. Be careful not to overwhip, or the cream will start to turn buttery.
Part 3: Assembling Your Strawberry Masterpiece
This is where the components come together to form the beautiful cake from the image.
- Prepare the Strawberries: Gently wash the fresh strawberries and pat them dry. Hull the strawberries by removing the green leafy tops with a small knife or a strawberry huller. Slice the strawberries. The image shows the strawberries are sliced to a medium thickness, with some pieces appearing as halves or substantial segments, allowing their vibrant red color and juicy texture to be prominent.
- Frost the Cake: Once the cake is completely cool, place it on your serving plate. Spread the whipped cream evenly and generously over the top of the cake using a spatula. The image shows a thick, luxurious layer of cream covering the entire surface of the sponge.
- Arrange the Strawberries: Decoratively arrange the sliced strawberries over the cream. As seen in the photograph, the strawberries are arranged densely to cover most of the cream surface, with their cut sides often facing up, showcasing their glistening interior.
Serving and Enjoying Your Homemade Delight
Your Golden Strawberry Cloud Cake is now ready! The slice in the image shows the perfect combination of soft cake, rich cream, and fresh fruit. This cake is best enjoyed on the day it is prepared, or it can be stored, covered, in the refrigerator for up to 2 days. The fresh strawberries are at their best when served soon after assembly.
Share Your Baking Success
The journey of baking, from simple ingredients to a finished delight like this Golden Strawberry Cloud Cake, is a rewarding one. There is immense joy in sharing homemade goodness. Fellow baking enthusiasts and food lovers are always inspired by seeing the results of such wonderful kitchen endeavors. Feel encouraged to share pictures of your own strawberry cake!
This guide aims to provide a clear path to preparing a truly lovely dessert. May it bring about many happy baking adventures and delicious celebrations, reflecting the simple beauty captured in the image.