
How to Knit an Earbud Case (A Snug Pouch)
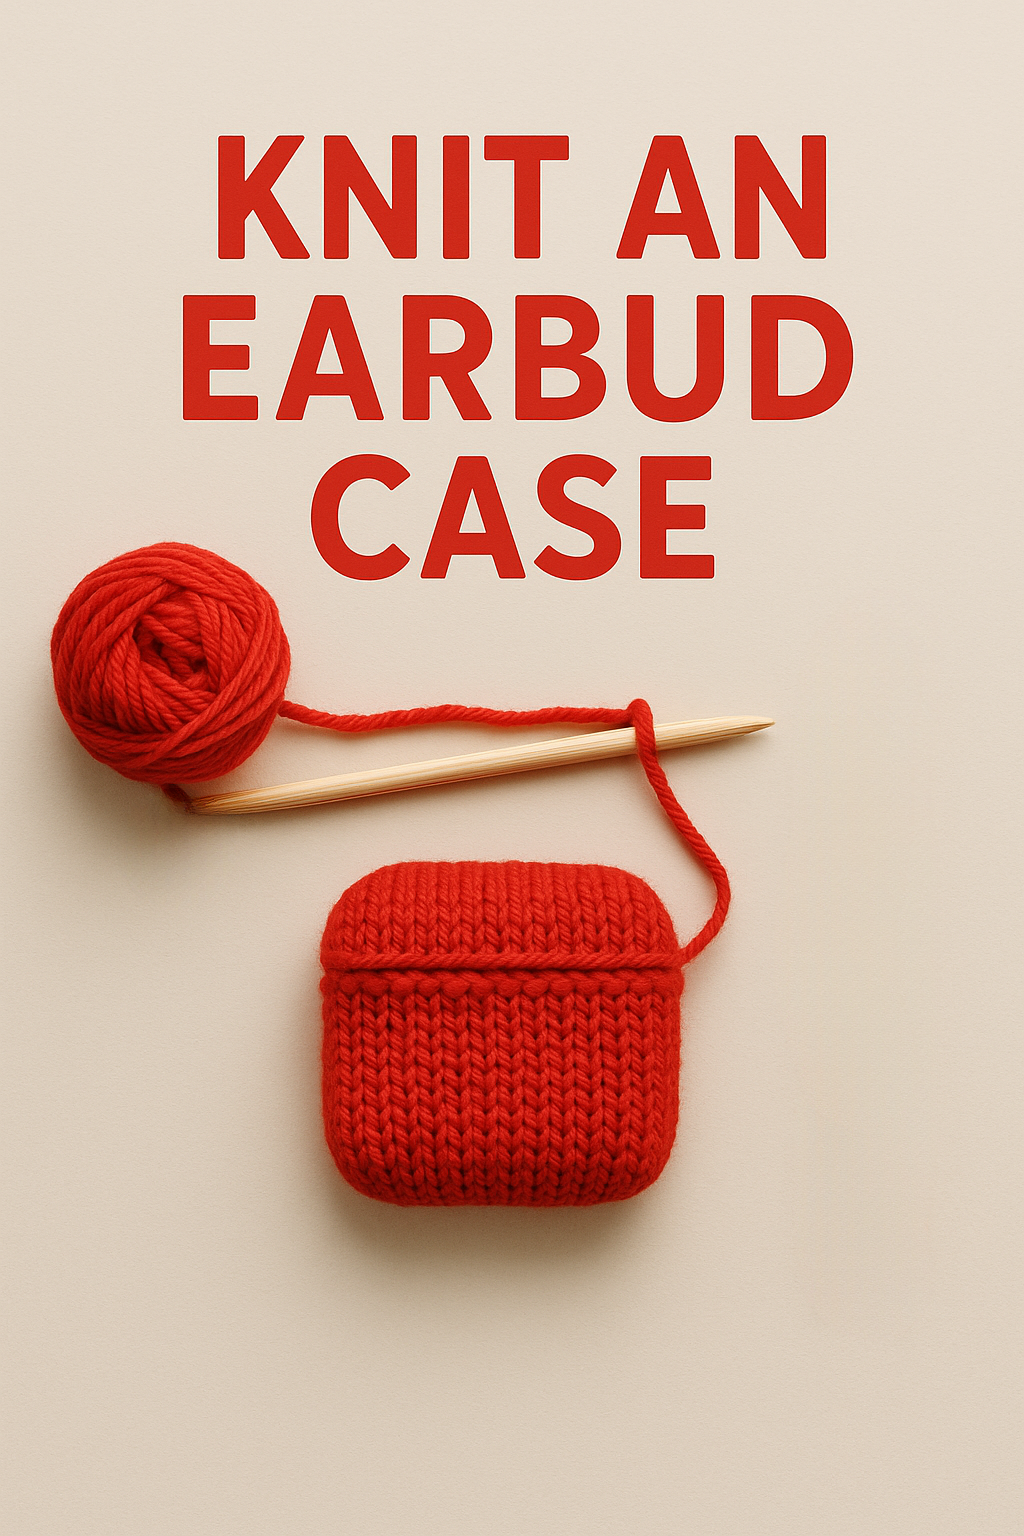
Isn’t it just the best feeling to make something both pretty and practical with your very own hands? If you’re new to the wonderful world of knitting, a big, warm welcome! Today, we’re setting off on a super fun mission: to knit up a vibrant red earbud case, exactly like the adorable one you see in the image. This little project is the perfect way to get comfy with some basic knitting stitches, and you’ll have such a charming, handcrafted case to show off. Imagine your earbuds tucked away safely in their own special, cozy case that you made!
What You’ll Need
Before we dive in, let’s gather our supplies. For this particular earbud case:
- 🧶 Bright red yarn (about 30-40 yards of DK or Worsted weight yarn is used for the case in the image. This is a great project for using up leftover bits of yarn!)
- 🥢 Knitting needles (Size 4.0mm / US 6 are a good match for DK weight yarn, or 4.5mm / US 7 for worsted. The key is to achieve a firm fabric so your earbuds stay secure.)
- ✂️ A pair of sharp scissors
- 🧵 A tapestry needle (this is a blunt-tipped needle with a large eye, perfect for weaving in yarn ends and seaming)
- 📏 A small ruler or measuring tape (handy for checking your progress)
Getting Started: Essential Knitting Know-How
If terms like “cast on” or “purl stitch” sound like a foreign language, don’t worry one bit! We’ll go through the basics in simple, everyday language. The case in the image is made using a combination of a few fundamental stitches.
Casting On
This is the very first step – it’s how you get your initial loops of yarn onto your knitting needle to begin your work. Think of it as laying the foundation for your cozy case. A simple way to cast on:
- Make a slip knot and place it on one needle.
- Hold that needle in your left hand and the empty needle in your right.
- Insert the right needle into the slip knot from front to back, wrap the yarn (from the ball) around the tip of the right needle, and pull a new loop through.
- Instead of slipping the old loop off, place this new loop onto the left needle. You’ve made one stitch!
- Repeat steps 3-4 until you have the number of stitches you need.
The Knit Stitch (k)
This is one of the two most basic stitches in knitting. To make a knit stitch:
- With yarn at the back of your work, insert the tip of your right-hand needle from front to back into the first stitch on your left-hand needle.
- Wrap the yarn counter-clockwise around the tip of the right-hand needle.
- Draw the right-hand needle back through the stitch, bringing the wrapped yarn with it to form a new loop.
- Slip the original stitch off the left-hand needle. That’s one knit stitch!
The Purl Stitch (p)
The purl stitch is the trusty companion to the knit stitch. To make a purl stitch:
- Bring the yarn to the front of your work (between the needle tips).
- Insert the tip of your right-hand needle from back to front into the first stitch on your left-hand needle.
- Wrap the yarn counter-clockwise around the tip of the right-hand needle.
- Push the right-hand needle back through the stitch, bringing the wrapped yarn with it to form a new loop.
- Slip the original stitch off the left-hand needle. You’ve just purled!
Stockinette Stitch
This stitch produces the smooth fabric with distinct ‘V’ shapes that forms the main body of the red earbud case in the image. When knitting flat (back and forth):
- Row 1 (Right Side – RS): Knit all stitches.
- Row 2 (Wrong Side – WS): Purl all stitches. You simply repeat these two rows to build up the fabric. The “Right Side” is the outside of your case.
Garter Stitch
This stitch builds the wonderfully textured, ridged fabric you see on the flap and the top edge of the pouch opening in the image. It’s beautifully simple!
- When knitting flat, you knit every stitch of every row. That’s it!
Decreasing: Knit Two Together (k2tog)
This technique is used to reduce the number of stitches on your needle, which helps shape items. For our earbud case, it gives the flap its neat, rounded end, clearly visible in the image.
- To k2tog: Insert your right-hand needle into the next two stitches on your left-hand needle at the same time (as if to knit them as one stitch), then knit them together. You’ve turned two stitches into one!
Binding Off
Also known as casting off, this secures your stitches when you’re finished knitting, so all your lovely work doesn’t unravel.
- Knit the first two stitches of the row.
- Insert the tip of your left-hand needle into the first stitch you knitted (the one further to the right on your right-hand needle).
- Lift this first stitch over the second stitch and completely off the tip of the right-hand needle. One stitch bound off!
- Knit the next stitch on your left-hand needle. You’ll again have two stitches on your right-hand needle.
- Repeat steps 2-4 until only one stitch remains.
- Cut your yarn, leaving about a 6-inch tail. Pull this tail through the final loop and tug gently to secure.
A Quick Note on Gauge: Everyone knits a little differently – some tightly, some loosely. “Gauge” is a measure of how many stitches and rows fit into a certain area (like an inch or 4 inches). For a small project like this, it’s less critical, but if you want your case to be a specific size, knitting a small test square (a swatch) in stockinette stitch can be helpful. For this case, aim for a firm fabric. If your knitting is too loose, try smaller needles. If too tight, try slightly larger ones.
Let’s Make Your Earbud Case!
We’re going to construct the earbud case as one flat piece that includes the front, base, back, top edge, and flap. Then, we’ll fold it and seam the sides. The piece in the image is constructed this way.
The Knitted Piece (Body and Flap)
Let’s aim for a case that’s about 2.5 inches wide and 2.5 inches tall (when folded), with a flap. For this example, using DK weight yarn and 4.0mm needles, the gauge is about 6 stitches per inch. So, for 2.5 inches wide, we need 2.5 * 6 = 15 stitches.
Casting On & Bottom Edge
- Cast on 15 stitches.
- Rows 1-4: Knit all stitches. (This forms a sturdy garter stitch bottom edge for the front of your pouch).
Front of Pouch (Stockinette Stitch)
This section will be the smooth front of your earbud case.
3. Row 5 (RS): Knit all 15 stitches.
4. Row 6 (WS): Purl all 15 stitches.
5. Repeat Rows 5 and 6 until this stockinette stitch section (starting from Row 5) measures about 2.5 inches from the garter stitch bottom edge. End having just completed a WS (purl) row.
Base of Pouch (The Fold)
This single row helps the pouch fold neatly.
6. Next Row (RS): Knit all 15 stitches.
Back of Pouch (Stockinette Stitch)
This section will form the back of your earbud case.
7. Next Row (WS): Purl all 15 stitches.
8. Next Row (RS): Knit all 15 stitches.
9. Repeat these last two rows (one purl row, one knit row) until this second stockinette stitch section measures the same length as the front section (another 2.5 inches). End having just completed a WS (purl) row.
Top Garter Stitch Band
This band is visible at the opening of the pouch in the image.
10. Next 4 rows: Knit all 15 stitches. (This makes the garter stitch band for the top edge of the pouch body).
Flap (Garter Stitch and Shaping)
The flap extends from this garter stitch band and is also worked in garter stitch. The image shows the yarn strand directly connected to the flap, indicating it is an integral part of the knitted piece. 11. Continue in Garter Stitch (knit every row) for about 1.5 inches. Now, we’ll shape the rounded end of the flap, as seen in the image. This shaping is achieved by reducing stitches.
12. Decrease Row 1 (RS): k1, k2tog, knit until 3 stitches remain, k2tog, k1. (You’ve decreased by 2 stitches).
13. Decrease Row 2 (WS): Knit all stitches.
14. Repeat Decrease Rows 1 and 2 three more times. (This means you will have worked a total of 4 decrease sets: the initial one from step 12 & 13, plus these three repeats). This will result in 7 stitches remaining (15 stitches – (4 sets * 2 stitches/set) = 7 stitches), giving the flap its distinctively tapered and rounded shape as seen in the image.
15. Bind off all remaining 7 stitches. Leave a 6-inch tail for weaving in later.
You’ve now fashioned the main piece for your earbud case! It should be a long rectangle with one end shaped into a flap with 7 stitches at its tip.
Bringing It All Together: Finishing Your Case
This is where your flat piece transforms into a pouch!
Weaving in Ends
- Thread the yarn tail from your cast-on edge onto your tapestry needle.
- Weave it discreetly into the stitches on the wrong side (the bumpy side of the stockinette stitch, or either side of garter stitch sections) for about an inch, changing direction once or twice to secure it. Snip off any excess yarn.
- Do the same for the yarn tail from your bind-off.
Folding and Seaming
- Lay your knitted piece flat with the Right Side (the smooth ‘V’ side of the stockinette sections and the flap) facing up.
- Identify the garter stitch bottom edge (your first 4 rows) and the single knit row that marks the base of the pouch.
- Fold the “Front of Pouch” section up, so its bottom garter edge meets the beginning of the “Back of Pouch” section (just after that single knit row that forms the base). The Right Sides of the stockinette stitch should be on the outside of your pouch.
- Pin the sides if it helps you keep them aligned.
- Thread your tapestry needle with a new length of your red yarn (about 18 inches should be plenty).
- You will now join the side edges of the front and back pouch sections. A mattress stitch will give you a very neat, almost invisible seam.
- To work the mattress stitch: With the right sides facing you, insert your needle under the horizontal bar between the first and second stitch of the edge on one side, then do the same on the corresponding spot on the other side. Gently pull the yarn to draw the edges together. Continue working your way up one side, from the bottom fold to the beginning of the top garter stitch band of the pouch opening.
- Secure the yarn and weave in the end.
- Repeat the seaming process for the other side of the pouch.
Your earbud case is now fully assembled! The garter stitch flap will naturally fold over the opening.
A Little Extra Encouragement
Take a moment to admire your handiwork! Every stitch tells a story of your learning and patience. If your first attempt has a few quirks, that’s perfectly okay – those are just signs of a truly handmade treasure. The most important part is the joy you found in the process of making something unique. This little red case is just the beginning of your knitting adventures. Think of all the other colors and little embellishments you could try next time!
Share Your Masterpiece!
Well done on completing your knitted earbud case! It’s a wonderfully practical item, and now your earbuds have a stylish, soft home. We’d be thrilled to see your finished piece! Why not snap a photo and share it with your crafty friends or online? Happy knitting, and may your needles always be clicking with new ideas!