
How to Make Any Nail Polish Look “Matte” in 10 Seconds with Cornstarch
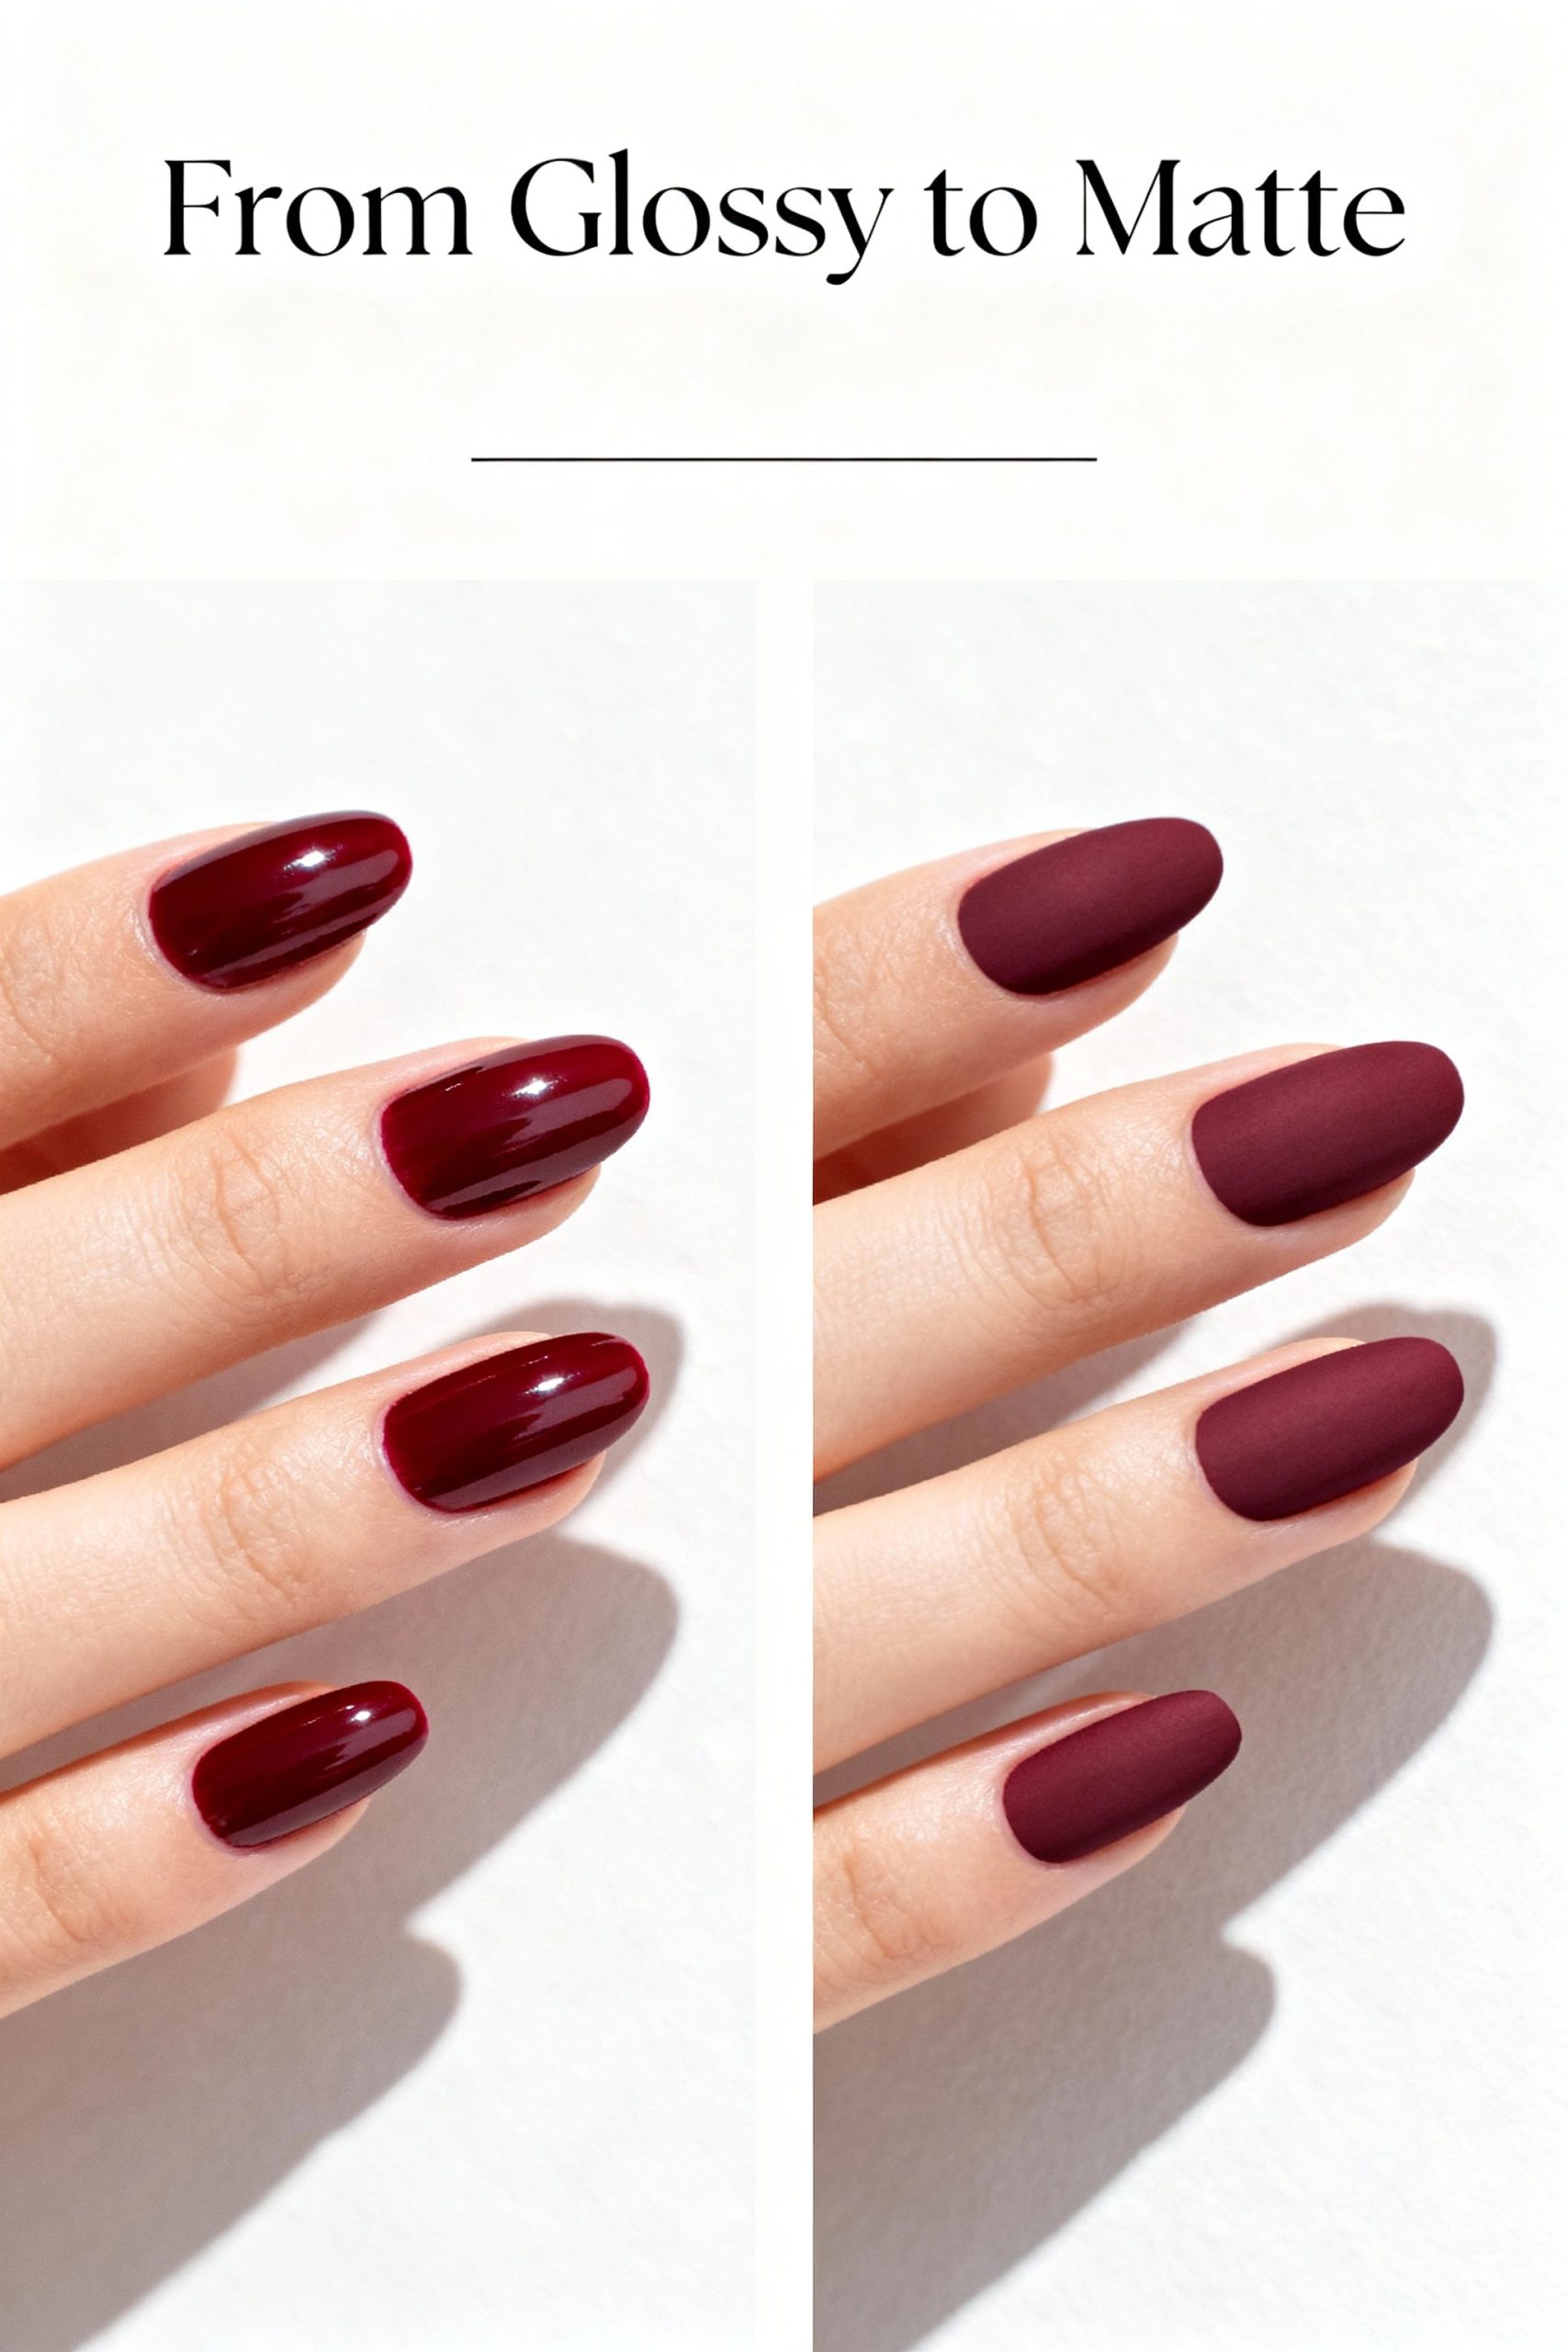
There’s an undeniable chicness to matte nails. The velvety, non-reflective finish offers a modern and sophisticated alternative to the classic high-gloss shine. It’s a look that feels both understated and high-fashion. But what happens when you have the perfect shade in your collection, but it’s stubbornly glossy? You don’t need to purchase a separate matte top coat or hunt for a matte version of your favorite color. The solution is likely already in your kitchen pantry.
This comprehensive guide will show you how to use a common household ingredient—cornstarch—to transform any nail polish into a beautiful, professional-looking matte finish. It’s a simple, fast, and remarkably effective technique that will expand your manicure possibilities instantly.
The Simple Science Behind the Matte Effect
Before we dive into the “how,” let’s understand the “why.” The shine on a standard nail polish comes from its ability to dry into a perfectly smooth, uniform surface. This surface acts like a mirror, reflecting light directly back at the viewer.
Cornstarch is an incredibly fine powder. When you mix these microscopic particles into your nail lacquer, you are fundamentally changing its texture. As the polish dries on your nail, the cornstarch particles form a subtle, uneven micro-surface. Instead of reflecting light in a single direction, this new surface scatters it in thousands of different directions. Our eyes interpret this diffusion of light as a soft, non-reflective, or “matte” appearance. It’s a brilliant yet simple principle of light diffusion.
Everything You’ll Need for Your DIY Matte Manicure
The beauty of this method lies in its simplicity. You likely have everything you need on hand.
- Your Chosen Nail Polish: Any color, brand, or formula will work.
- Cornstarch: Just a small pinch is all you’ll need.
- A Mixing Surface: A small, non-porous surface is essential so the polish doesn’t soak in. Good options include a small piece of aluminum foil, the back of a makeup palette, a small ceramic dish, or even a plastic bottle cap.
- A Mixing Tool: A toothpick, an orange stick, or a fine-tipped nail art tool is perfect for blending.
- Base Coat: A quality base coat is non-negotiable for protecting your nails and extending the life of your manicure.

The Step-by-Step Guide to a Flawless Matte Finish
To achieve a smooth, even result, it’s best to work on one or two nails at a time. The cornstarch will cause the polish to thicken more quickly than usual.
Step 1: Impeccable Preparation
A great manicure always starts with good prep. Begin with clean, dry nails. File and shape them as you prefer. Gently push back your cuticles. Lightly buffing the surface of your nails can help the polish adhere better. Finally, apply a thin, even layer of your base coat. This prevents staining and provides a solid foundation. Allow it to dry completely.
Step 2: Preparing Your Custom Matte Polish
On your mixing surface, place a few drops of your chosen nail polish. You’ll want just enough for one or two nails to start. Next to the polish, add a very small amount of cornstarch. The ideal ratio is approximately 3-4 parts polish to 1 part cornstarch. It’s always better to start with less cornstarch and add more if needed.
Step 3: Mix Thoroughly and Quickly
Using your toothpick, immediately begin to mix the cornstarch into the polish. Blend with swift, circular motions until the mixture is completely smooth and free of any white specks or clumps. The consistency should be slightly thicker than the original polish but still easily spreadable. Time is of the essence here, as the mixture will start to set.
Step 4: Apply Your First Coat
As soon as it’s mixed, use your nail polish brush to apply a thin, even coat of the matte mixture to your nail. Work from the base to the tip. Don’t overload the brush. If it appears a little streaky on the first pass, don’t worry. The finish will even out as it dries, and a second coat will perfect it.
Step 5: Dry and Assess
Let the first coat dry for a few minutes. As the solvents evaporate, you will see the glossy shine fade into that signature velvety matte look. Once dry, you can apply a second coat if needed for full opacity, repeating the mixing process for a fresh batch of matte polish.
Crucial Note: Under no circumstances should you apply a regular shiny top coat! This will completely negate your work and turn the nail glossy again.
The key to a silky, non-gritty finish is in the mixing. Ensure every last particle of cornstarch is fully incorporated into the polish. If you find the mixture too thick, you’ve likely added too much cornstarch. If it’s too subtle, add a tiny bit more. A few practice runs on your mixing surface will help you find the perfect consistency before you apply it to your nails.
Troubleshooting Common Issues
- The finish looks gritty or bumpy: This happens when the cornstarch isn’t mixed in thoroughly enough. Take your time with the mixing step to ensure a perfectly smooth blend.
- The color looks much lighter: Cornstarch can slightly lighten the polish, especially with very dark colors. This is often part of the charm of a muted, matte look. If it’s too light, a second coat can help deepen the shade.
- The polish is chipping easily: This is often due to skipping the base coat or applying the polish too thickly. Thin coats and proper nail prep are the keys to a longer-lasting manicure.
This simple technique unlocks a whole new world of nail art possibilities, allowing you to give any color in your collection a sophisticated, modern twist. Enjoy the compliments on your new, custom matte manicure!