

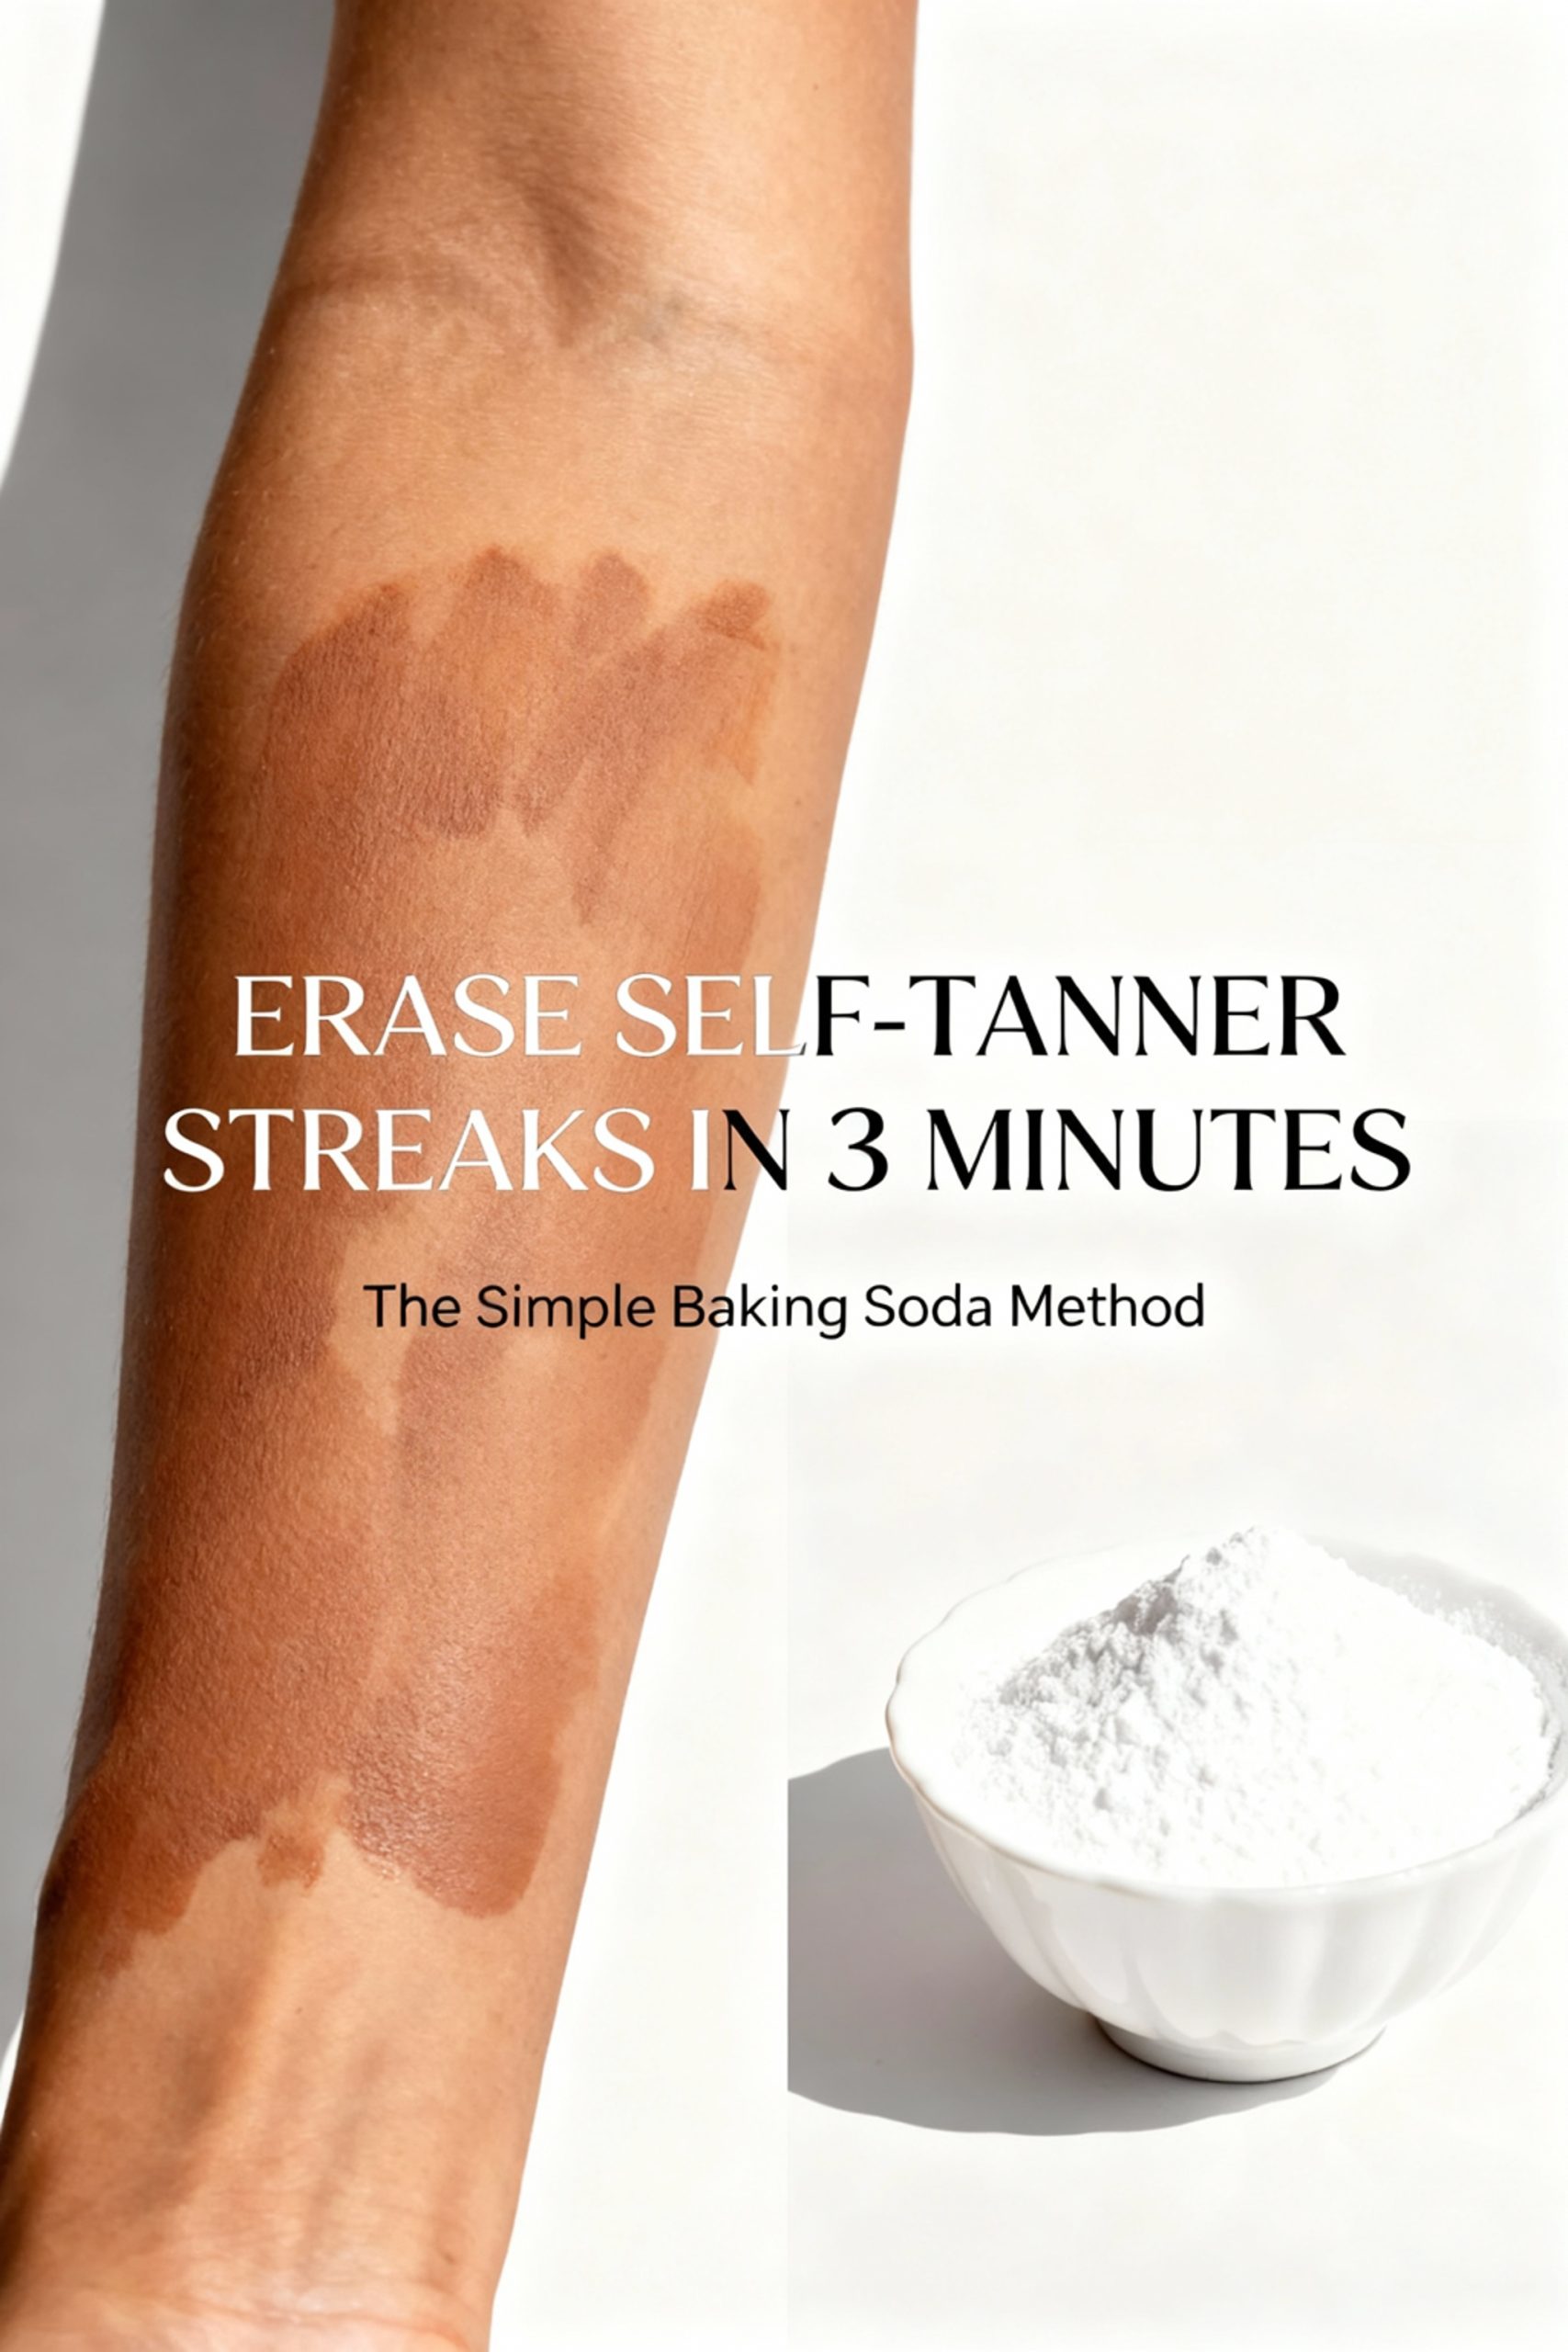
The Ultimate Guide to Fixing Self-Tanner Streaks with Baking Soda
There’s a unique kind of disappointment in waking up, excited to see your new golden glow, only to be met with tell-tale streaks and patches. You did everything right—or so you thought. Before you consider hiding under long sleeves or attempting a harsh, skin-irritating scrub-down, take a moment. The gentle, effective, and surprisingly simple solution to a flawless finish might be tucked away in your kitchen cabinet.
This guide will walk you through the “baking” soda method, a tried-and-true technique for gently buffing away self-tanner mistakes. We’ll explore not just how to do it, but why it works, and how to prevent those pesky streaks in the future.
The Science Behind the Simplicity: Why Baking Soda Works
It might sound too good to be true, but the effectiveness of baking soda (sodium bicarbonate) is based on simple science. It works effectively in two key ways:
- Gentle Exfoliation: Baking soda is a very fine powder, which makes it a mild physical exfoliant. When mixed into a paste, its small particles gently slough off the outermost layer of dead skin cells. Since the DHA (dihydroxyacetone) in self-tanner only reacts with and darkens these top-layer cells, lightly exfoliating the over-saturated areas helps to visibly fade the concentrated color.
- pH Level Alteration: Self-tanners work best on the skin’s slightly acidic surface. Baking soda is alkaline. By applying this alkaline paste to the skin, you slightly alter the pH, which can help to break down and lift the DHA pigment, further lightening the unwanted dark spots.
This combination makes it a perfect tool for targeted corrections without stripping your entire tan.
Gathering Your Simple Toolkit
You won’t need any special equipment for this fix. Simply gather these common household items:
- 2-3 tablespoons of baking soda
- A small, non-metallic bowl
- Just enough lukewarm water to form a paste (start with 1 tablespoon and add more if needed)
- A soft washcloth or cotton pads

The Step-by-Step Guide to a Flawless Fix
Patience and a gentle hand are your best friends here. Follow these steps precisely for the best results, which should take no more than a few minutes.
Step 1: Prepare the Perfect Paste
In your small bowl, add the baking soda first. Then, slowly drizzle in a small amount of lukewarm water while stirring. The consistency is key—you’re aiming for a thick, spreadable paste, similar to the texture of toothpaste. If it’s too runny, it won’t adhere to the skin properly. If it’s too dry, it will be too abrasive.
Step 2: Targeted Application
Using your fingertips, apply a generous layer of the paste directly and only onto the streaky or darker patches. Avoid applying it to the areas of your tan that you’re happy with.
Step 3: The Gentle Buff
This is the most crucial step. Using light, circular motions, gently massage the paste into the affected area for 30 to 60 seconds. Imagine you are polishing a delicate surface. Do not scrub vigorously. Let the fine texture of the paste do the work for you. Applying too much pressure can irritate your skin and lead to redness or uneven removal.
Step 4: Let It Rest
After gently buffing, allow the paste to sit on the skin for an additional 1-2 minutes. This gives the alkaline properties of the baking soda time to work on the tan’s pigment, helping to lift it more effectively.
Step 5: Rinse and Assess
Rinse the area thoroughly with lukewarm water until all traces of the paste are gone. Gently pat the skin dry with a soft, clean towel. Assess the area. The streak should be significantly lighter or gone completely. If a faint line remains, you can repeat the process once more, but be mindful of your skin’s sensitivity.
Prevention: The Best Way to Avoid Streaks
While this fix is incredibly useful, the best approach is to prevent streaks from happening in the first place.
- Exfoliate First: 24 hours before applying self-tanner, exfoliate your entire body with a non-oil-based scrub.
- Moisturize Dry Spots: Right before application, apply a light layer of lotion to notoriously dry areas like your knuckles, elbows, knees, and ankles. These spots tend to soak up extra tanner.
- Use a Mitt: An application mitt is your best tool for an even, smooth application. It provides a better finish than using bare hands.
With this simple pantry solution, a self-tanner mishap is no longer a cause for panic. It’s just a small, easily correctable step on the way to a beautiful, even glow.