

Knit an Easy Luggage Handle Wrap
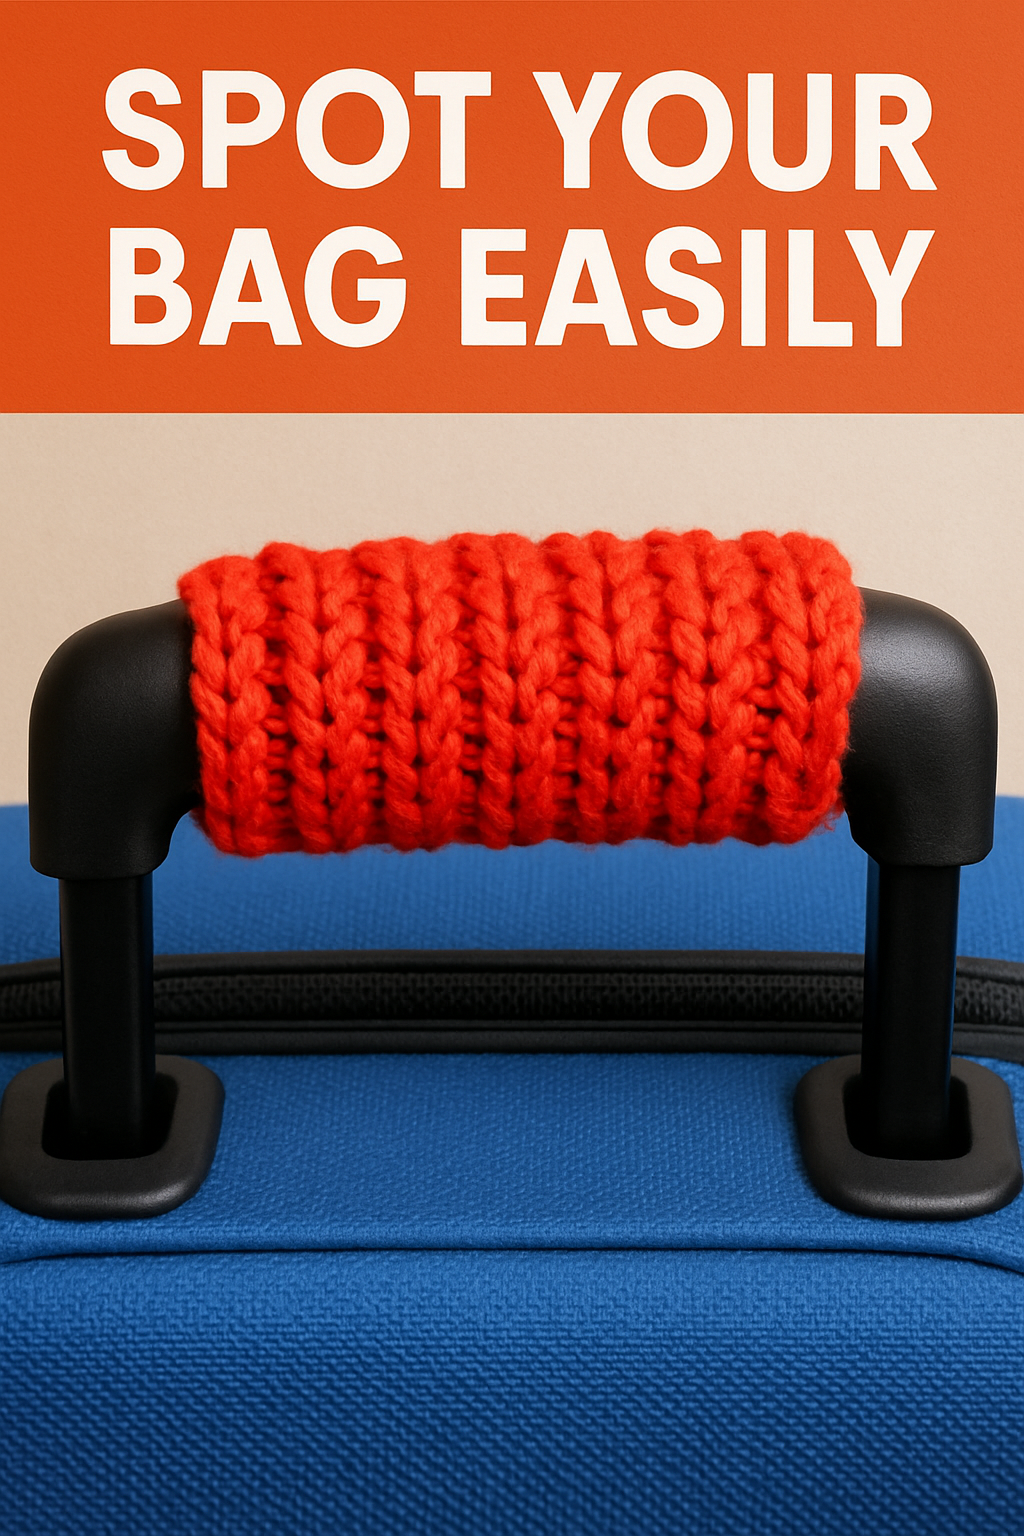
Tired of searching for your suitcase? Make spotting it a breeze with this eye-catching, handmade touch! Look closely at the image – that vibrant orange luggage handle wrap features a distinct ribbed texture that not only looks fantastic but also adds a comfy grip. This is a wonderful project for dipping your toes into knitting. We’ll walk through exactly how to fashion this Luggage Handle Wrap, step-by-step, proving how enjoyable and rewarding knitting your own accessories can be!
Let’s get our supplies ready to begin.
What You’ll Need
- 🧶 Yarn: One ball of worsted weight yarn in a bold orange hue, just like the one in the photo. A durable cotton or acrylic yarn is a good choice.
- ✨ Knitting Needles: Size US 7 (4.5 mm) straight knitting needles are suitable. Always check the yarn label for needle recommendations.
- ✂️ Scissors: For cutting the yarn.
- 🪡 Tapestry Needle: This has a large eye and blunt tip, perfect for sewing seams and weaving in ends.
- 📏 Measuring Tape: Essential for getting the right fit for your luggage handle.
Getting Started: Measure & Cast On
First, measure your suitcase handle. You need the length you want the wrap to cover and the circumference (the distance around the handle). The wrap in the image fits snugly because the ribbed knitting stretches. Our goal is a flat knitted piece that’s a bit narrower than the handle’s circumference and matches the desired length.
For a typical handle (approx. 1-inch diameter, 5-inch circumference), starting with 16 stitches works well for the pictured 2×2 rib pattern using worsted weight yarn.
What’s Casting On? This technique places the initial yarn loops onto your knitting needle.
- Form a slip knot: Make a loop with your yarn, then draw another loop through it. Place this loop on one needle and gently tighten. This is your very first stitch!
- Hold the needle with the stitch in your left hand and the empty needle in your right.
- Insert the right needle tip into the front of the slip knot (from left to right).
- Wrap the working yarn (from the ball) counter-clockwise around the right needle tip.
- Draw the right needle back through the original loop, pulling the wrapped yarn along to form a new loop on the right needle.
- Transfer this new loop onto the left needle, right beside the slip knot. Keep the stitches relaxed.
- Repeat steps 3-6 until you have precisely 16 stitches on your left needle.
Knitting the 2×2 Ribbed Pattern
The handle wrap in the photograph has a distinct, stretchy texture formed by columns of stitches. This is 2×2 Ribbing, achieved by alternating groups of two knit stitches and two purl stitches. It provides excellent elasticity.
Reminder: Knit Stitch (k) Looks like a ‘V’. Insert needle front-to-back, wrap yarn, pull loop through. Reminder: Purl Stitch (p) Looks like a horizontal bump. Bring yarn to front, insert needle right-to-left (through the front), wrap yarn, push loop through.
Let’s build the 2×2 Rib pattern:
Row 1: Knit 2 stitches, Purl 2 stitches. Repeat this sequence (k2, p2) all the way across the row. Since you started with 16 stitches, you’ll repeat the (k2, p2) sequence exactly four times. (16 stitches total). Row 2: Knit 2 stitches, Purl 2 stitches. Repeat this (k2, p2) sequence all the way across the row again.
Key to Ribbing: On every row, you’ll notice that some stitches look like ‘V’s (knits from the row below) and some look like ‘bumps’ (purls from the row below). The secret to perfect ribbing is to knit the knit stitches and purl the purl stitches as they face you on the needle. So, if the next two stitches look like V’s, knit them. If the next two look like bumps, bring the yarn forward and purl them. This makes the columns line up perfectly, just like in the image.
Continue Knitting: Keep repeating Row 1 and Row 2. You are forming a rectangle of this lovely, stretchy 2×2 ribbed fabric. Continue until the piece is long enough to wrap around your luggage handle, matching the length measurement you took (often around 5-6 inches, but measure your specific handle).
Finishing: Binding Off & Assembling
When your knitted rectangle reaches the desired length, you need to secure the stitches. This is known as Binding Off.
How to Bind Off:
- Knit the first stitch and Knit the second stitch of the row (working them as they appear in your k2, p2 pattern is also fine, but just knitting works too). You now have two stitches on your right needle.
- Insert the tip of your left needle into the first stitch you worked (the one on the right).
- Lift this stitch up and over the second stitch, letting it drop off the right needle completely. One stitch is now bound off. You have one stitch remaining on the right needle.
- Work the next stitch from the left needle according to your pattern (or just knit it). You now have two stitches on the right needle again.
- Repeat steps 2-4: Lift the older stitch over the newer stitch and off the needle.
- Persist across the row until only one loop is left on the right needle.
- Cut the yarn, leaving a tail of about 6 inches. Draw this yarn tail through the final loop and give it a gentle pull to secure.
Assembly: You should have a finished rectangle of 2×2 ribbed fabric.
- Wrap your knitted piece around the luggage handle, ensuring the ribbed side faces outward as shown in the picture. The two long edges should meet along one side.
- Thread the yarn tail (from binding off or casting on) onto your tapestry needle.
- Neatly sew the two long edges together using your preferred seaming method (like a whip stitch or mattress stitch), catching the edge loops for a tidy finish.
- Once the seam is complete, weave the yarn tail discreetly through the stitches on the inside of the wrap for an inch or two before snipping off the excess. Repeat for the other yarn tail.
Your Bag’s New Best Friend!
There it is – your very own, hand-knitted Luggage Handle Wrap, mirroring the bright orange, 2×2 ribbed example in the photo! Notice how that specific ribbing provides both stretch and visual appeal, making your bag instantly recognizable.
Isn’t it satisfying to hold something you fashioned yourself? That little bit of yarn transformed into something so practical and personal. Now your travels will have an extra touch of handmade warmth. We hope you enjoyed this project – feel encouraged to share photos of your finished wraps! Happy knitting adventures!