
Rainbow Ball Fun for Your Feline Friend
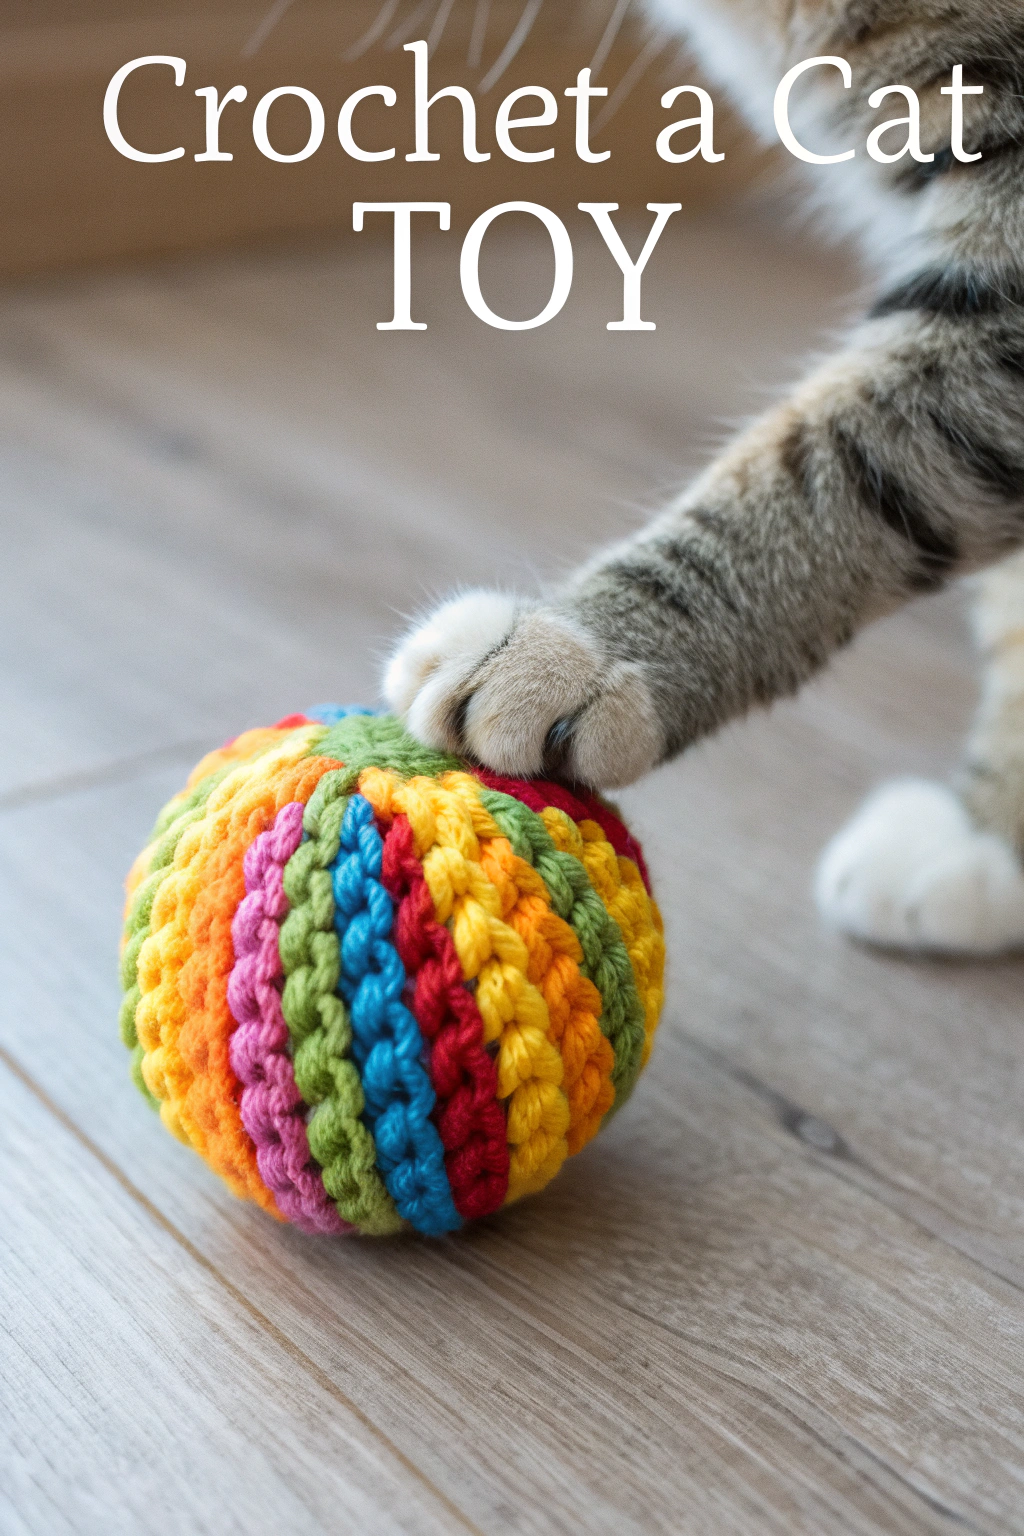
Isn’t there something special about watching your cat pounce on a toy you’ve fashioned with your own hands? That burst of playful energy is even more rewarding when you know you put together their new favorite thing! Look at that happy paw in the picture – that could be your kitty enjoying a vibrant, bouncy ball just like this one. This colorful crochet ball is a fantastic project for beginners looking to try a fun colorwork technique. We’ll guide you through making this exact toy, step by simple step. Let’s get started!
What You’ll Need to Gather
Before we dive in, let’s assemble our supplies. Having everything ready makes the process smoother.
- 🧶 Worsted weight yarn in 7 bright colors (The ball in the image has stripes of (A) Orange, (B) Pink, (C) Lime Green, (D) Blue, (E) Red, (F) Yellow, and (G) Dark Green. We will refer to them by these letters.)
- 🎣 Crochet Hook (Size G/4.0mm or H/5.0mm usually works well with worsted yarn, check your yarn label)
- ☁️ Polyester Fiberfill stuffing
- ✨ Catnip (Optional, but highly recommended by cats!)
- 🧵 Yarn Needle (also called a tapestry needle)
- ✂️ Scissors
Getting Started: Essential Techniques Explained
This ball uses a special technique to create vertical stripes, often called tapestry crochet. It’s worked in a continuous spiral.
- Magic Ring (MR), Single Crochet (sc), Increase (inc), Decrease (dec): These are standard amigurumi stitches. Please refer to online tutorials if you are unfamiliar with them.
- Changing Colors (Tapestry Crochet Method): This is the key to creating the vertical stripes. You will work with all 7 colors in every round. To change from Color A to Color B: Work the last stitch in Color A until you have two loops left on your hook. Drop Color A (carry it along your work by crocheting over it), yarn over with Color B, and pull through the two loops to complete the stitch. You are now ready to work with Color B. You will carry the unused colors inside your stitches to hide them. This also adds a nice density to the toy.
Let’s Make the Rainbow Ball!
We’ll build this ball round by round, creating 7 distinct color wedges. Use a stitch marker in the first stitch of each round. Remember to carry the 6 unused yarn strands inside your stitches as you go.
Important Note: Keep your tension even to prevent the carried yarn from showing through.
- Round 1: Make a Magic Ring. Work 1 sc with each of the 7 colors into the ring. (1 sc in Color A, 1 sc in Color B, 1 sc in C, etc.). Pull tail to close. (7 stitches)
- Round 2: [Work 1 inc in the next stitch with its corresponding color]. Repeat for all 7 colors. (e.g., inc in Color A, inc in Color B…). (14 stitches)
- Round 3: [1 sc, 1 inc] in each color segment. (e.g., In the Color A stitches from the previous round, work 1 sc, 1 inc. Repeat this pattern for the Color B stitches, and so on for all 7 colors). (21 stitches)
- Round 4: [2 sc, 1 inc] in each color segment. (28 stitches)
- Round 5: [3 sc, 1 inc] in each color segment. (35 stitches)
- Round 6: [4 sc, 1 inc] in each color segment. (42 stitches)
- Round 7: [5 sc, 1 inc] in each color segment. (49 stitches)
- Round 8 – 14: Work 1 sc in each stitch around, making sure to use the correct color for each of the 7 segments. (49 stitches for all 7 rounds)
- Round 15: [5 sc, 1 dec] in each color segment. (42 stitches)
- Round 16: [4 sc, 1 dec] in each color segment. (35 stitches)
- Round 17: [3 sc, 1 dec] in each color segment. (28 stitches)
Pause here! Now’s the time to stuff your ball. The carried yarn inside will make it quite dense already. Add fiberfill firmly. If you’re using catnip, mix some in with the stuffing.
- Round 18: [2 sc, 1 dec] in each color segment. (21 stitches)
- Round 19: [1 sc, 1 dec] in each color segment. (14 stitches)
- Round 20: [Work 1 dec] in each color segment. (7 stitches)
Finishing Up:
Cut your yarns, leaving a tail for each. Thread the tail of the last color used (Color G) onto your yarn needle. Weave the needle through the front loop only of each of the final 7 stitches and pull firmly to close the hole. Secure with a knot. Use the needle to weave in all 7 yarn tails inside the ball.
Playtime Ready!
There you have it – a bright, bouncy, handmade toy ready for action! This rainbow ball is durable and provides fantastic texture for tiny claws. Placing this finished piece in your cat’s path and watching their curiosity take over is a truly delightful moment.
We hope you enjoyed putting together this colorful toy. Feel proud of the lovely ball you’ve just fashioned! We’d love to see your finished pieces – perhaps share a photo of your cat enjoying their new favorite toy! Happy hooking!