
The Secret to Flawless Wood? Your Hair Dryer
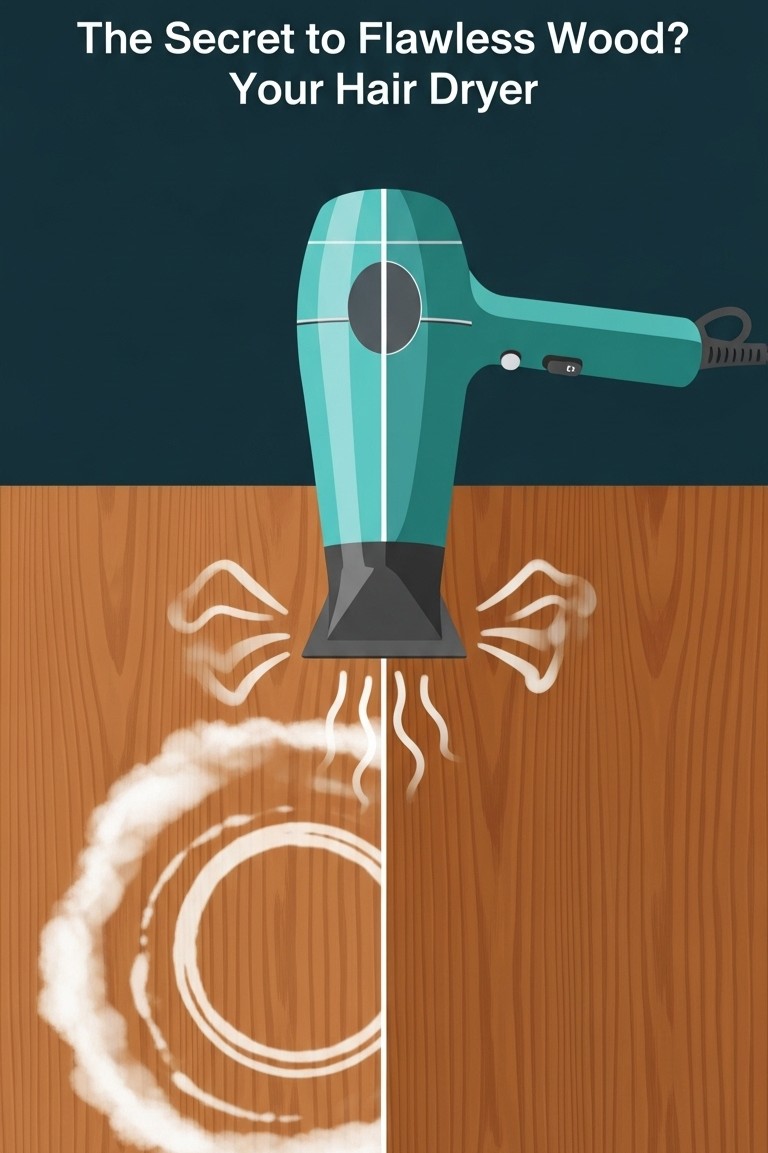
Ever experienced that small jolt of frustration? It’s the sight of a cloudy white circle on a beloved wooden surface, a mark left from a simple glass of water. Instantly, the assumption is that the damage is deep and the fix will be complicated or expensive. But here’s a game-changing secret that turns that panic into pure relief: the solution isn’t a complex chemical, it’s a common beauty tool. The key to restoring that flawless finish is likely just steps away, waiting in the bathroom.
It sounds almost too good to be true, but this incredible household hack is grounded in simple science and has brought relief to countless homeowners. It’s a testament to the idea that sometimes the most brilliant solutions are the ones hiding in plain sight, offering a way to restore beauty and peace of mind with minimal fuss and maximum satisfaction.
Understanding the Enemy: What Is a White Water Ring?
Before diving into the solution, it’s incredibly helpful to understand the problem. That cloudy, white mark isn’t actually a stain on the wood itself. This is the most crucial piece of information! Instead, a white ring is simply moisture that has become trapped within the top layer of the wood’s finish—like the lacquer, shellac, or varnish.
Think of the finish as a protective, breathable skin over the wood. When a cold, sweating glass or a hot, steamy mug is placed on the surface, it opens up the microscopic pores of this finish. Moisture from the condensation or steam seeps in and gets caught underneath, resulting in that hazy, milky appearance.
This is fantastic news, because it means the wood underneath is likely perfectly fine. The challenge isn’t about removing a deep-set stain; it’s about gently coaxing that trapped moisture back out of the finish. And that’s precisely where the hair dryer works its wonders. Darker rings, on the other hand, often signify that the moisture has penetrated through the finish and into the wood itself, which is a different problem requiring a more involved solution. For those frustrating white rings, however, a little bit of warm air is about to become a homemaker’s best friend.
The Step-by-Step Guide to Flawless Wood
Watching a water ring vanish is one of the most satisfying home-care tasks one can perform. It feels like a small miracle unfolding in real-time. To get that perfect result, following a few simple, methodical steps is key.
1. Prepare the Surface
First, ensure the area is clean and completely dry to the touch. Gently wipe away any surface dust or residual moisture with a soft, lint-free cloth. Starting with a clean slate ensures that the heat is applied directly to the problem area without any interference.
2. Set Up the Hair Dryer
Plug in the hair dryer and set it to its lowest heat setting. This is absolutely critical. The goal is to apply gentle, consistent warmth, not scorching heat. Using a high-heat setting risks damaging or even melting the wood’s finish, which would turn a small problem into a much larger one. Also, use the lowest fan speed to start.
3. The Technique of Vanishing
Hold the hair dryer several inches (about 15-20 cm) away from the surface of the wood. Never hold it stationary. The key is to keep the hairdryer moving constantly, sweeping it back and forth slowly and evenly over the entire white ring. This ensures the heat is distributed gently and prevents any single spot from becoming too hot.
As the warm air begins to work, it gently reopens the pores of the finish, allowing the trapped water vapor to evaporate and escape. It’s a process that requires a little patience.
4. Observe and Be Patient
This is where the amazing transformation begins to happen! As the hair dryer moves over the area, one will begin to see the cloudy ring start to fade. It might disappear from the edges first, shrinking inward, or it might fade uniformly. Continue the gentle, sweeping motion until the ring has completely vanished, revealing the beautiful, clear wood grain beneath. For a stubborn ring, the process might take several minutes, but the visible progress is incredibly encouraging.
5. The Cool Down
Once the stain is gone, turn off the hair dryer and set it aside. Allow the area on the table to cool down to room temperature completely on its own. After it has cooled, some people find it beneficial to apply a small amount of good-quality furniture polish to the entire surface to restore a uniform luster and provide a bit of extra protection.
Important Considerations: When This Hack Works Best
This method is wonderfully effective, but it’s wise to know its ideal applications and limitations.
- Best for Sealed Finishes: The hair dryer hack works best on wood surfaces with a hard, sealed finish like lacquer, shellac, and varnish, as these are the types of finishes that trap moisture.
- A Note of Caution for Oiled Finishes: For wood with an oil or wax finish, this method is less likely to be effective and could potentially alter the finish. It’s always best to test on a very small, inconspicuous area first if there is any uncertainty about the type of finish.
- Painted Surfaces: Be extremely careful with painted furniture. Heat can cause paint to soften, bubble, or peel. This hack is primarily intended for clear-finished wood grain surfaces.
- Antique and Delicate Pieces: For valuable antiques or very delicate pieces, it might be wisest to consult a professional furniture restorer before attempting any at-home methods.
The feeling of restoring a piece of furniture with one’s own hands, using a tool that was there all along, is empowering. It transforms a moment of distress into a moment of triumph. It’s a reminder that a beautiful and well-cared-for home isn’t always about having expensive tools or professional services on call; sometimes, it’s about knowing the simple secrets that make everyday life a little easier and a lot more beautiful. So the next time that ghostly white ring appears, there’s no need to panic. Just take a deep breath, head to the bathroom, and grab the secret weapon for flawless wood.