

Forget Blue Liquid: The Science of Streak-Free Mirrors
We have all been there. You spend ten minutes scrubbing the bathroom mirror until it looks pristine. You walk away, feeling accomplished. But then, an hour later, the afternoon sun hits the glass, and there it is: a cloudy, streaky haze mocking your hard work.
It’s not just you, and it’s not bad luck. According to extensive analysis of professional cleaning standards and collective user experiences from thousands of forum discussions, a streak-free mirror isn’t about scrubbing harder—it’s about physics.
We dove deep into a comprehensive research report on surface tension, evaporation dynamics, and textile engineering to bring you the ultimate guide to clarity. Here is why your mirror is streaking and the community-verified protocol to stop it.
The “Coffee Ring” Effect: Why Streaks Happen
To defeat the streak, you must understand the enemy. Research into surface physics reveals that glass isn’t as smooth as it looks. Under a microscope, it has peaks and valleys where oil and soap residue love to hide.
When you wipe a mirror with a standard cleaner, you are often just spreading the dirt around in a thin layer of water. As that water evaporates, it leaves behind minerals and debris in a phenomenon known as the “coffee ring effect.”
The goal isn’t just to wipe; it’s to break the surface tension of the water so it evaporates evenly, taking the dirt with it rather than leaving it behind.
The Chemistry: Ditch the Blue Liquid
For decades, the “blue water” (ammonia-based cleaner) was the gold standard. However, modern community consensus and professional detailers have largely moved away from it for two reasons:
- It Evaporates Too Fast: It often dries before you can wipe away the suspended dirt.
- The “Black Edge” Danger: Ammonia is aggressive. If it seeps into the edges of your mirror, it eats away the backing, causing those jagged black spots known as desilvering.
What to Use Instead
According to the report, you have two scientifically superior options:
- The Pro Choice (Ammonia-Free Foam): Many users on detailing forums swear that switching to foaming cleaners like Sprayway changed their lives. The foam clings to vertical surfaces (increasing “dwell time”), allowing the chemicals to break down toothpaste splatter without dripping onto your vanity.
- The DIY “Power Trio”: If you prefer homemade solutions, the research points to a specific ratio that balances solvent and surfactant power:
- 1 cup Water (Distilled is best if you have hard water)
- 1 cup Isopropyl Alcohol (The solvent that cuts hairspray)
- 1 Tablespoon White Vinegar (Dissolves mineral deposits)
- Crucial: Only 1-2 drops of dish soap (Dawn). Any more causes suds, which leads to streaks.
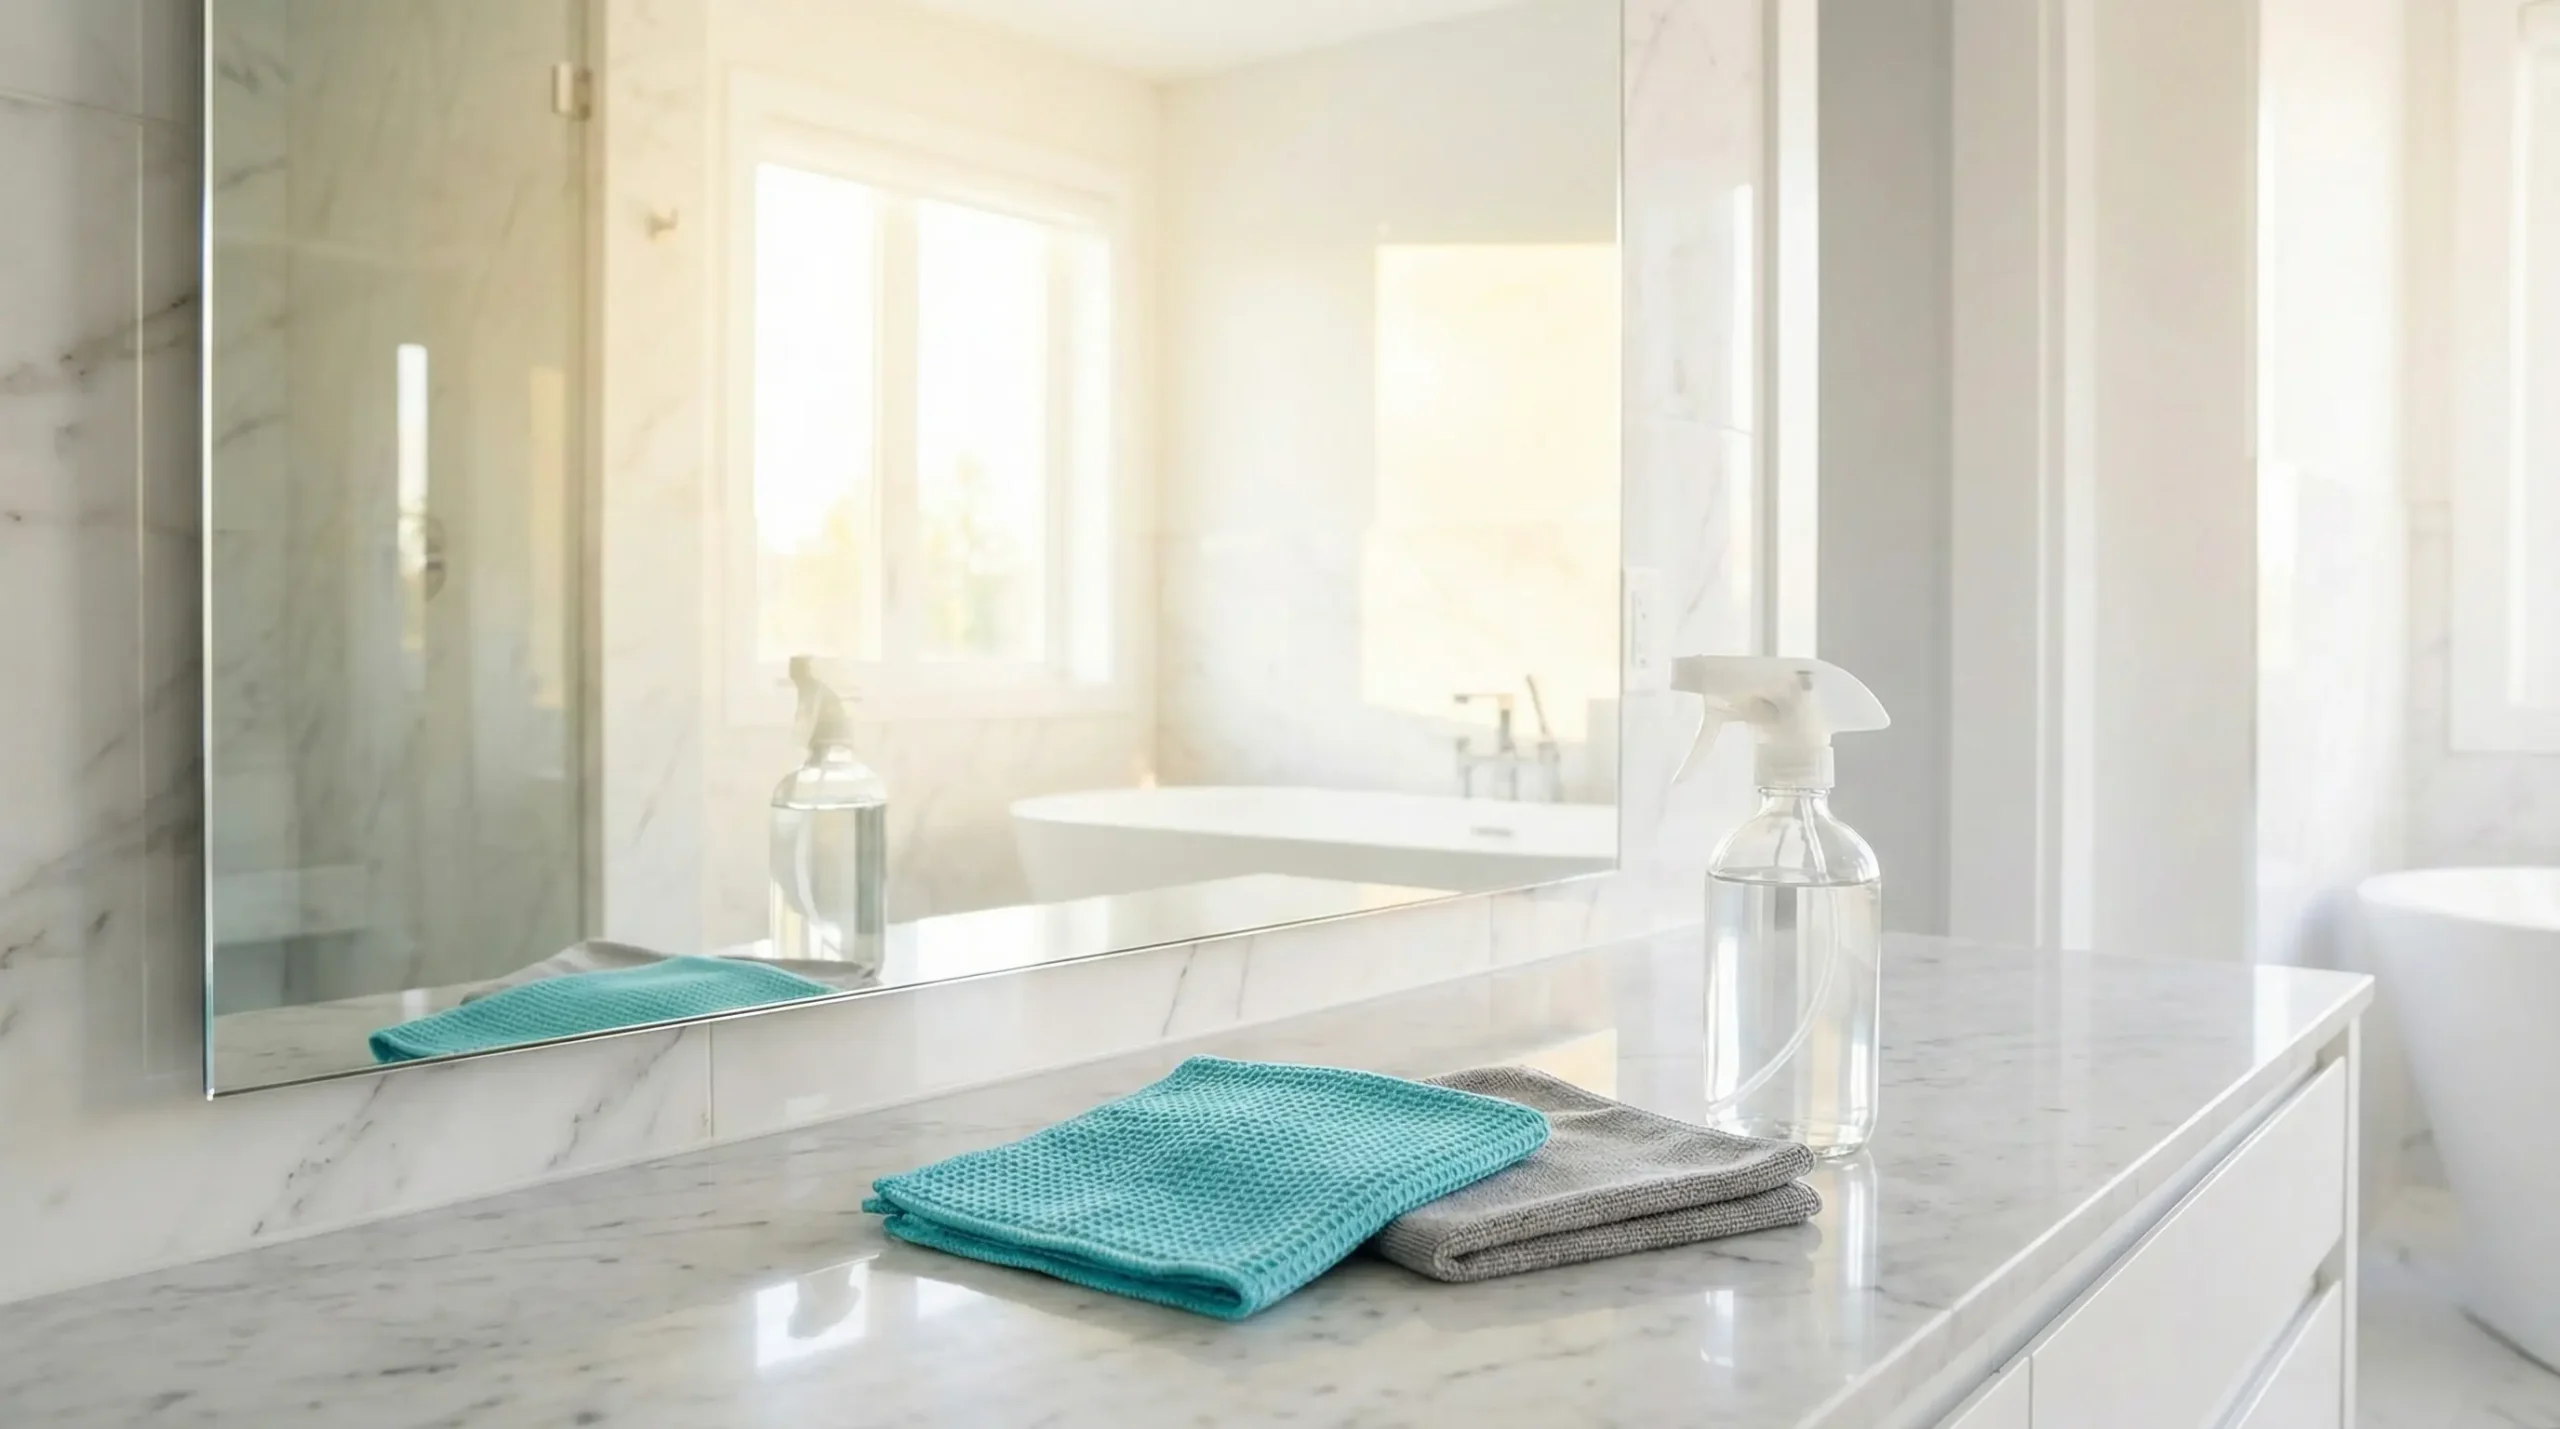
The Tool: The Microfiber Mistake You’re Making
If you are still using newspaper, it’s time to upgrade. While the old “soy ink” trick had some merit, modern paper is different, and it mostly just moves dirt around.
The research highlights that the type of microfiber matters.
- Waffle Weave: Use this for the wet stage. The pockets trap dirt and water.
- Flat Weave (Glass Cloth): Use this for the dry buffing stage to polish the surface.
The Golden Rule: Never, ever wash your microfiber cloths with fabric softener. It coats the fibers in wax, which will transfer directly to your mirror, resulting in a haze that is nearly impossible to remove.
The “Golden Standard” Protocol
Based on the synthesis of professional advice and the Two-Towel System, here is the step-by-step process for perfection.
Step 1: The Spot Prep
Before you spray the whole thing, look for the “3D dirt”—dried toothpaste or hairspray. These require a high concentration of solvent. Put a little rubbing alcohol on a cotton pad and wipe these spots away first. If you skip this, you will just smear that toothpaste over the entire glass.
Step 2: The Wet Wipe
Spray your cleaner (foam or DIY mix) onto your Waffle Weave cloth, not the mirror. Spraying the mirror directly risks liquid running down the edge and causing “mirror rot.” Wipe the glass from top to bottom.
Step 3: The Dry Buff
While the mirror is still slightly damp, immediately switch to your dry Flat Weave microfiber. Use “S” motions rather than circles. The friction generates a tiny bit of heat and static that helps pick up any remaining residue.
Step 4: The “Breath” Hack
This is the secret weapon of pros. If you spot a tiny stubborn streak after buffing, huff on the spot (using the moisture from your breath) and give it a quick wipe with the dry cloth. It uses pure distilled moisture to grab the final trace of dust.
Troubleshooting: Fog and Haze
Does your mirror fog up the second you turn on the shower? The report notes that applying a thin layer of shaving cream (foam, not gel) and buffing it until clear forms a hydrophilic layer that prevents fogging.
Cleaning shouldn’t be a mystery—it’s just chemistry. By swapping your tools and tweaking your technique, you can finally get that invisible, crystal-clear reflection.