

The Ultimate Guide to Flawless Soap Brows: A Step-by-Step Method
The quest for perfectly sculpted, full-looking eyebrows has led us through countless gels, waxes, and pencils. Yet, one of the most effective and enduring techniques comes not from a luxury cosmetics counter, but from a simple, humble bar of soap. The “soap brows” method is a professional makeup artist’s secret for achieving that coveted feathery, laminated look with unparalleled hold. It lifts, texturizes, and sets each hair in place for a polished finish that lasts all day.
If you’re tired of brow gels that give up by midday or want to achieve a fuller look without committing to a lamination treatment, this guide is for you. We’ll walk you through everything you need to know, from selecting the right soap to mastering the application technique for a flawless, long-lasting result.

Why Choose Soap for Your Brows Over Traditional Gels?
It might seem unusual, but there’s sound reasoning behind this technique’s effectiveness. The key is glycerin, a primary ingredient in many transparent soaps. When combined with a small amount of moisture, it forms a clear, waxy film that coats each hair.
- Superior Hold: This glycerin film provides a much stronger, more rigid hold than the polymers found in most brow gels. It can tame even the most unruly, downward-pointing hairs, locking them in an upward direction for hours.
- Enhanced Texture and Volume: By lifting hairs from the root and setting them in place, the soap technique instantly makes brows appear thicker, fluffier, and more textured. It separates individual hairs for a beautifully defined, non-clumped look.
- A Natural, Matte Finish: Unlike some gels that can leave a shiny or crunchy finish, properly applied soap dries down to an invisible, matte look, making your brows appear naturally full rather than overly “product-y.”
- Remarkably Cost-Effective: A single bar of soap and a spoolie are all you need, making this one of the most budget-friendly beauty methods available. One bar will last for months, if not longer.
The Essential Toolkit: What You’ll Actually Need
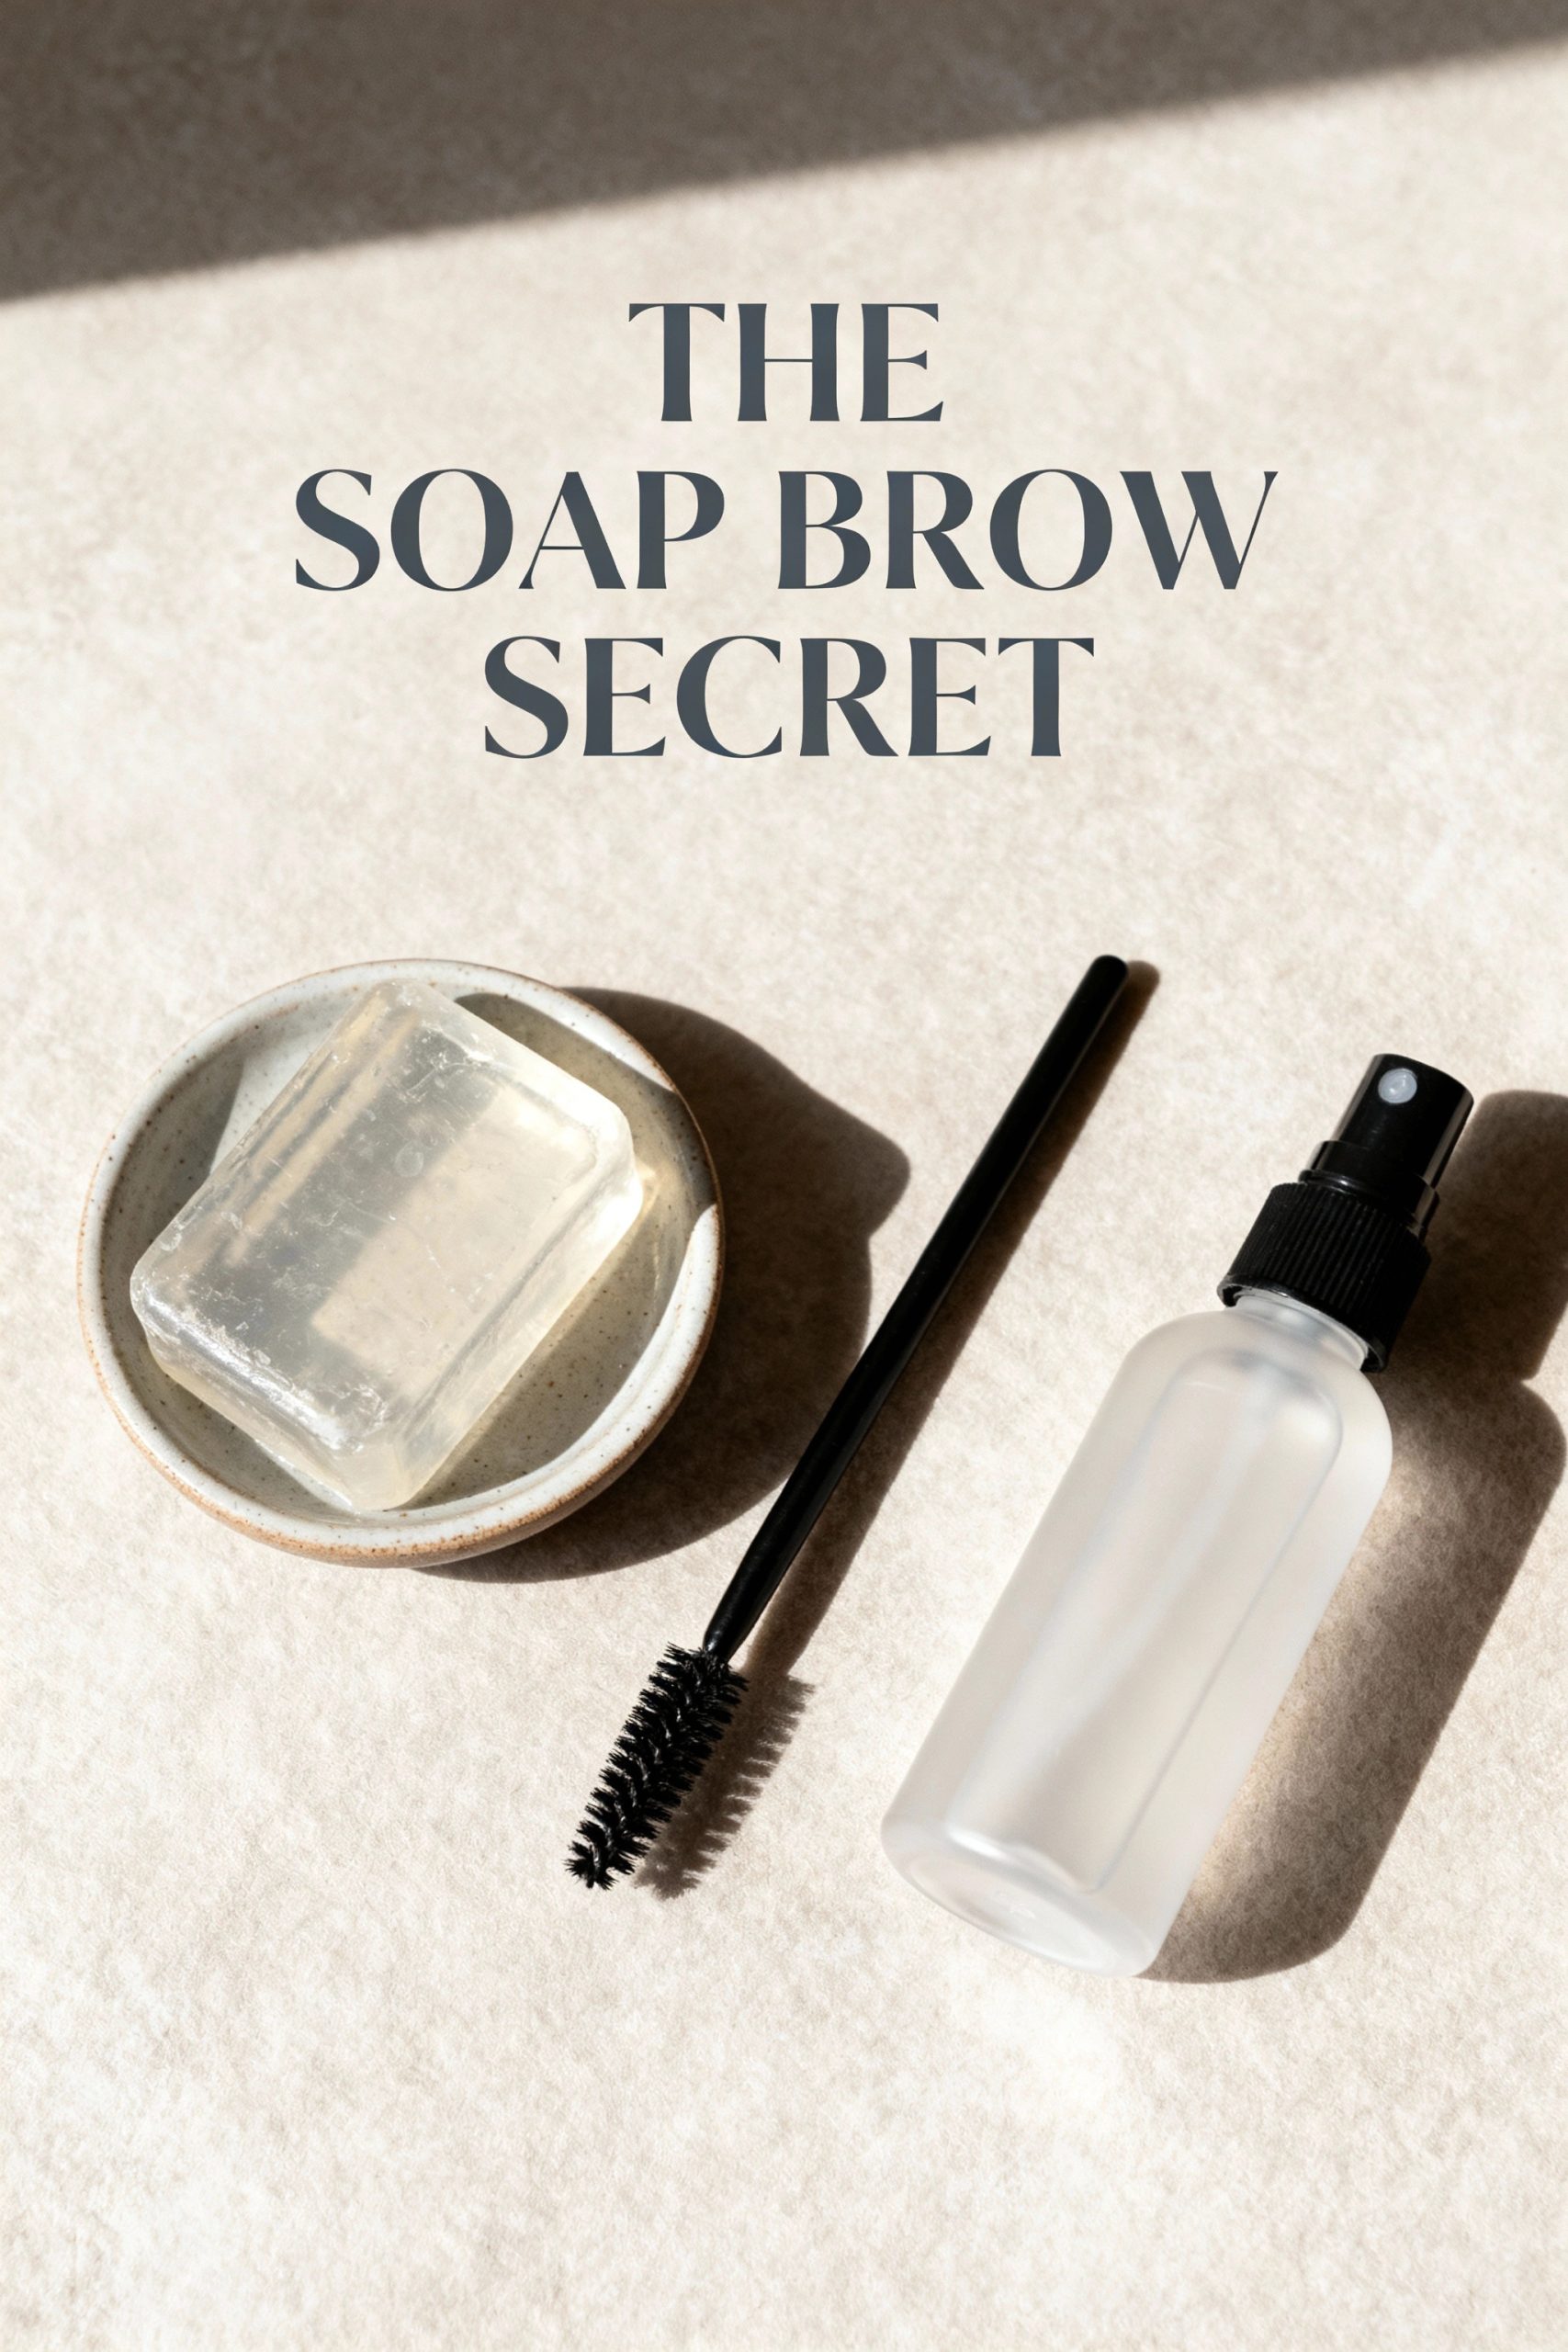
Simplicity is at the heart of this technique. Gather these three items before you begin:
- The Right Bar of Soap: This is the most crucial component. You must use a clear, glycerin-based soap. Opaque, creamy, or moisturizing bars (like Dove or Ivory) will leave a noticeable white, flaky residue in your brows. Look for a simple, transparent bar with minimal added fragrances or colorants to reduce the chance of irritation.
- A Spoolie Brush: A clean spoolie (the little mascara-wand-style brush) is your application tool. You can use a dedicated brow spoolie or simply wash and reuse one from an old mascara tube. Cleanliness is key to a good result.
- A Source of Moisture: A facial mist (like rosewater) or a makeup setting spray is ideal because it provides a fine, controllable mist. In a pinch, a very small amount of tap water will also work perfectly.
Expert Tip: Your choice of soap is non-negotiable for a clean finish. If you can’t see through the soap bar, don’t use it on your brows. A pure glycerin soap from a health food store or a simple Pears transparent soap bar are excellent options.
The Step-by-Step Application for a Flawless Finish
Patience and precision are your friends here. Follow these steps carefully for the best outcome.
Step 1: Start with Clean, Dry Brows
Ensure your brows are completely free of any oils, moisturizers, or leftover makeup. The soap needs to adhere directly to the brow hairs. If you typically fill in sparse areas, decide whether you want to do it before or after. Most experts recommend filling them in after setting with soap to avoid smudging the pencil or powder during application.
Step 2: Lightly Moisten Your Spoolie
The goal is a damp brush, not a wet one. Holding your facial mist about 6 inches away, give the spoolie head one or two light spritzes. If using water, quickly run the spoolie under the tap and then gently tap it to remove all excess water. Too much water will lead to suds and a messy application.
Step 3: Load the Spoolie with Product
Gently rub the damp spoolie back and forth across the surface of the soap bar. You are not trying to work up a lather. Instead, you want to gather a small amount of product until the bristles are coated in a clear, slightly thick paste. If it looks bubbly, your spoolie is too wet.
Step 4: Brush Up and Style
This is the shaping stage. Begin at the front of your brow and brush the hairs straight up, pressing them against the skin as you go. This “lamination” press is what helps them set flat and stay in place. As you move toward the arch and tail of your brow, continue brushing upward but begin to angle the hairs diagonally towards your temple for a natural, fanned-out shape.
Step 5: Perfect and Refine
Before the soap dries completely (you have about a minute of playtime), use the tip of the spoolie or your fingertip to perfect the shape and press any stray hairs into place. Once you’re satisfied with the shape, do not touch them. Let them air dry and set for a few minutes.
Step 6: Fill in Gaps (If Needed)
Once your brows are fully dry and set, you can very gently fill in any sparse areas using a fine-tipped brow pencil or a small amount of powder on an angled brush. Use light, hair-like strokes for the most natural appearance.
With this refined technique, you’ll be able to achieve that professionally styled, feathery brow look with incredible staying power, all with items you may already have at home.