
Vibrant Chocolate Ganache Macarons
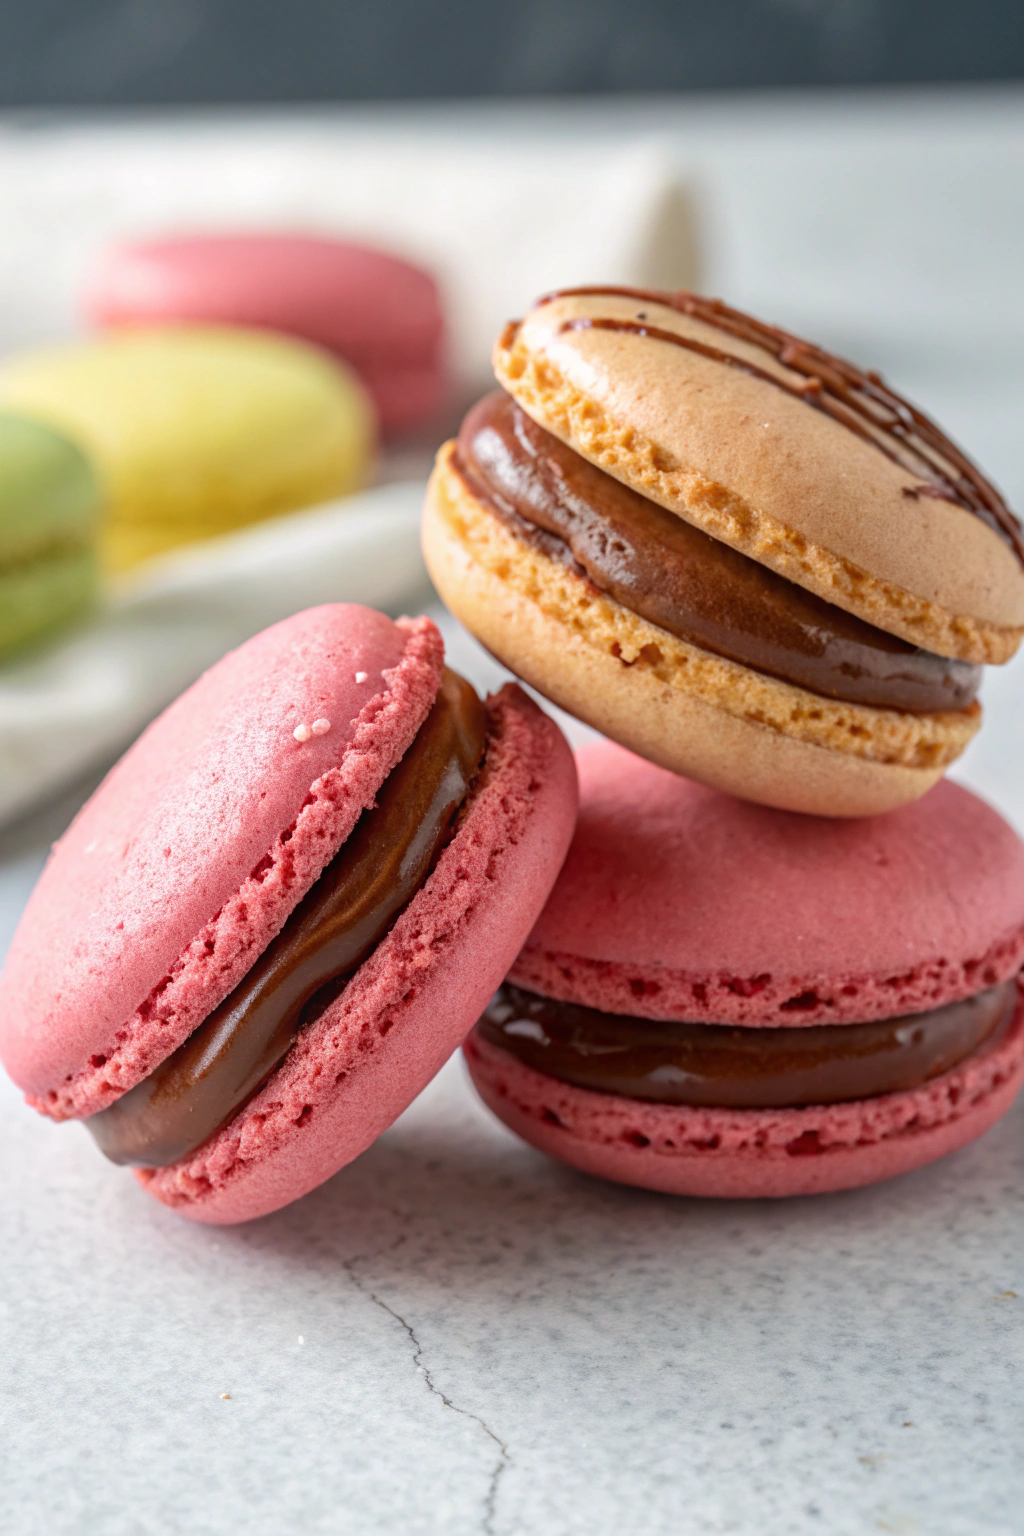
The allure of perfectly formed macarons, with their delicate shells and luscious fillings, is undeniable. The accompanying image showcases stunning examples: vibrant pink, elegant tan, cheerful yellow, and soft green macarons, each boasting a generous layer of rich chocolate ganache. This guide offers a detailed path for home bakers to replicate these exquisite treats, ensuring every step is clear, especially for those new to the art of French patisserie. Embarking on this baking adventure will furnish one’s kitchen with the delightful aroma and the deep satisfaction of presenting these beautiful confections.
The Beauty of Homemade Macarons
These macarons are a testament to careful technique. The pink macarons in the image exhibit a beautiful, uniform color and a generally smooth, matte surface, a hallmark of well-sifted dry ingredients and proper macaronage. The tan macaron proudly displays fine drizzles of dark chocolate across its top shell, adding an extra touch of elegance. All macarons present the coveted “feet” – the frilly, ruffled edge at the base of each shell that forms during baking, indicating a well-executed batter and drying process. The chocolate filling, a classic ganache, is thick, glossy, and generously piped, promising a delightful textural contrast to the crisp yet chewy shells. Preparing such delights at home brings a unique sense of accomplishment.
Essential Halal Ingredients & Tools
Precision is key in macaron making, so gathering all necessary components beforehand is highly recommended.
For the Macaron Shells:
- 🥚 100g Halal Aged Egg Whites (approximately 3 large egg whites, left at room temperature or separated a day prior and refrigerated)
- 🍚 90g Halal Granulated Sugar
- 🍙 120g Halal Powdered Sugar (icing sugar)
- 🌰 120g Halal Finely Ground Almond Flour (almond meal)
- 🧂 1/4 teaspoon Salt
- 🎨 Halal Gel Food Coloring (e.g., pink, yellow, green as seen in the image; a tiny touch of brown or a different shade of yellow can be used for tan shells, or leave plain for a natural almond color)
For the Chocolate Ganache Filling:
- 🍫 200g Halal Dark Chocolate (minimum 60-70% cacao solids, finely chopped)
- 🥛 100g Halal Heavy Cream (minimum 35% fat)
For the Optional Chocolate Drizzle (as seen on the tan macaron):
- 🍫 30g Halal Dark Chocolate, for melting
Kitchen Equipment:
- ⚖️ Kitchen Scale (essential for accurate measurements)
- 🥣 Several Mixing Bowls
- ✨ Electric Mixer (handheld or stand mixer with whisk attachment)
- 🌪️ Sifter or Fine-Mesh Sieve
- ↔️ Silicone Spatula
- 🛍️ Piping Bags (at least two, or more if making multiple colors simultaneously)
- ⚪ Round Piping Tips (a small one, about 1/4 inch or 0.5cm for shells; a slightly larger one, about 3/8 inch or 1cm for filling)
- 📜 Baking Sheets (at least two, preferably heavy-gauge aluminum)
- 📄 Parchment Paper or Silicone Baking Mats
Mastering the Macaron Shells: A Step-by-Step Guide
The path to flawless macaron shells, like those pictured with smooth tops and distinct feet, involves several crucial stages. If making multiple colors, you may need to divide the meringue or make separate batches.
- Preparation is Paramount: Begin by lining the baking sheets with parchment paper or silicone mats. If using parchment, one can draw small 1.5-inch (3-4 cm) circles as guides on the underside. Weigh all ingredients meticulously using the kitchen scale. This practice, often called mise en place, ensures a smooth workflow.
- Sift for Smoothness: In a medium bowl, thoroughly sift the almond flour and powdered sugar together. Pass them through the sifter at least twice, or even three times. This step is absolutely critical for achieving the very smooth tops desired for macarons, contributing to the refined appearance, as aimed for with treats like those seen in the image. Discard any large almond pieces that do not pass through the sieve after the final sift.
- Building the Meringue: In a very clean, grease-free bowl (preferably glass or metal), combine the egg whites and salt. Using an electric mixer on medium speed, beat the egg whites until they become foamy. Gradually add the granulated sugar, one tablespoon at a time, continuing to beat. Once all the sugar is incorporated, increase the mixer speed to medium-high. Continue beating until the meringue forms stiff, glossy peaks. This means when the whisk is lifted, the meringue holds its shape, and the peak stands straight up or might curl over just slightly at the very tip. The meringue should look shiny and dense.
- Adding Color: If making colored shells, now is the time to add the gel food coloring. To achieve the various colors seen in the image (if making separate batches or dividing meringue):
- For the vibrant pink shells, add a few drops of pink gel coloring.
- For bright yellow shells, add a few drops of yellow gel coloring.
- For light green shells, add a few drops of green gel coloring.
- For tan shells, a tiny speck of brown or a muted yellow gel can be used, or they can be left uncolored for a natural almond hue. Gently fold the chosen color into the meringue with the spatula until just combined. Be cautious, as liquid coloring can alter the meringue’s consistency; gel coloring is preferred.
- The Art of Macaronage: This is arguably the most important and trickiest step, called macaronage. It is the process of incorporating the dry ingredients into the meringue. Add about one-third of the sifted almond flour/powdered sugar mixture to the meringue. Using a silicone spatula, gently fold the dry ingredients into the meringue, scraping around the bowl and then through the middle. Repeat with the remaining dry ingredients in two more additions. Continue folding until the batter reaches the correct consistency: it should be smooth, shiny, and flow off the spatula like slow-moving lava or a thick ribbon. When the ribbon of batter falling from the spatula can meld back into the main batter within about 20-30 seconds, it is ready. Be careful not to overmix, which results in a runny batter and flat, footless macarons. Undermixing will yield lumpy, peaked shells.
- Piping with Precision: Transfer the macaron batter to a piping bag fitted with a small round piping tip (about 1/4 inch or 0.5cm). Hold the piping bag perpendicular to the baking sheet and pipe small, uniform rounds, about 1.5 inches (3-4 cm) in diameter, onto the prepared baking sheets, leaving about an inch of space between them. Once all rounds are piped, firmly tap the baking sheets on the counter several times (4-5 taps per sheet). This helps to release any trapped air bubbles and encourages the batter to settle, contributing to smoother tops and good feet development. Any remaining surface bubbles can be popped with a toothpick.
- The Crucial Resting Period: Let the piped macarons sit at room temperature for 30 minutes to 1 hour, or possibly longer depending on humidity. They are ready for baking when they have formed a skin and are no longer sticky to a gentle touch. This drying phase is essential for the development of the characteristic macaron feet.
- Baking to Perfection: Preheat the oven to 300-325°F (150-160°C). Oven temperatures vary, so one might need to experiment. Bake one sheet at a time in the center of the oven for 12-16 minutes. The macarons are done when the tops are set, and the feet are well-developed. If gently nudged, the top of the macaron should not wobble excessively from its feet.
- Cooling Completely: Let the macarons cool completely on the baking sheet for about 10-15 minutes before carefully peeling them off the parchment or silicone mat. Transfer them to a wire rack to cool entirely. Attempting to remove them while warm can cause them to break.
- Adding the Chocolate Drizzle (for Tan Shells): For the elegant chocolate drizzle seen on the tan macaron in the image, melt the 30g of dark chocolate. This can be done in a microwave in short bursts or in a heatproof bowl set over a pan of simmering water (a bain-marie). Once melted and smooth, transfer the chocolate to a small piping bag with a tiny round tip, or even a small plastic food bag with a minuscule corner snipped off. Swiftly drizzle the chocolate in thin lines across the tops of the cooled tan macaron shells. Allow the drizzle to set completely.
Whipping Up the Luscious Chocolate Ganache
The deep brown, glossy filling depicted is a rich chocolate ganache.
- Prepare the Chocolate: Ensure the 200g of dark chocolate is very finely chopped and place it in a heatproof bowl. The finer the chocolate, the more easily and smoothly it will melt.
- Heat the Cream: In a small saucepan, heat the heavy cream over medium heat until it just begins to simmer around the edges. Do not let it come to a rolling boil.
- Combine and Emulsify: Pour the hot cream directly over the chopped chocolate. Let it sit undisturbed for 5 minutes. This allows the heat from the cream to gently melt the chocolate. After 5 minutes, begin to stir the mixture slowly from the center outwards with a spatula or whisk until the ganache is smooth, glossy, and homogenous. The ganache will have the rich, dark brown color observed in the image.
- Cool to Pipeable Consistency: Allow the ganache to cool and thicken at room temperature for about 1-2 hours, or in the refrigerator for a shorter period (about 30-45 minutes, stirring occasionally to ensure even cooling). It should be thick enough to hold its shape when piped but still soft.
Assembling Your Beautiful Macarons
The final step is to unite the shells with their delectable filling.
- Pair the Shells: Match up the cooled macaron shells by size to form pairs.
- Fill the Macarons: Transfer the cooled, thickened chocolate ganache to a piping bag fitted with a slightly larger round tip (about 3/8 inch or 1cm). Pipe a generous dollop of ganache onto the flat side of one macaron shell in each pair. The amount should be substantial, as seen in the image.
- Sandwich Together: Gently place the corresponding macaron shell on top of the ganache and press lightly to sandwich them together, causing the ganache to spread evenly to the edges.
- The Magic of Maturing: For the best flavor and texture, macarons need to mature. Place the assembled macarons in an airtight container and refrigerate them for at least 24 hours before serving. During this time, the moisture from the filling will soften the interior of the shells, resulting in the classic chewy texture, while the flavors meld beautifully.
Storing and Savoring
Store the finished chocolate ganache macarons in an airtight container in the refrigerator for up to 3-4 days. They are best enjoyed at room temperature, so remove them from the refrigerator about 20-30 minutes before serving.
The journey of preparing these vibrant chocolate ganache macarons, from meticulously measuring ingredients to the final assembly, is a rewarding experience. Sharing these handcrafted delicacies offers a special kind of joy, and the skills gained will undoubtedly inspire further baking explorations. May every batch bring immense satisfaction and delicious results.