How to Make a Pregnancy Belly Cast
A pregnancy belly cast is a nice souvenir of the pregnancy for many mothers. What you need for it and how to proceed is explained here step by step.
A pregnancy is a unique experience, many women wish for a special and individual memory of this time – with a pregnancy belly cast they will receive a very special memory. The good thing about it is that every expectant mother can easily do it herself. We show how to do it in a step-by-step guide.
The best time for the pregnancy belly cast
When is the best time to make the pregnancy belly cast is entirely up to you. The result is particularly impressive when the baby’s tummy is already nice and round and visible. About four to six weeks before the birth is a good time to ensure that the project does not become too strenuous for the mother-to-be.
Materials for your belly cast
- Plaster cast set or modelling plaster bandages and Vaseline
- Chair with backrest (washable!)
- 1 bowl
- Hot water
- Scissors
- Towels
- Optional: gloves
- Foil/sheet for the floor
- Old clothes, which you can dispose of in case of need
- Hardworking helper (also in old clothes)
Preparations for the belly cast
One thing first: It dusts and smears – making a plaster cast is a real mess! If your bathroom is big enough, you should use it for your DIY project.
- Spread a sheet (e.g. from the DIY store) or a sheet to protect the floor and provide a washable chair. Alternatively, you can make the impression in the bathtub.
- Now prepare the plaster bandages. Hold them against your stomach and cut them to fit the circumference of your stomach. Step by step, from top to bottom, because your belly has more circumference in the middle than at the bottom, for example. If the breasts are to be included, this also applies to the area. Cut as many strips as you need to make a second – and if you want a third – layer, the more stable the impression will be. It makes sense to lay the strips twice after you have put them on so that you have enough for a second layer.
- Protect your clothes, e.g. with towels or put on old clothes which you can dispose of in the worst case.
- Keep a bowl of warm water handy.
Instructions for your plaster cast
If you make the plaster cast while standing, the shape of the baby’s abdomen becomes more natural. However, the whole process can be strenuous with the stomach, it also works when sitting. Choose the option that makes you feel more secure and comfortable.
- Stand up straight or sit in the chair.
- Thoroughly apply Vaseline to the fat stomach (and chest) so that the plaster cast can be removed more easily later.
- Your diligent helper will now take the first strip and dip it into the warm water.
- Now the strip should be placed on the stomach quickly. Spread it out a little so that it lies really smooth.
- Continue like this from top to bottom (of course, you can also do it the other way round): Put plaster strips into the water and lay them on your stomach strip by strip.
- Make sure that the plaster strips overlap and also that the sides are neatly finished.
- Work quickly and apply the second layer.
- Check the overall result again, if necessary spread everything well with wet hands.
- Let the plaster dry (according to the manufacturer’s instructions).
- Now carefully remove the baby belly impression from the belly, this should normally go easily.
- Put the cast on a towel to dry for about 24 hours.
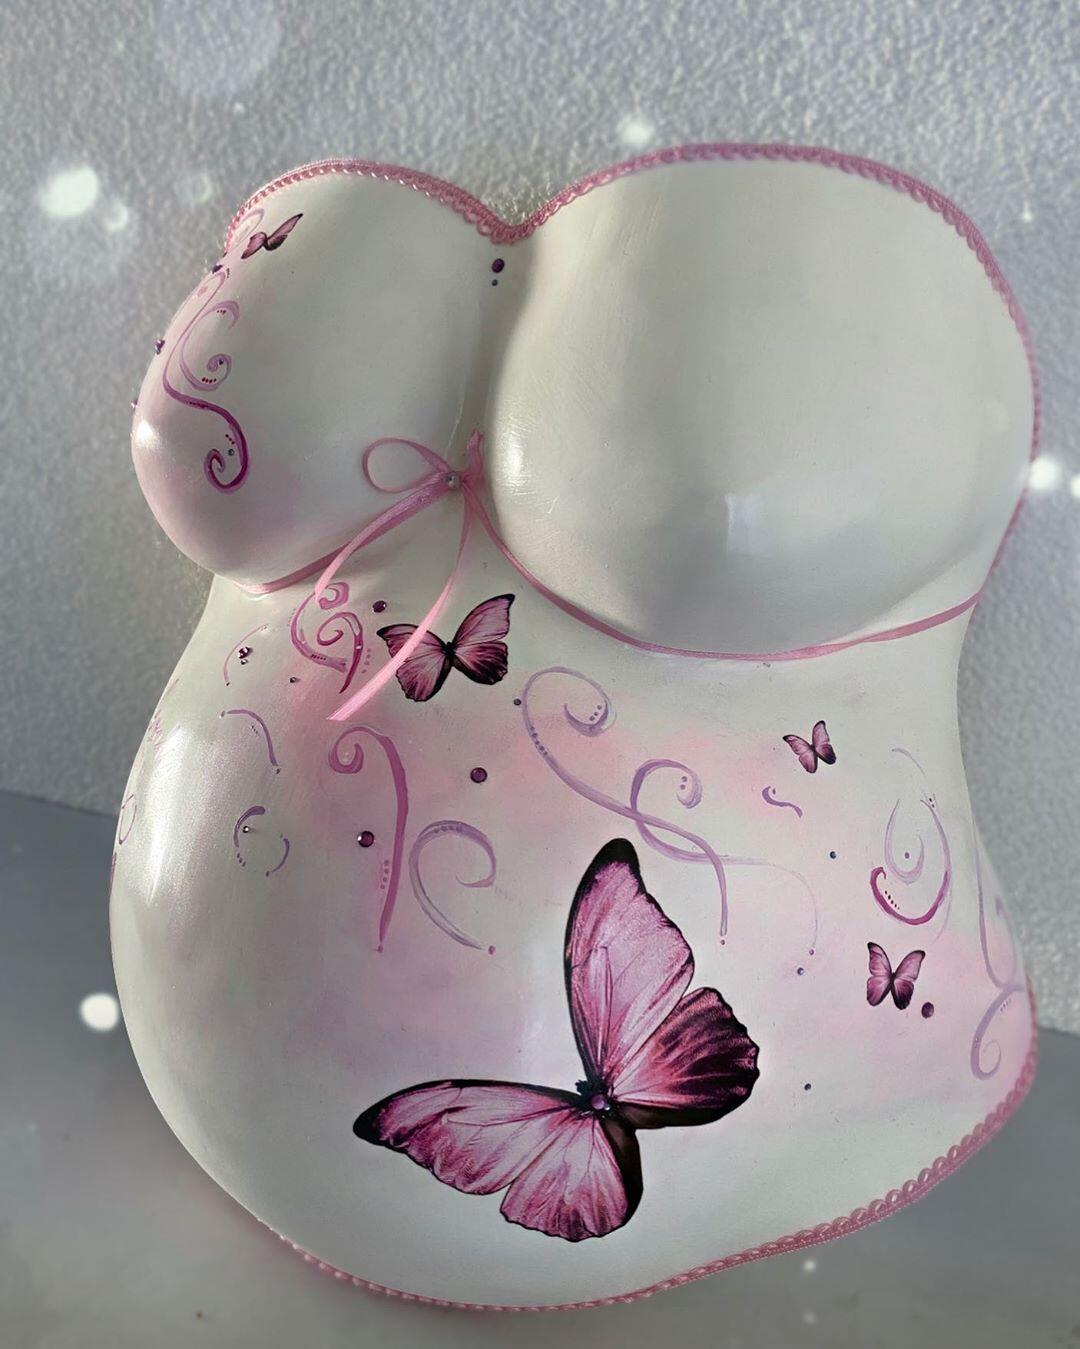
After drying, the baby belly plaster cast may be painted and decorated as desired. With or without decoration you also have the possibility to hang up your memento with a string or in a frame.
Refining the pregnancy belly cast
You can have the plaster cast finished – or you can do it yourself, some plaster cast sets already contain colours, for example.
https://youtu.be/CZ2wvNoeHmQ
Ideas for your pregnancy belly cast
Plain, glamorous, decorated with fantasy creatures or flowers – there are countless possibilities to create your pregnancy belly cast: