

Nail Buffing: How to Achieve Beautiful Nails
Nail buffing is the process of smoothing and polishing the surface of your nails using tools such as buffing blocks or nail files. Regular buffing can dramatically improve the appearance of your nails, promoting an attractive shine and smooth texture. Perhaps more importantly, proper nail buffing also nourishes the nails and cuticles with each step. With the right buffing techniques and tools, you can easily achieve gorgeous, healthy nails from the comfort of home.
Why Buff Your Nails?
Buffing offers a multitude of beauty benefits:
- Smoothes surface flaws – Gentle abrasion evens bumps, ridges and imperfections for a flawless finish.
- Blends uneven nail texture – Progressively finer grits blend away peeling layers and cracks.
- Brightens nail color – Thorough buffing removes yellowing stain and dinginess.
- Adds brilliant shard and reflection – Ultra-fine buffing creates a dazzling mirror shine.
- Shapes nails precisely – Controlled smoothing sculpts perfect oval and square shapes.
- Thickens thin weak nails – Buffing triggers the nail matrix to produce extra keratin layers.
- Preps nails for polish – Creates the ideal smooth canvas for long-lasting manicures.
And most importantly, proper buffing promotes nail health:
- Improves circulation and stimulation – Buffing massages increased blood flow to the fingers and toes.
- Nourishes nails and cuticles – Quality buffers deposit moisturizing oils with each use.
- Exfoliates and renews – Gentle sloughing removes dead cuticle tissue around nails.
- Reduces infections – Clean buffing lowers bacterial and fungal issues like onychomycosis.
Overall, don’t underestimate the value of routine buffing for maintaining beautiful hands and feet. Nail buffing is equally beneficial for both fingernails and toenails. Home buffer sets provide affordable DIY nail care between professional manicures and pedicures.
Types of Nail Buffers
Understand available nail buffing tools to select the best options for flawless polished nails.
Grit Sizes
Nail buffers utilize abrasive grits for gentle filing. Choosing the appropriate grit minimizes damage while smoothing nails.
Coarse:
- Grit size 80 to 180
- Highly abrasive buffer
- Useful for severely uneven nails
- Shapes and shortens longer nails
Medium:
- Grit size 240 to 400
- Moderately abrasive
- Smooths average ridges and flaws
Fine:
- Grit size 500 to 600
- Lightly abrasive buffer
- Blends texture for glossy shine
Extra Fine:
- Grit size 800+
- Ultra-smooth polisher
- Creates glassy mirror-bright finish
Start coarser to treat significant flaws then work consecutively finer for best results.
Shapes
Common nail buffer shapes include:
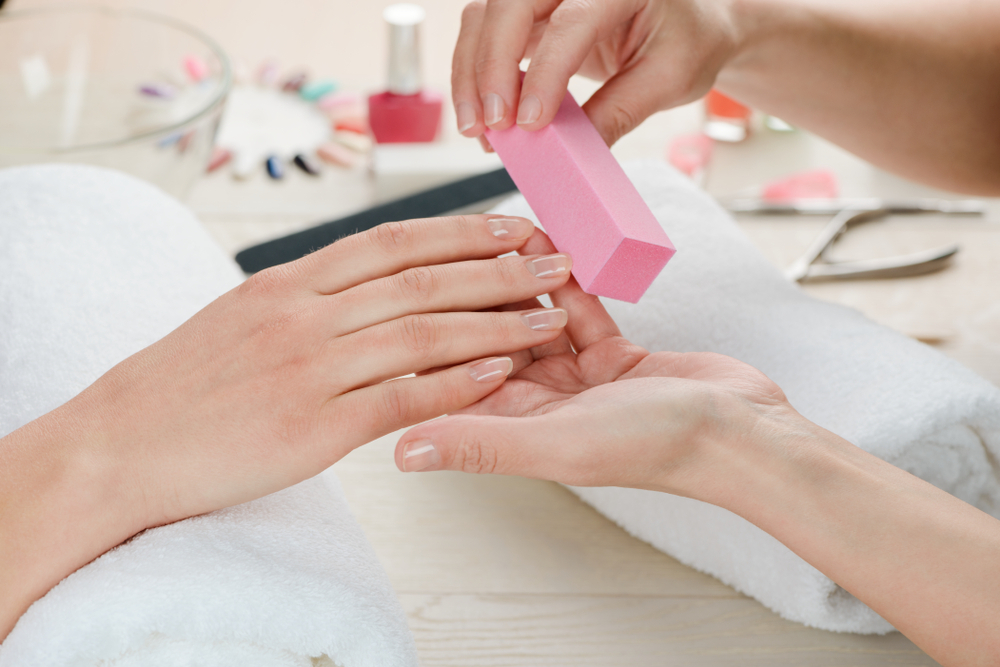
Block
- Rectangular cube or brick shape
- Reaches small/odd nails
- Offers controlled localized buffing
- Multiple grits (4 sides)
- Doesn’t cover larger areas quickly
Cylinder
- Barrel or rod shape
- Wide surface spans bigger nails
- Effortlessly buffs full nails (no sides)
- Usually single grit
- Can’t isolate specific areas
Cone
- Tapered conical point
- Combination of precision and speed
- Medium and large nail versatility
- Often single grit
- Angle adapts around cuticles
Disc
- Circular rotating disc
- Attaches to electrical rotary tool
- Very high speeds evenly cover full nail
- Requires greater dexterity
- Can generate damaging heat if held still
Consider your nail size, problem areas and maneuverability needs when selecting a buffer shape.
Materials
Nail buffer blocks consist of abrasive grits embedded in a variety of materials:
Fabric
- Cotton, terry cloth or felt
- Long-lasting with extended durability
- Available in multiple grits
- Lint can clog surface over time
- Launderable – revives buffing action
Foam
- Polyurethane foam
- Very gentle on fragile nails
- Softer material flexes easier
- Prone to tearing over time
- Harder to fully disinfect
Microfiber
- Ultra-fine synthetic microfibers
- Smoothest most consistent finish
- Densely packed grit doesn’t dull
- Durable maintains shape
- Salon-quality for home use
- Washable
Combination buffers also exist with foam backing and microfiber grit surface. Microfiber offers the best balance of gentle buffing and longevity.
Nail Buffing Techniques
Proper buffing technique prevents nail and cuticle damage while maximizing shine and health.
Prep Work
Always begin with cleaned, prepped nails:
Remove old chipped nail polish
- Pigment flecks interfere with smooth buffing
Trim longer nails
- Visible white tips allow for full buffing
Soften cuticles
- Hot water or cuticle remover hydrates
- Avoids tearing during buffing motions
Buffing Motion
Use the following techniques as you buff:
- Maintain Light Pressure – Let the buffer do the work. Excess pressure risks thinning nails.
- Use Repeated Single Strokes – Make consistent back-and-forth motions across each nail to evenly distribute buffing.
- Slightly Overlap Strokes – Each pass should overlap very slightly to blend the previous grit size.
- Avoid Heat Buildup – Don’t hold buffer on one spot too long, allowing friction to warm.
- Check Buffing Angle – Keep buffer flat to nail surface. Tilted buffers can create uneven spots.
- Rotate Buffer Frequently – Flip buffer over to renew abrasive side. Clogged surfaces lose effectiveness.
Remember to begin gently with a coarser grit to treat major flaws before moving to smoother fine polishing buffers.
After Care
Once finished buffing, it’s vital to nurture the nails and cuticles:
- Moisturize Cuticles – Hydrating oil or thick cream replenishes moisture and prevents cracking.
- Seal Results – Clear nail polish top coat protects smoothness and shine between polishes.
Regular nail maintenance keeps buffing results lasting longer.
Caring for Tools
High-quality buffers warrant proper care for longevity:
Cleaning
Remove Dust and Debris
- Used buffers accumulate dirt, skin cells and nail dust particles in grit surface.
- Stiff brush removes visible debris after each use.
Disinfect Between Uses
- Dampen buffer and spray antiseptic solution containing salicylic/alcohol.
- Rinse and air dry upside down until fully dry to avoid bacterial and fungal spread between manicures.
Storage
Keep buffers in an enclosed case or sleeve when not in use.
- Prevents damage between manicure sessions.
- Minimizes dust and dirt exposure that can clog.
Store properly in a clean, dry location.
- Moisture causes grit clumping and tool deterioration.
Replacement
Retire buffers displaying:
- Permanently clogged surfaces filled with embedded nail dust and particles
- Warped, frayed or worn out materials
- Strange odors indicating bacterial contamination
While quality buffers last through many manicures with care, grit particles wear out over time.
Common Nail Buffing Mistakes
Avoid these common pitfalls for healthy, damage-free nail buffing:
Over-Buffing
Aggressive repeated buffing stresses fragile nails:
- Causes paper-thin, weakened nails prone to splitting and cracks
- Leads to dehydration and dry cuticles that tear and rip
Solutions:
- Apply cuticle cream after buffing for hydration
- Allow nails to fully regrow if over-thinned before attempting to re-buff
- Invest in gentler fine-grit buffers rather than harsh abrasives
Unclean Tools
Dirty tools transfer contagions and cause infections:
- Fungal and yeast organisms incubate in warm, moist buffers
- Ingrown hairs and pus-filled infections occur around nails
Solutions:
- Disinfect buffers before each use with antibacterial spray
- Never share buffer sets between individuals
- Replace obviously contaminated tools
Skipping Grits
It’s tempting to buff only with finer polishers:
- Leaves behind original deeper flaws
- Causes buffing lines or sudden texture changes
- Thins fragile nail tips when used too aggressively
Solutions:
- Gradually step down buffer grit sizes for an even finish
- Work from coarser files to ultra-fine polishers
FAQs
How Often Should I Buff My Nails?
For healthy individuals with average nail growth, buffing every two to four weeks is usually sufficient to manage new growth and keep nails looking polished. Those with very slow or fast growth may decrease or increase frequency accordingly.
Will Buffing Damage My Nails?
When done properly, light buffing with appropriate grit buffers poses little risk to healthy nails. However, pressing too firmly, over-buffing, and using overly harsh buffers can potentially thin nails, tear cuticles or lead to cracking and peeling.
What Are Nail Buffing Blocks Made Of?
Quality nail buffers consist of fine abrasives embedded in fabric, foam, microfiber or combinations of materials. Some include mineral oils to condition nails and cuticles during buffing. Cheaper disposable options may have less performance and longevity than salon-grade reusable blocks.
Summary
In summary, don’t neglect this vital step in comprehensive nail care. Regular buffing with quality tools makes nails photo-shoot flawless. Prep and soften nails properly before gentle buffing optimized for your nail size and shape. Gradually step down grits for a smooth, even finish free from lines. Always disinfect tools between uses and replenish moisture to conditioned buffed nails. Perfect your technique avoiding cuticle damage or thinning. With continued TLC, properly buffed nails remain chip-free with salon-worthy luster until your next professional manicure. Healthy beautiful nails boost confidence and completeness for any occasion.
Invest today in premium reusable microfiber buffer blocks available affordably online through beauty retailers. Or find budget options at local drug and department stores to upgrade your nail care. Commit to regular at-home maintenance between manicure visits. Dazzling nails that turn heads have never been easier. You’ll wonder why you ever neglected this vital beautifying regimen. Buff those nails and flaunt flawless tips with pride anywhere you go.