

Quickly Soften Butter Hack Without Melting: The Ultimate Guide
There’s nothing more frustrating than realizing you need softened butter for a recipe, only to find your butter is as hard as a rock straight from the fridge. Waiting for it to soften at room temperature can take hours, leaving you stuck and impatient in the kitchen. But what if we told you there’s a brilliant hack to quickly soften butter without melting it? This game-changing trick will save you time and ensure your baked goods turn out perfectly every time.
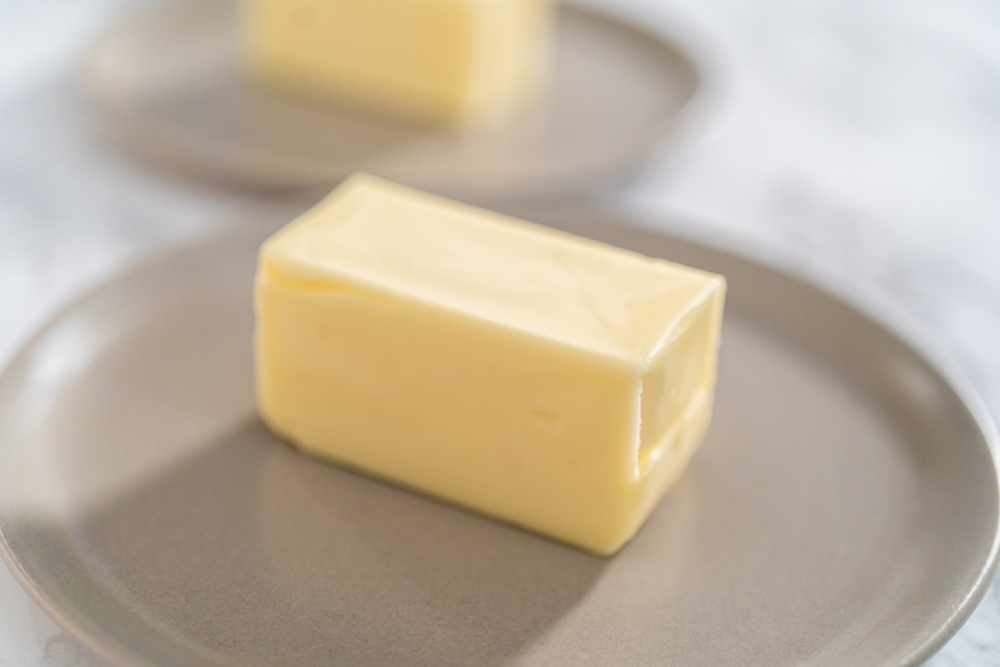
Why Softened Butter Matters
Before we dive into the hack, let’s discuss why softened butter is so crucial in baking and cooking. Softened butter is an essential ingredient in many recipes, from fluffy cakes to flaky pie crusts. Unlike melted butter, which can lead to a dense or greasy texture, softened butter incorporates air pockets, resulting in a light and airy crumb.
Additionally, softened butter blends seamlessly with other ingredients, creating a smooth and well-incorporated batter or dough. This consistency is crucial for achieving the desired texture in your baked goods. Attempting to cream cold, hard butter can lead to a lumpy and uneven mixture, compromising the final product’s quality.
The Quick Butter Softening Hack
Now, for the moment you’ve been waiting for – the quick butter softening hack that will revolutionize your baking routine. Here’s how it works:
- Grab a glass or microwave-safe bowl and fill it with hot water from the tap or kettle.
- Let the hot water sit in the bowl for a minute or two to warm it up.
- Carefully pour out the hot water, leaving the bowl warm.
- Place your cold stick(s) of butter in the warm, dry bowl.
- Cover the bowl with a plate or lid to trap the heat.
- Let the butter sit for 5-10 minutes, depending on the desired softness level.
That’s it! In just a matter of minutes, your rock-hard butter will transform into a perfectly softened consistency, ready for creaming and baking.
One of the beauties of this hack is that it’s virtually foolproof. Unlike microwaving, which can easily overheat and partially melt the butter, the gentle warmth of the bowl allows for even softening without the risk of melting.
Tips and Tricks
While the butter softening hack is straightforward, here are a few additional tips and tricks to ensure success:
- Use a glass or ceramic bowl: These materials retain heat better than plastic, ensuring the bowl stays warm long enough to soften the butter.
- Adjust the softening time: If your butter is very cold from the fridge, you may need to leave it in the warm bowl for up to 10 minutes. Conversely, if you prefer a firmer texture for your recipe, aim for 5-7 minutes.
- Slice or cube the butter: Cutting the butter into smaller pieces will help it soften even faster.
- Try a hot water bath: For an alternative method, place the butter in a resealable plastic bag and submerge it in a bowl of hot water for 5-10 minutes.
- Troubleshooting: If your butter isn’t softening as expected, ensure the bowl is sufficiently warm and try covering it with a towel or lid to trap more heat.
Recipes Using Softened Butter
Now that you’ve mastered the art of quickly softening butter, it’s time to put your newfound skills to the test! Here are some delicious recipes that call for perfectly softened butter:
- Fluffy Buttermilk Biscuits
- Classic Pound Cake
- Chocolate Chip Cookies
- Butter Tarts
- Flaky Pie Crust
Don’t forget to bookmark this page or save the butter softening hack for future reference. With this simple trick in your arsenal, you’ll never have to stress about rock-hard butter ruining your baking plans again!
Conclusion
Waiting for butter to soften at room temperature is a thing of the past! With this quick butter softening hack, you can have perfectly softened butter in minutes, ready for all your baking and cooking needs. No more waiting around impatiently or risking melted butter – this foolproof method ensures consistent, reliable results every time.
Give it a try the next time you’re in a pinch, and share your experiences with us in the comments below. Happy baking!