

Hook a Sunny Pouch Today
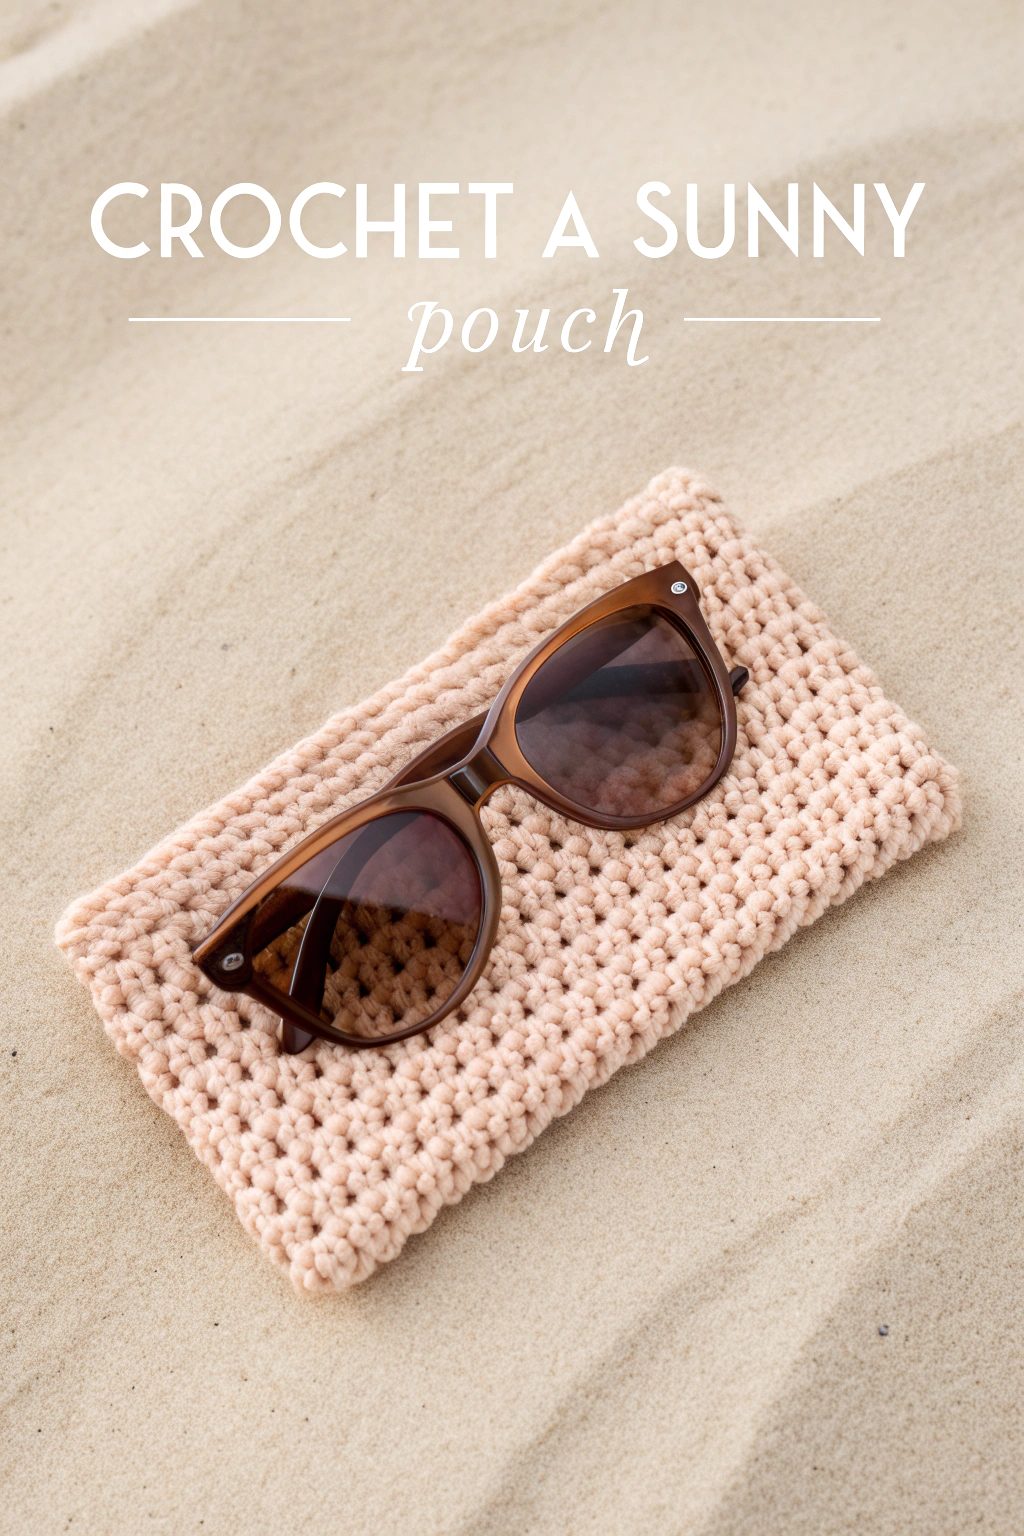
Ever dreamed of making something practical and pretty with your own two hands? Well, get your crochet hook ready, because today we’re going to fashion a delightful Sunny Crochet Pouch, just like the one you see nestled in the sand in the image. This little pouch is perfect for keeping your sunglasses safe, or for stashing away small treasures. It’s a wonderfully satisfying project, especially if you’re just starting your crochet journey!
The pouch is a lovely light peach color, fashioned from a soft-looking yarn that gives it a wonderfully plush feel. It showcases a beautifully textured surface made entirely of single crochet stitches. This stitch provides a dense and protective quality, ideal for your favorite shades. The design is wonderfully straightforward, making it a fantastic first (or second, or third!) project.
What You’ll Need to Get Started
To begin making your very own sunny pouch, you’ll want to gather these supplies:
- 🧶 Yarn: One ball of soft worsted weight (Category 4) yarn in a light peach or similar sunny color. Cotton or a soft acrylic blend will work beautifully and give a feel similar to the pouch in the image. The yarn in the picture has a plush, slightly chenille-like appearance, so if you find a yarn with that texture, even better!
- 🪝 Crochet Hook: A 5.0mm (H-8) crochet hook is a good starting point for worsted weight yarn. Check your yarn label, as it usually suggests a hook size.
- ✂️ Scissors: For snipping your yarn.
- 🧵 Yarn Needle (Tapestry Needle): This has a large eye and a blunt tip, perfect for weaving in yarn ends and seaming your pouch.
Learning the Lingo: Your First Stitches
Don’t worry if these terms are new! We’ll go through them step-by-step. Crocheting is just a series of simple movements that, when repeated, form beautiful fabric.
Slip Knot
This is how you get the yarn onto your hook to begin.
- Make a loop with your yarn, with the tail end draped over the working yarn (the yarn coming from the ball).
- Insert your hook through the loop, from front to back.
- Catch the working yarn with your hook (this is called a “yarn over”).
- Pull that yarn back through the loop on your hook.
- Gently pull both yarn ends to tighten the knot onto your hook. It should be snug but able to slide.
Chain Stitch (ch)
This forms the foundation of your project.
- With the slip knot on your hook, use your hook to catch the working yarn (yarn over).
- Pull the hook (and the yarn it caught) back through the loop already on your hook.
- That’s one chain stitch! Repeat for as many chains as your pattern calls for.
Single Crochet (sc)
This is the star stitch for our pouch, giving it that lovely, dense texture you see in the image.
- Insert your hook into the designated stitch (for the first row, this will be a chain stitch; for later rows, it’ll be a single crochet from the row below).
- Yarn over (wrap the yarn over your hook from back to front).
- Pull the yarn through the stitch. You will now have two loops on your hook.
- Yarn over again.
- Pull the yarn through both loops on your hook.
- You’ve just completed one single crochet stitch!
Turning Chain (ch 1 for sc)
When working back and forth in rows (not in a circle), you need to add a chain stitch at the end of your row before you turn your work. This little chain brings your yarn up to the correct height for the next row of stitches. For single crochet, you typically chain 1.
Weaving in Ends
Once you finish crocheting, you’ll have a couple of yarn tails. “Weaving them in” means using your yarn needle to thread these tails back through your stitches on the inside of your project to secure them and hide them. This gives your pouch a neat, professional look.
Let’s Get Making! The Sunny Pouch Pattern
This pouch is essentially a flat rectangle of single crochet stitches that you’ll then fold and seam. For sunglasses, a finished pouch around 3.5 inches wide and 6.5 inches tall is usually a good size. This means our flat rectangle needs to be about 7 inches wide (because we’ll fold it) and 6.5 inches tall.
A Note on Gauge: Gauge is how many stitches and rows fit into a certain measurement (like 4 inches). For this pouch, exact gauge isn’t super critical, but it’s good to be aware of. If your stitches are much looser or tighter, your pouch will be a different size. You can adjust your starting chain if needed.
Making the Pouch Body (Flat Rectangle):
- Foundation Chain: Begin with a slip knot on your hook. Chain 29 stitches. (This will give you 28 single crochet stitches across, which should be roughly 7 inches wide with worsted weight yarn and a 5.0mm hook. If you want it wider or narrower, add or subtract chains).
- Row 1:
- Identify the second chain from your hook (don’t count the loop on your hook).
- Insert your hook into this second chain.
- Complete a single crochet (sc) stitch.
- Now, work one single crochet stitch into each remaining chain stitch across your foundation chain.
- When you reach the end, you should have 28 single crochet stitches. It’s a great habit to count your stitches on every row, especially as a beginner!
- Row 2:
- Chain 1 (this is your turning chain, it doesn’t count as a stitch).
- Turn your work so the side that was facing away from you is now facing you.
- Insert your hook into the very first stitch of the row (not the turning chain).
- Work one single crochet stitch into this first stitch, and then one single crochet stitch into each stitch across the entire row.
- You should again have 28 single crochet stitches.
- Repeat Row 2: Continue repeating Row 2 (Chain 1, turn, sc in each stitch across) until your rectangle measures approximately 6.5 inches tall (or your desired height for your sunglasses). The pouch in the image has a height that looks perfectly proportioned for the sunglasses resting on it.
- Fasten Off:
- Once your rectangle is the desired height, cut your yarn, leaving a long tail (about 12-15 inches).
- Yarn over with your hook and pull the cut yarn tail completely through the loop on your hook.
- Pull it tight to secure the last stitch. This is called “fastening off.”
Finishing Touches: Assembling Your Pouch
Now you have a lovely, textured rectangle! Let’s turn it into a pouch.
- Fold: Lay your crocheted rectangle flat. Fold it in half lengthwise, so the two shorter ends (the starting chain edge and the fasten-off edge) meet, and your long sides align. The “right side” (the side you want facing out) should be on the inside for seaming, if there’s a side you prefer.
- Seam the Sides:
- Thread that long yarn tail you left onto your yarn needle.
- You will now sew up two sides of your pouch: the bottom edge (which was one of the long sides of your unfolded rectangle) and one of the open side edges. The folded edge doesn’t need seaming.
- A simple whip stitch is perfect for this. Insert your needle from front to back through both layers of fabric, close to the edge. Bring the needle around the edge and insert it again a short distance from your last stitch, again going through both layers. Continue this all the way along the bottom edge, then turn the corner and sew up the side edge.
- Keep your stitches fairly close together for a secure seam.
- Weave in Ends:
- Once seamed, turn your pouch right side out.
- You’ll have the tail from seaming and the initial tail from your foundation chain.
- Use your yarn needle to weave these ends neatly into the inside of your pouch, going back and forth through the stitches a few times to secure them before snipping any excess yarn.
Tips for a Happy Pouch
- Tension is Key: Try to keep your yarn tension consistent as you stitch. This means not pulling some stitches super tight and others very loose. It takes practice, so be patient with yourself! Consistent tension will result in that even, beautiful fabric you see in the image.
- Count, Count, Count! Especially in the beginning, counting your stitches at the end of each row helps ensure your edges stay straight and your pouch doesn’t accidentally grow wider or narrower.
- Yarn Choice Matters: A smooth, non-splitting yarn is often easier for beginners. The soft, plush yarn that makes up the pouch in the image adds a lovely tactile quality.
Show Off Your Sunshine!
And there you have it – your very own Sunny Crochet Pouch, all ready to protect your sunglasses or hold your little essentials! Isn’t there something so special about holding a finished piece that you’ve put together stitch by stitch?
This pouch is a testament to what you can accomplish with a hook, some yarn, and a bit of patience. We’d absolutely love to see your finished pouches! Feel free to share photos of your handiwork. Happy hooking, and may your days be filled with sunshine and beautiful stitches!