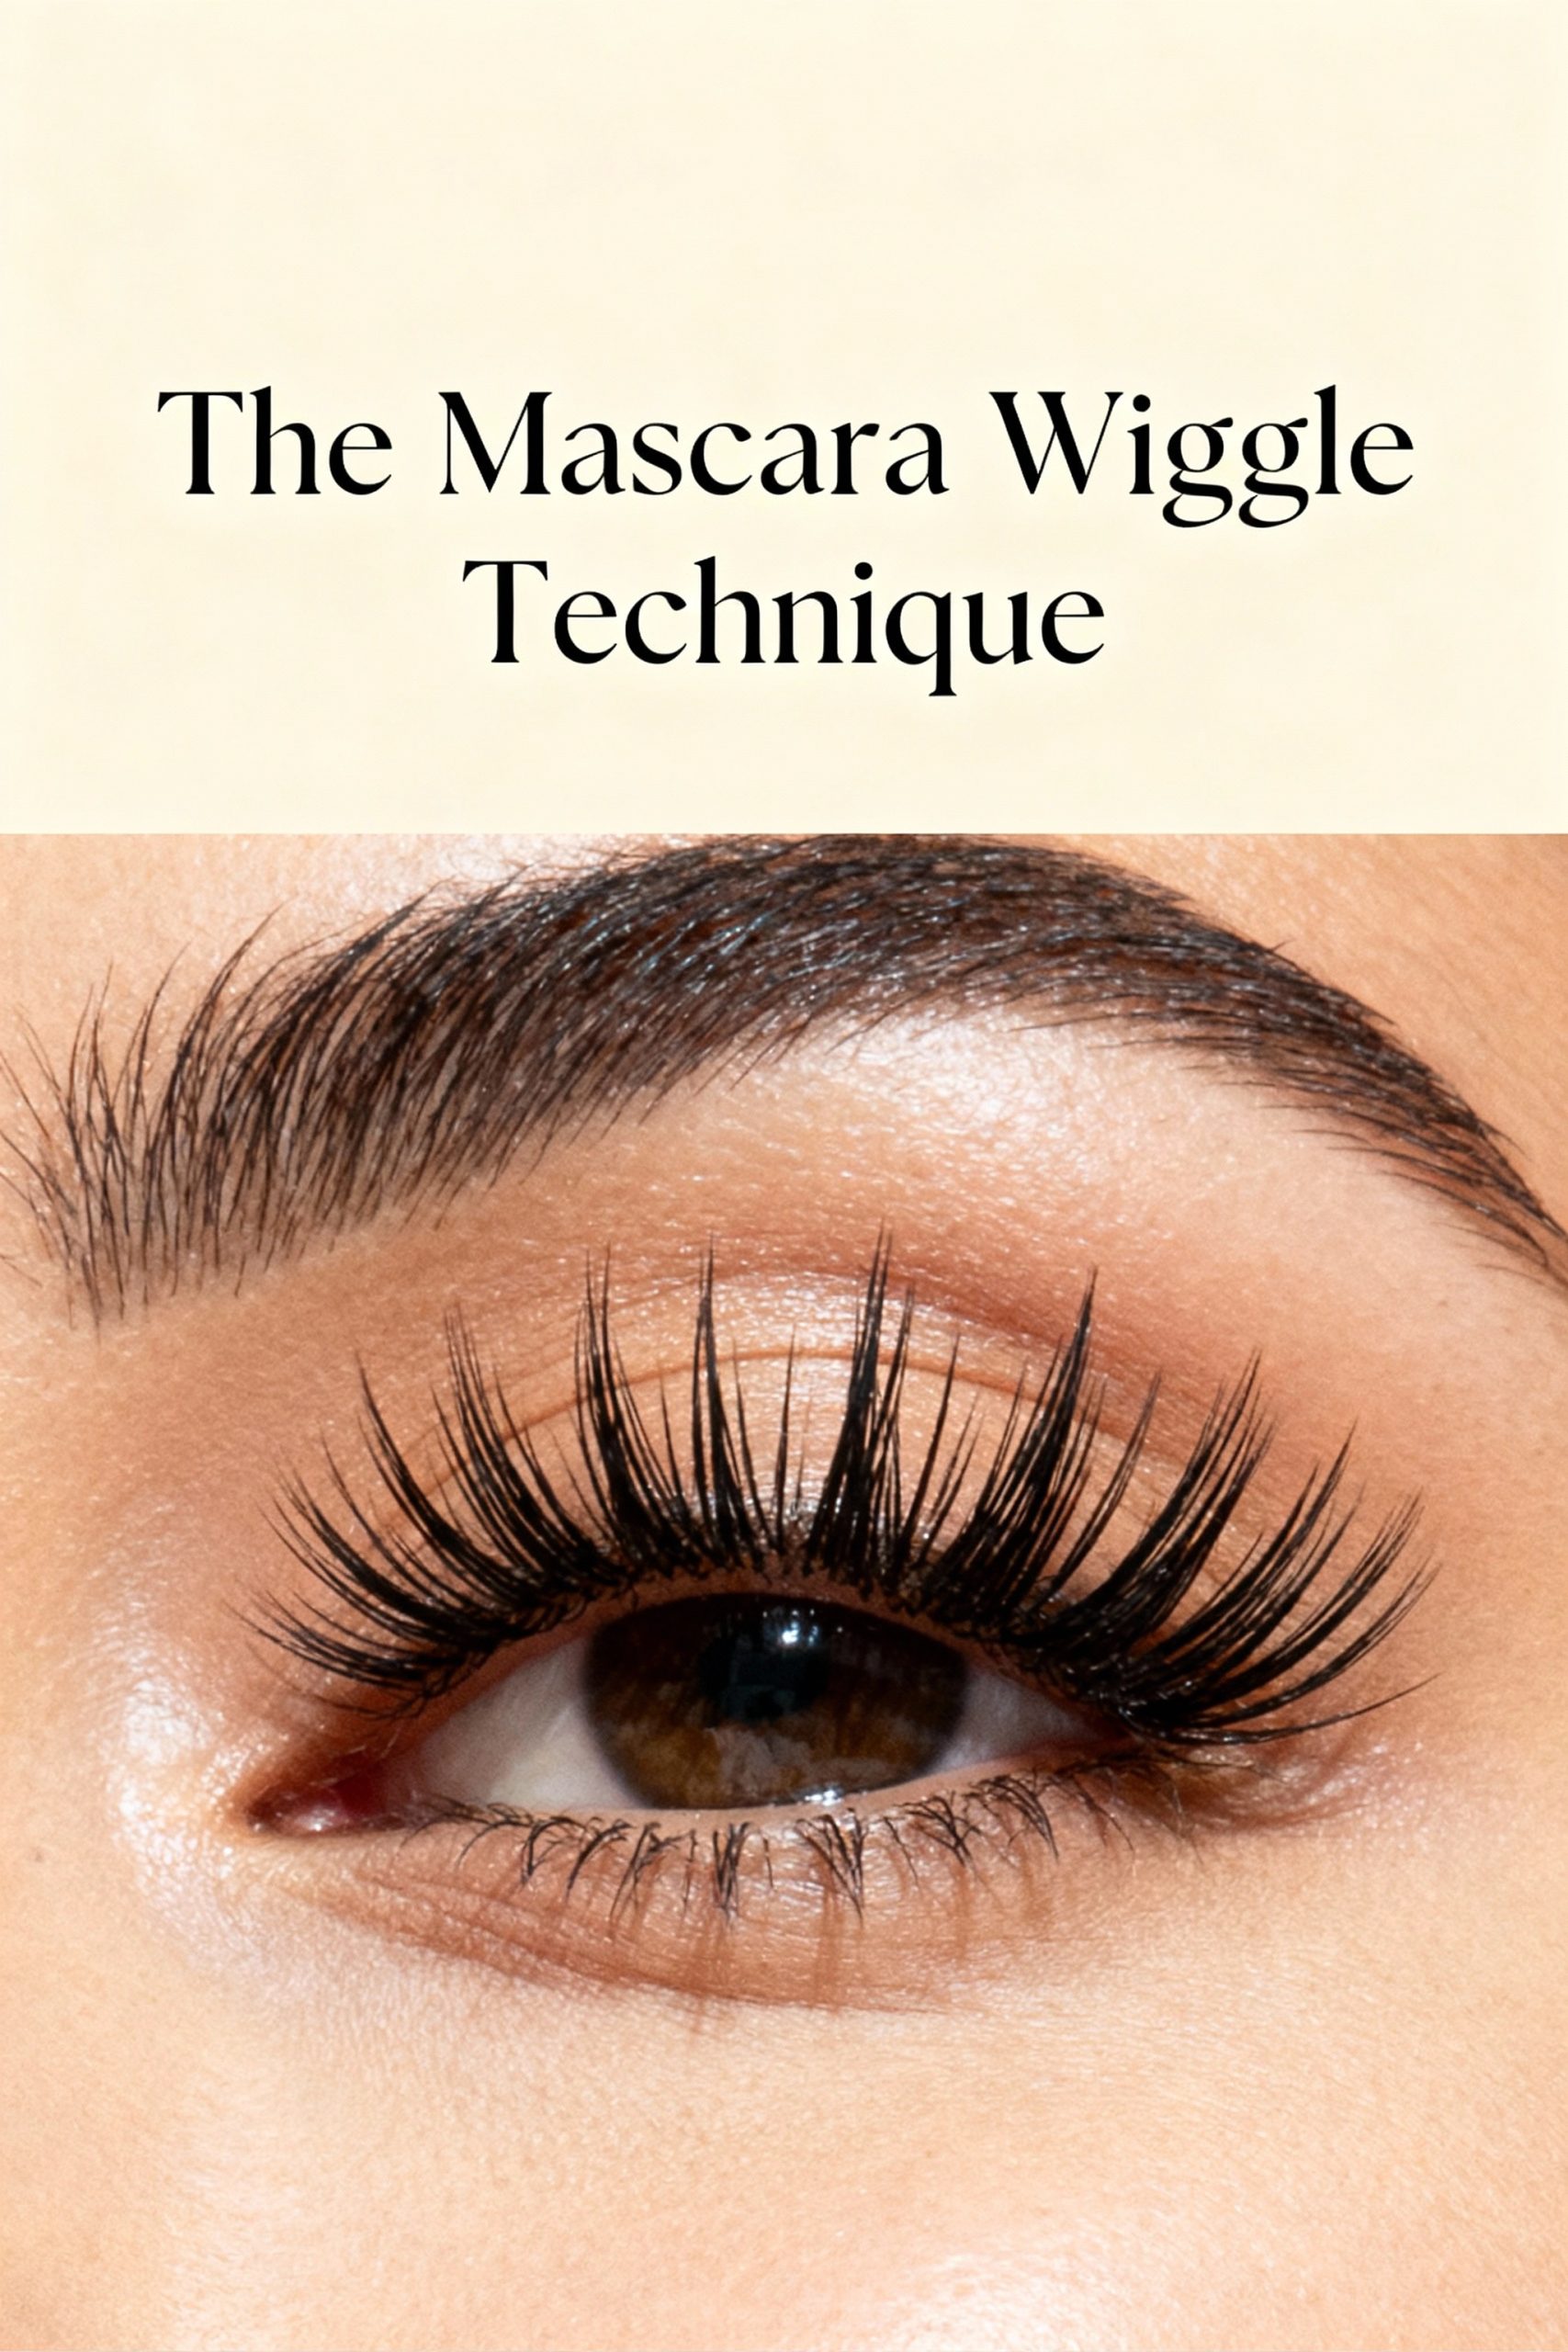
The 1-Minute Mascara “Wiggle” Technique for Lashes That Look Like Extensions

Are you spending money on high-end mascaras, hoping for that one formula that will finally give you the long, voluminous lashes you see in advertisements? The truth is, the secret to breathtaking lashes often isn’t found in the tube—it’s in the application.
If you’re ready to stop the endless search and unlock the full potential of any mascara you own, it’s time to master the “Wiggle” technique. This foundational method is trusted by makeup artists for its ability to build a clump-free, fanned-out look that mimics the appearance of professional lash extensions. Best of all? It adds less than a minute to your routine.
The Secret Isn’t the Product, It’s the Method
So, why does this simple motion make such a profound difference? It’s all about physics and product placement. Standard application—a quick swipe from the middle of the lash to the tip—coats only the lightest part of your lashes, weighing them down and causing the curl to droop.
The “Wiggle” technique flips this on its head by focusing on the base.
- It Builds a Strong Foundation: By concentrating the product right at the root of the lashes, you’re building a supportive, dark base. This acts like a tiny buttress for each lash, helping to hold the lift and curl all day long.
- It Gives a “Tightlining” Effect: The dense application at the lash line subtly defines the eye, making your lash bed appear fuller and thicker without you ever having to pick up an eyeliner.
- It Ensures Even Distribution: The side-to-side motion separates lashes from the start, coating each one individually. When you finally pull the wand through, you’re simply distributing the already-applied product, which is the key to a clump-free finish.

The Step-by-Step Guide to Flawless Application
Ready to transform your lashes? Let’s break down the process into simple, deliberate steps. The key is to be intentional, not fast.
Step 1: Start with a Curled Canvas (Optional but Recommended)
For maximum lift, begin with an eyelash curler. Start with clean, dry lashes. Position the curler as close to your lash line as is comfortable and give it a gentle, firm squeeze for 5-10 seconds. For an even better, longer-lasting curl, “walk” the curler out to the middle of the lashes and squeeze again. This makes a gentle curve rather than a sharp crimp.
Step 2: Prepare Your Wand
Pull the mascara wand out of the tube with a slight twisting motion. Avoid pumping the wand in and out, as this forces air into the tube, drying out the formula and potentially introducing bacteria. Scrape any large clumps or excess product from the very tip of the wand onto the lip of the tube. An overloaded wand is the number one cause of clumping.
Step 3: The Wiggle
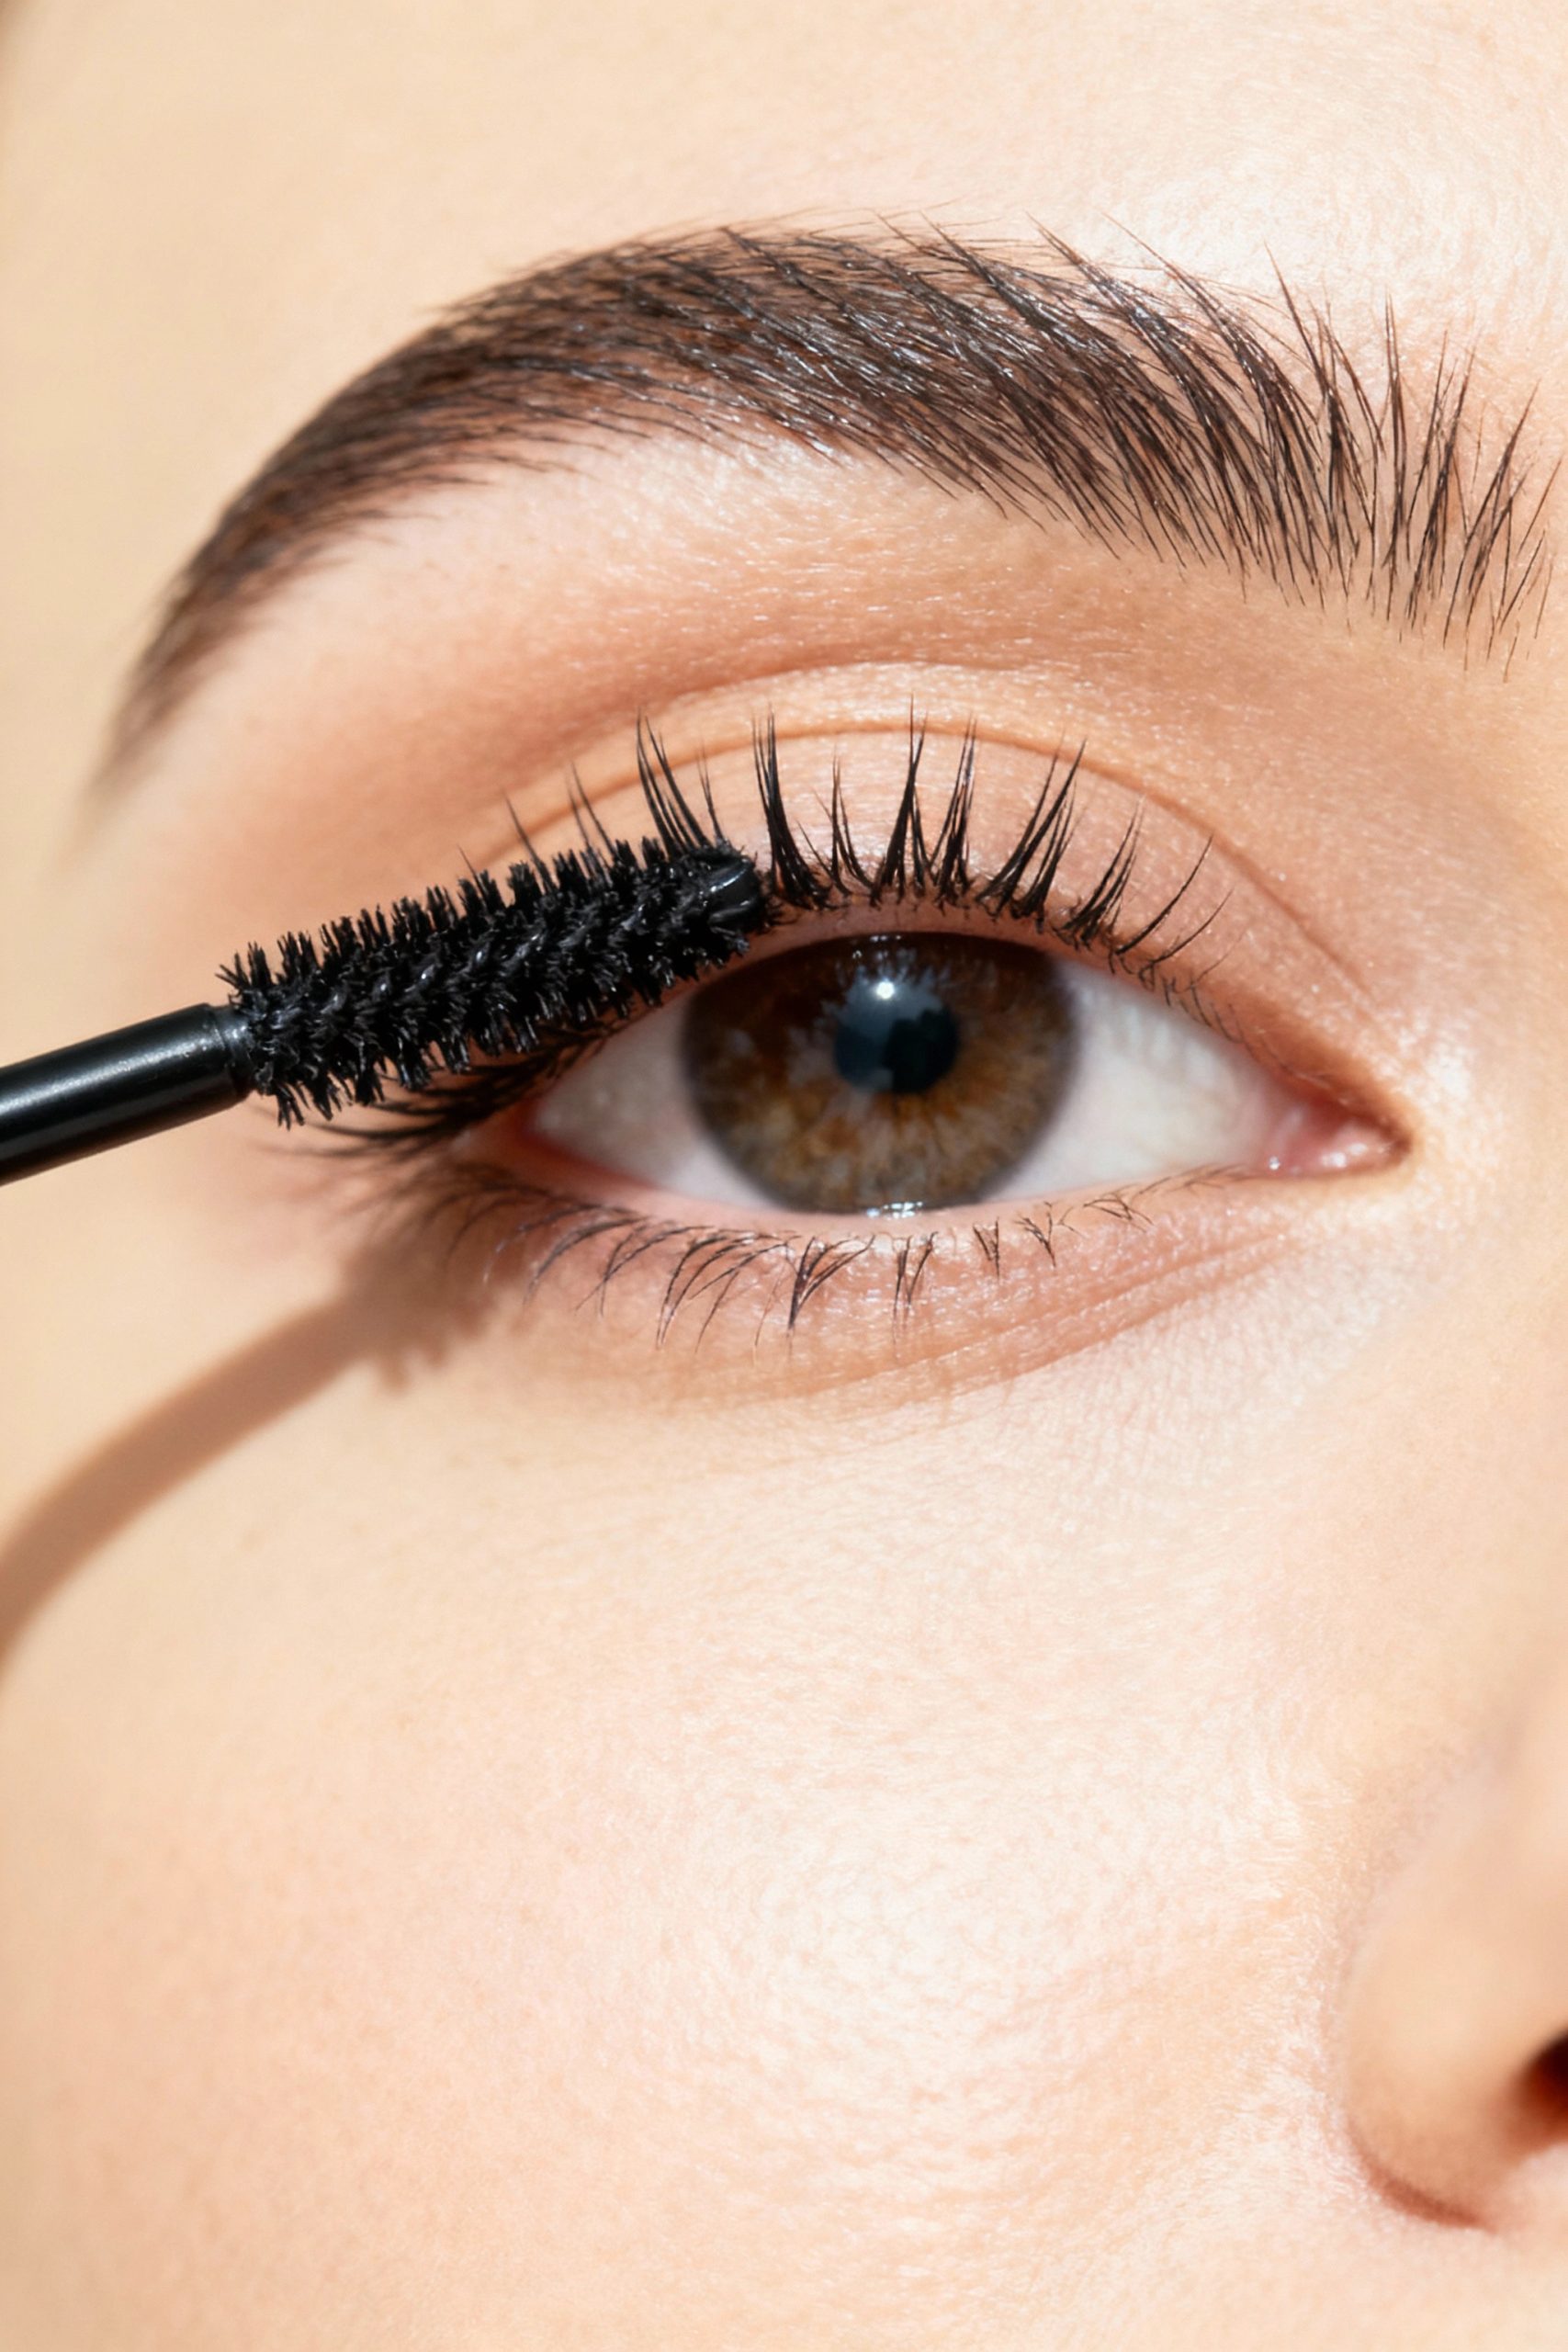
This is the most important part. Look straight into a mirror and bring the wand to your upper lashes. Place the bristles so they are touching the skin at the very root of your lashes.
Now, begin the wiggle. Gently shimmy the wand back and forth in a small, tight zig-zag motion. You should feel the bristles nestled between your lash roots. Do this for a good 3-5 seconds. You are not trying to move up the lash yet; you are simply loading product onto the base.
Step 4: The Comb-Through
After you’ve thoroughly wiggled at the base, slowly pull the wand straight up and through the tips of your lashes in one smooth, continuous motion. Because the base is already heavily coated, you don’t need to wiggle on the way up. Think of this final motion as simply combing the product through to the ends.
Step 5: Assess and Add a Second Coat (If Needed)
One coat is often enough for a defined, natural daytime look. For more intensity, you can apply a second coat, but it’s crucial to do so while the first coat is still slightly pliable. Applying a wet coat over a completely dry one can lead to flaking. Repeat the process, focusing once again on the wiggle at the base.
Troubleshooting Common Mistakes
- The Problem: Lashes look clumpy or “spidery.”
- The Cause: You likely had too much product on the wand or you wiggled too aggressively through the tips of the lashes.
- The Fix: Always wipe excess mascara off the wand tip. Remember, the wiggle is for the base only. The upward motion should be a clean, smooth glide.
- The Problem: Lashes fall flat within an hour.
- The Cause: You started the application in the middle of the lashes, not at the root.
- The Fix: Be patient and deliberate. Make sure you are truly positioning the wand at the lash line to build that supportive base. An eyelash curler is also a non-negotiable step if your lashes are naturally straight.
By making this small change to your routine, you’ll see a remarkable improvement in the volume, lift, and longevity of your mascara. It’s a simple technique that delivers truly professional-looking results.

