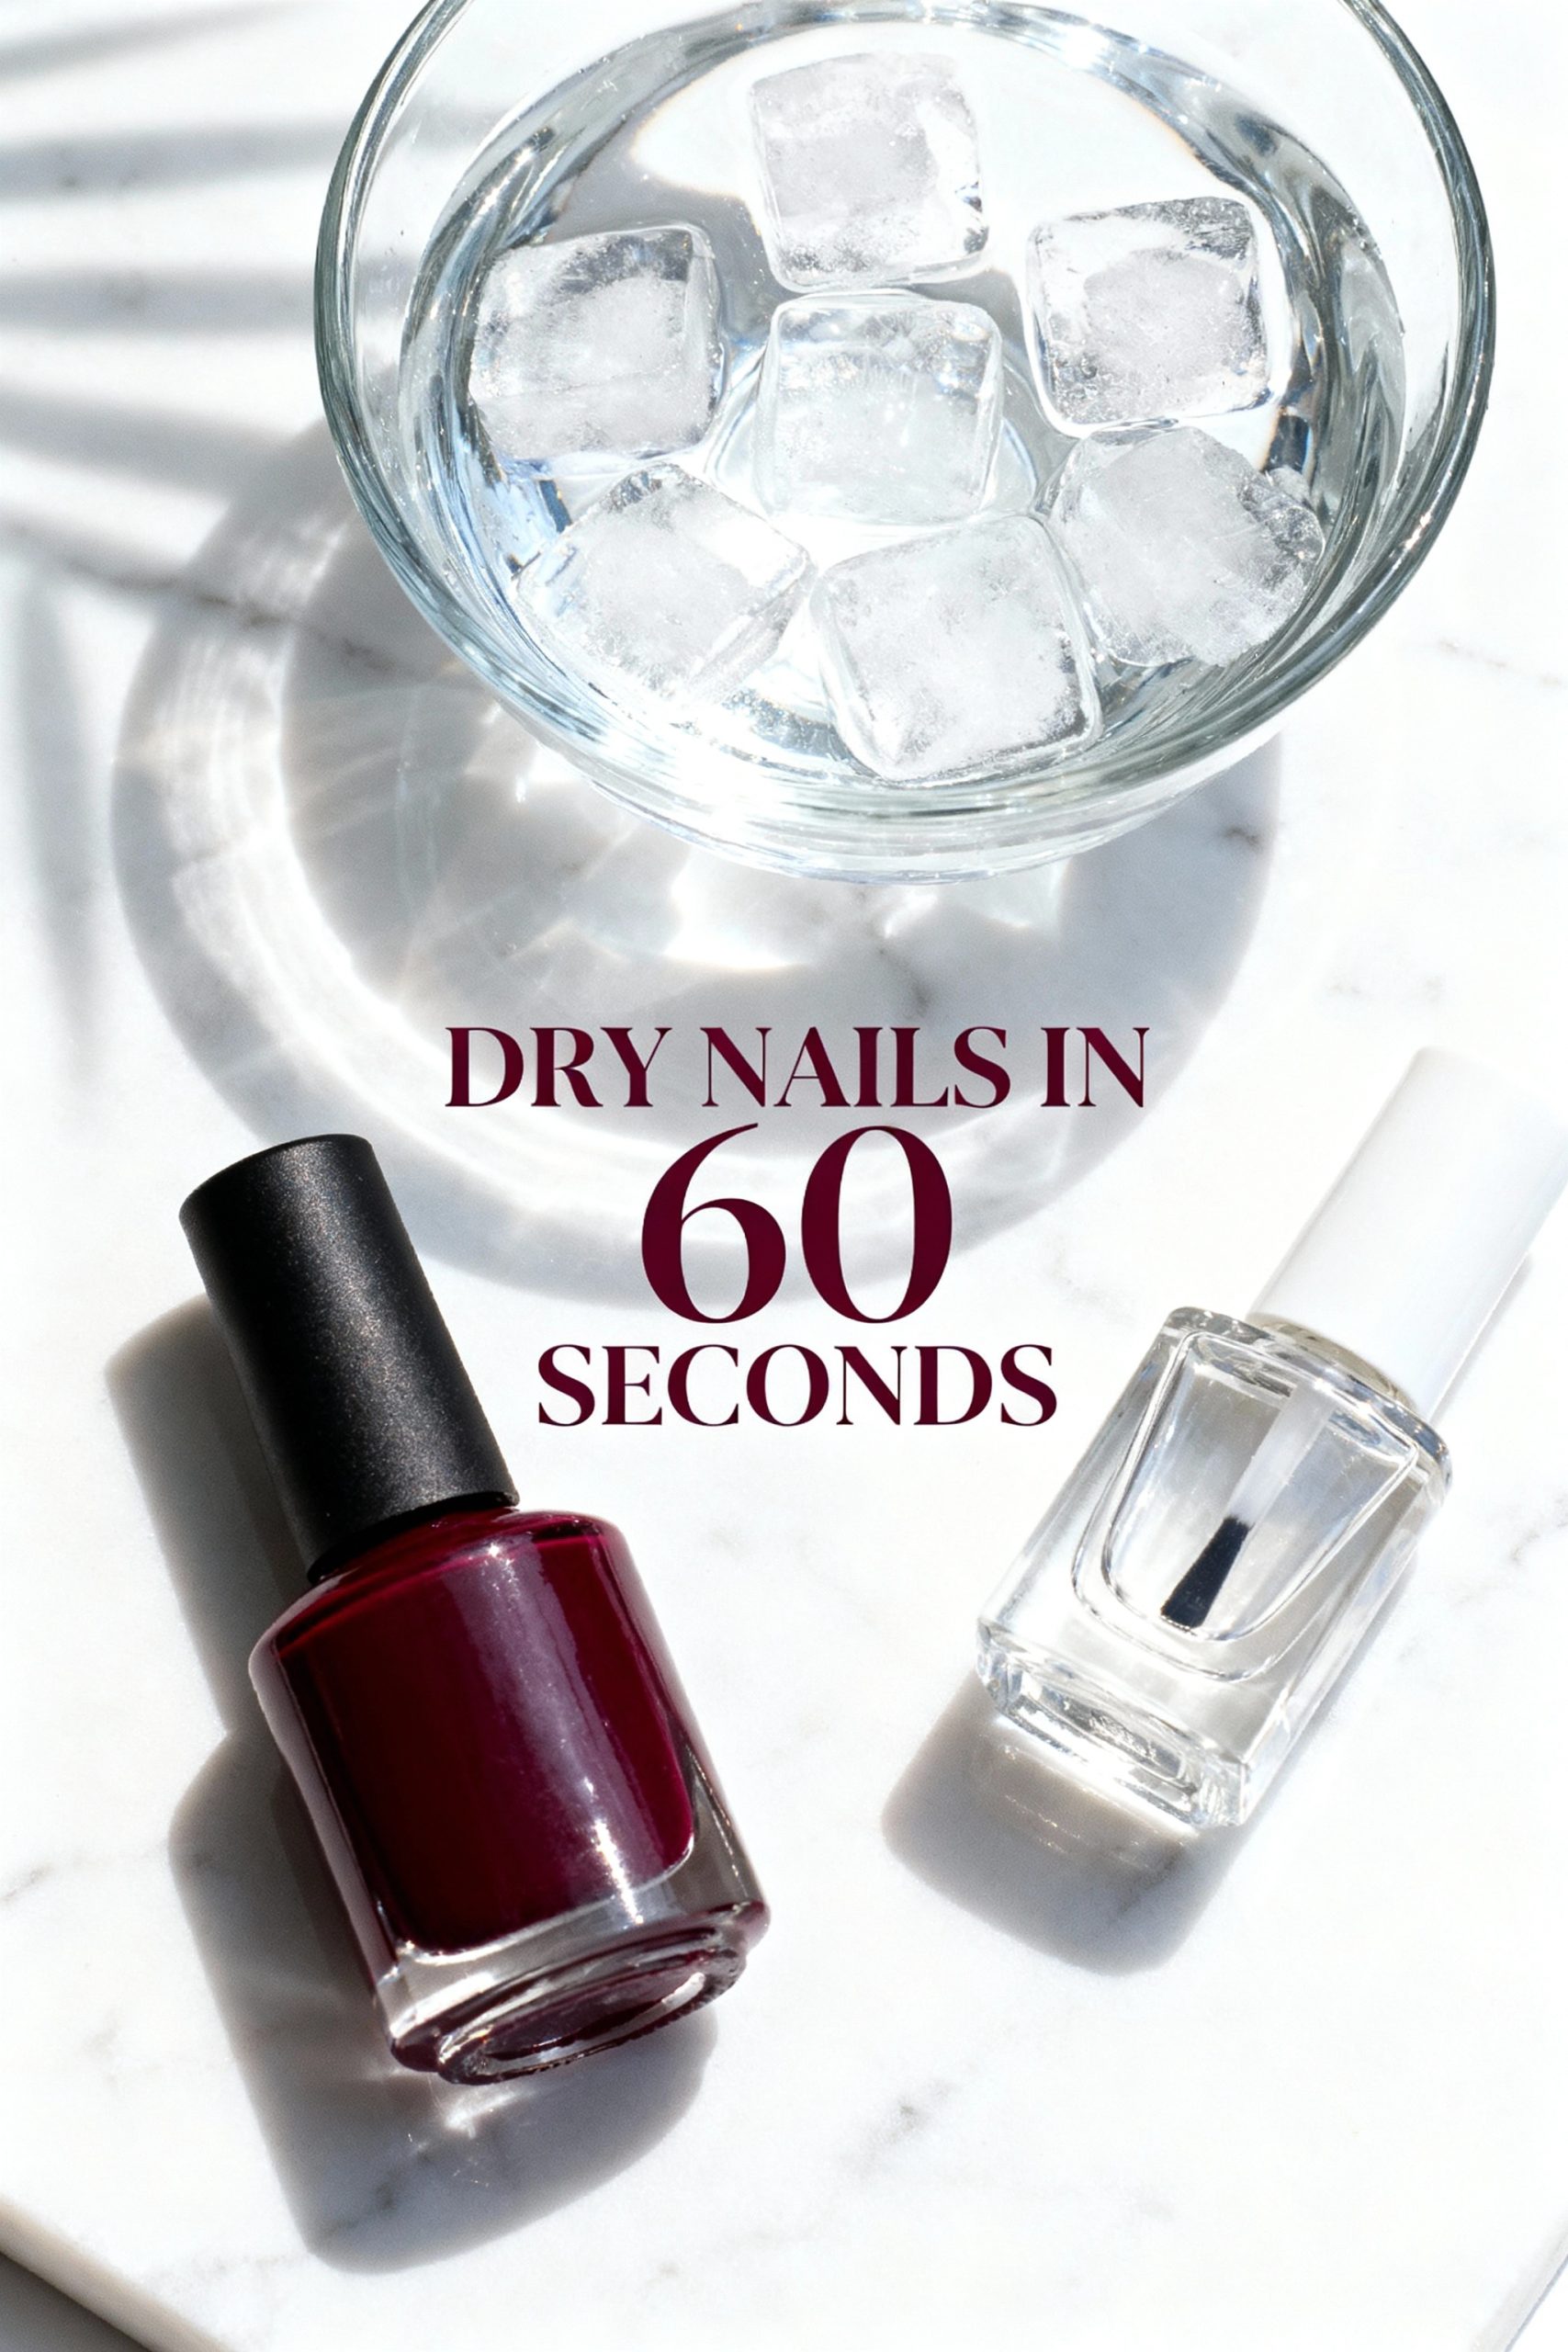
The Ultimate Guide to the 60-Second Ice Water Bath for Instantly Dry Nails

Picture this: you’ve spent precious time carefully applying each coat of your favorite nail polish. The color is perfect, the lines are clean, and you’re admiring your handiwork. Then comes the most challenging part of any at-home manicure: the long, delicate wait. You sit with your hands held out, trying not to move, but a text message, a sudden itch, or the simple act of reaching for a glass of water ends in a smudge. It’s a universal frustration.
But what if a time-honored beauty secret, using nothing more than a bowl of ice water, could set your polish in about a minute? This isn’t a myth; it’s a simple, science-backed method that can transform your manicure routine. Let’s dive into how this surprisingly effective technique gives you a touch-dry, smudge-resistant finish in record time.

The Simple Science: How Does Cold Water Harden Polish?
It sounds a bit counterintuitive. We often associate heat with drying, so how does ice water work? The answer lies in the chemistry of nail polish.
Standard nail polish dries through evaporation. It contains solvents that keep the pigments and polymers in a liquid state. When exposed to air, these solvents slowly evaporate, allowing the polish to harden into a solid film. The ice-cold water leads to a rapid temperature drop on the surface of your nails. This “shock” dramatically accelerates the evaporation of the solvents from the outermost layer, causing it to harden almost instantly. This process, often called ‘shock setting,’ forms a firm, protective shell over the still-curing inner layers, making your nails touch-dry and resistant to smudges.
Your Step-by-Step Guide to a Flawless Finish
Ready to try it? The key to success is in the preparation and a few simple steps.
What You’ll Need:
- A bowl large enough to comfortably fit the fingertips of one hand.
- Cold tap water.
- A tray of ice cubes.
- Your favorite base coat, color polish, and top coat.
The Method:
Step 1: Prepare Your Ice Bath in Advance Before you even unscrew a single bottle of polish, prepare your station. Fill your bowl with cold water and add a generous amount of ice. Let it sit for a few minutes to become thoroughly chilled while you paint your nails. Having it ready is crucial for timing.
Step 2: Apply Your Polish with Precision Perform your manicure as usual. Start with a quality base coat to protect your nails. Then, apply your color. The golden rule here is to use two thin coats rather than one thick, gloopy coat. Allow a minute or two of air-drying time between each layer. Finish with a high-quality top coat to seal the color and add shine.
Step 3: The Critical Pause Once your top coat is on, don’t immediately plunge your nails into the water. Wait for about 60 to 90 seconds. This allows the very top surface of the polish to set slightly, preventing it from rippling when it hits the water.
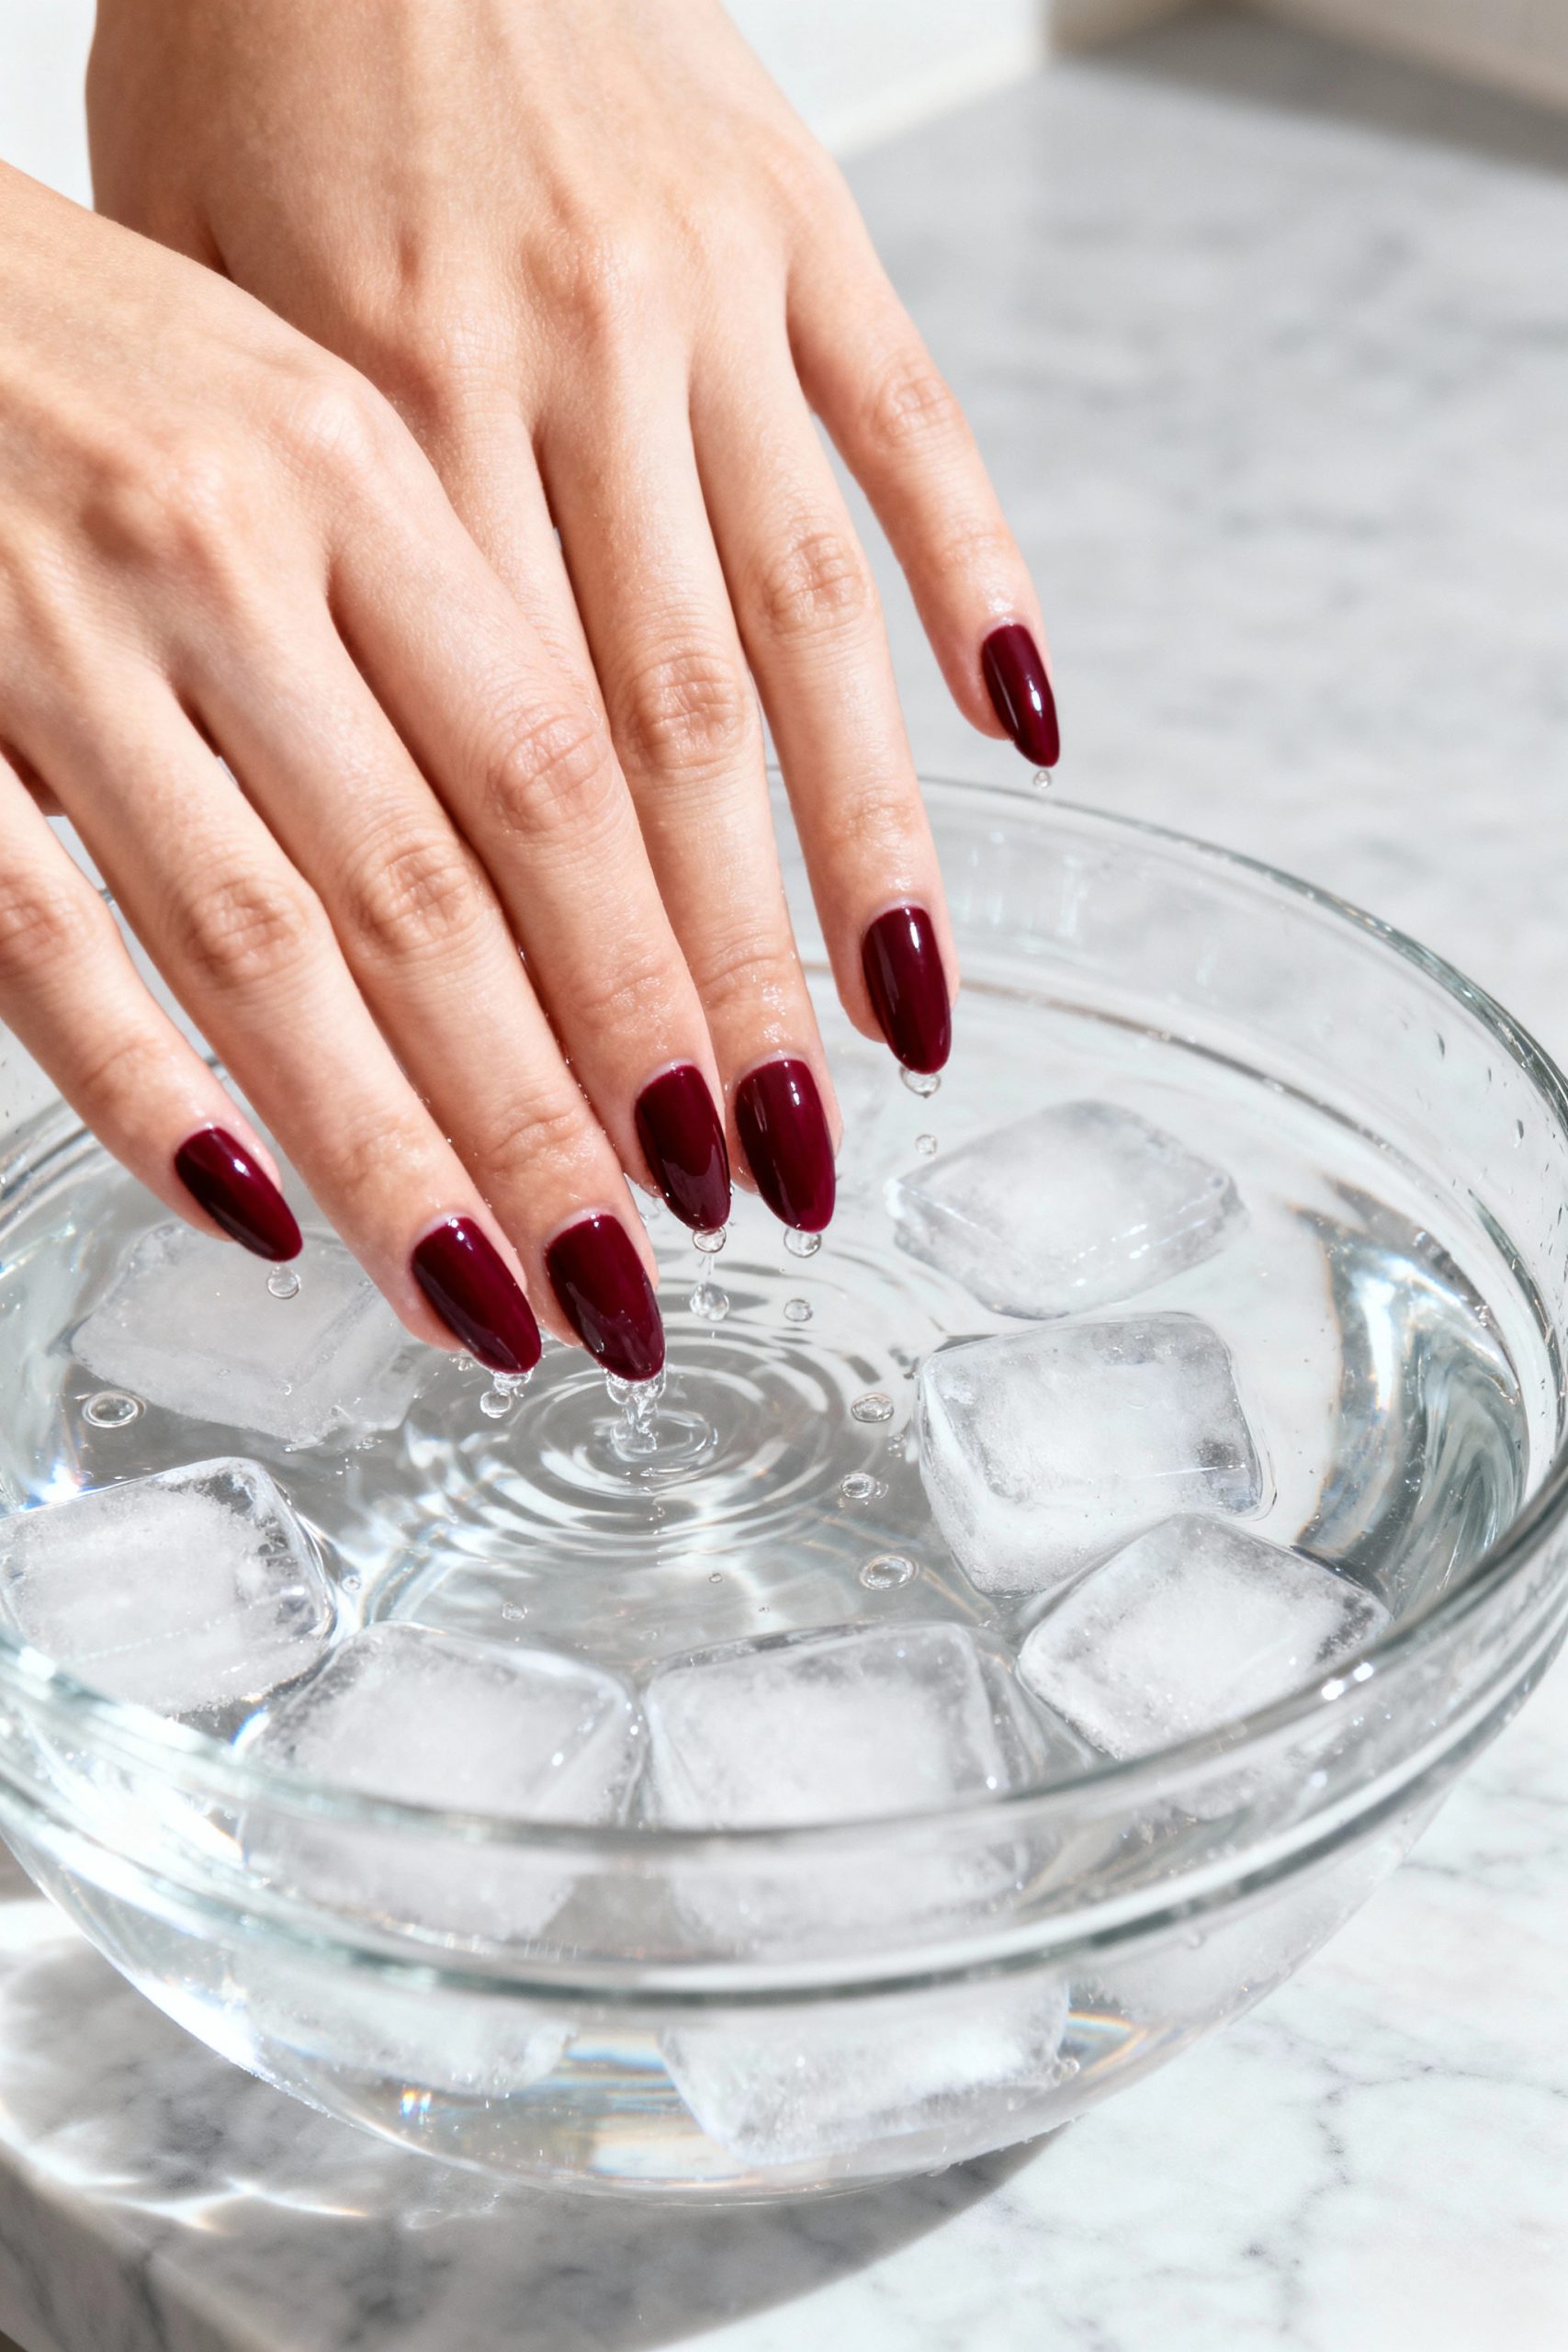
Step 4: Take the Plunge Gently and steadily submerge your freshly painted fingertips into the ice water bath. Ensure all of your nails are fully underwater. Hold them there for at least a full 60 seconds. You might feel a slight tightening sensation, which is a good sign!
Step 5: The Gentle Finish Carefully lift your hands from the bowl. You will see water droplets beaded up on the surface of your perfectly smooth nails. Do not wipe them with a towel. Wiping, even gently, can cause friction and ruin the glossy finish. Instead, let your hands air-dry for another minute or two, or gently pat the skin around your nails with a soft, lint-free cloth.
Common Mistakes and How to Avoid Them
- Using Thick Coats: This is the most common reason the technique fails. A thick coat traps solvents, and the cold water can only harden the top layer, leaving the bottom a gooey mess. Stick to thin, even coats.
- Not Waiting Before the Plunge: Plunging too soon, when the top coat is still very wet, can result in waves or ripples in the finish. The 60-90 second pause is essential.
- Trying it on Gel Polish: This method is exclusively for traditional, air-drying nail lacquers. Gel polish is a completely different formula that requires a specific wavelength of UV or LED light to cure.
By following this guide, you can finally say goodbye to the waiting game and hello to perfectly set, smudge-free nails every time.

