

The “Petroleum Jelly” Barrier Trick: Your Blueprint for a Perfect, Mess-Free Manicure at Home
There’s a unique satisfaction that comes from a freshly painted manicure. The vibrant color, the glossy finish—it’s a small detail that can make a big impact. However, for many of us who prefer doing our nails at home, the process can be a test of patience. The unsteady hand, the stray smudges on the skin, and the tedious cleanup with acetone-dipped cotton swabs can quickly turn a relaxing ritual into a frustrating task.
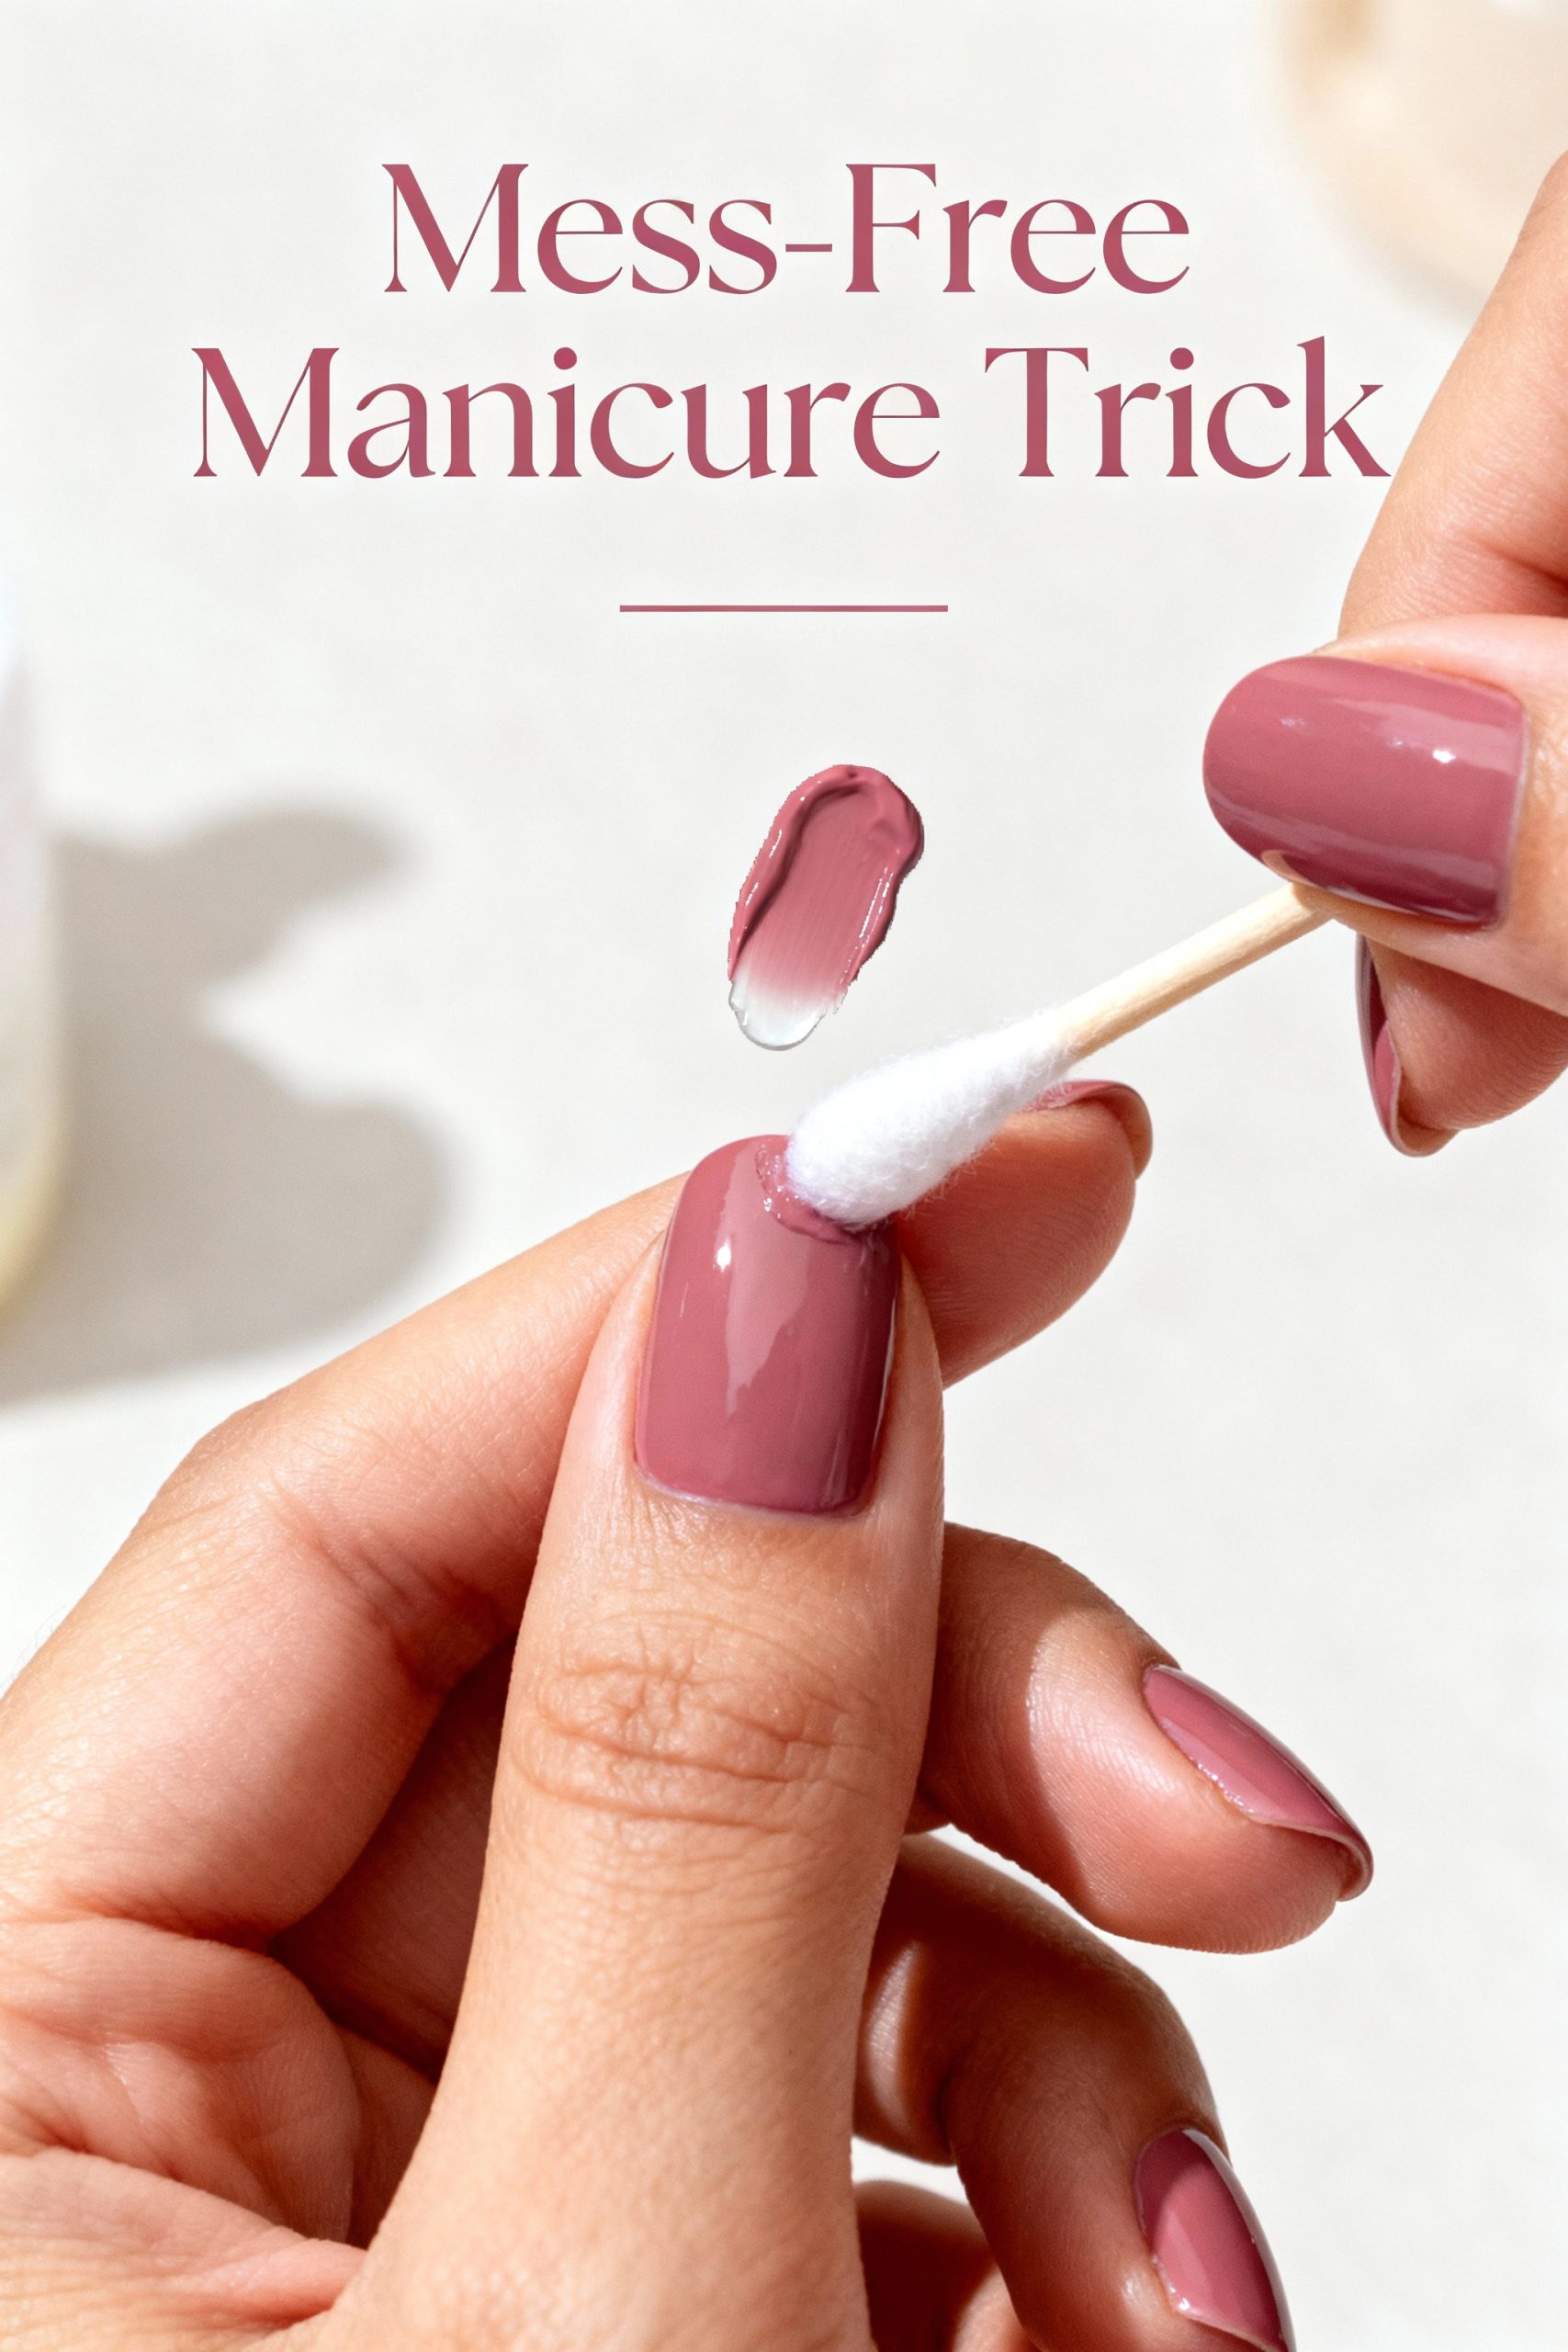
What if there was a way to bypass the cleanup entirely? A simple, almost foolproof technique that guarantees sharp, clean polish lines every single time, using a product you almost certainly have in your bathroom cabinet.
Enter the petroleum jelly barrier trick. This guide will provide you with a detailed blueprint to master this method, transforming your at-home manicure experience and delivering consistently professional-looking results.
Why This Technique is a Game-Changer
The science behind this method is brilliantly simple. Petroleum jelly is an occlusive, oil-based substance. This means it forms a protective, non-porous barrier on any surface it’s applied to. When you carefully apply it to the skin around your nails, you are essentially masking off the area.
Any nail polish that accidentally touches this barrier won’t be able to bond with your skin. Instead, it sits on top of that slick, jelly surface. When you’re done, the jelly and the stray polish wipe away together effortlessly.
The benefits are clear:
- Saves Time and Frustration: It eliminates the need for meticulous, often damaging, cleanup with polish remover.
- Achieves Professional-Looking Lines: The final result is a sharp, defined edge that looks like it was done in a salon.
- Protects Your Skin: It prevents harsh acetone or nail polish remover from drying out the delicate skin around your nails.
- It’s Incredibly Accessible: No special tools are required—just a household staple.
Gathering Your Tools: The Simple Setup
You don’t need a fancy kit for this technique. Here’s your short and simple checklist:
- Petroleum Jelly: The star of the show.
- A Precision Applicator: A thin liner brush (an old makeup brush works well), a fine-tipped art brush, or even a pointed cotton swab. Precision is key.
- Your Manicure Essentials: Base coat, your chosen nail color, and a top coat.
- Cleanup Supplies: A few clean cotton swabs or a paper towel for the final wipe-down.

The Step-by-Step Blueprint for a Flawless Finish
Patience and preparation are your best friends here. Follow these steps methodically for the best outcome.
Step 1: Meticulous Nail Preparation
A great manicure begins before the first coat of polish is even applied.
- Shape and Buff: Start by filing your nails to your desired shape. If the surface is uneven, a gentle buffing can help.
- Cuticle Care: Gently push back your cuticles. A clean nail bed is essential for a polished look.
- Dehydrate the Nail Plate: This is a crucial but often-skipped step. Take a cotton pad with a bit of rubbing alcohol or nail polish remover and wipe down each nail surface. This removes any natural oils or lotions, which helps the polish adhere much better and last longer.
Step 2: Applying the Protective Barrier
This is where the method comes to life.
- Take a Small Amount: Dip your precision applicator into the petroleum jelly. You only need a tiny amount; a thick layer will be difficult to control.
- Trace with Precision: Carefully apply a thin, even layer of the jelly onto the skin directly bordering your nail. This includes the skin along the cuticle line and down the sides of your nail. The goal is to get as close as possible to the nail without actually touching the nail plate itself.
Step 3: The Polishing Process
With your barrier in place, you can now apply your polish with confidence.
- Base Coat: Always start with a base coat to protect your nails from staining and to give the color something to grip onto.
- Apply Your Color: Apply two thin coats of your chosen nail polish, allowing each coat to dry for a few minutes in between. Don’t worry too much about being perfectly neat—your barrier is there to catch any mistakes.
- Seal with a Top Coat: Finish with a high-quality top coat to add shine, protect your color from chipping, and speed up the drying process.
Step 4: The Big Reveal—Effortless Cleanup
Wait until your nails are completely dry to the touch. This is important to avoid smudging your hard work.
- Wipe Away: Take a clean cotton swab or a folded piece of paper towel and gently wipe away the petroleum jelly from around your nail.
- Admire the Result: As you wipe, any stray polish will lift away with the jelly, revealing a perfectly sharp, clean, and stunningly professional manicure line.
With this simple yet highly effective technique, you can elevate your at-home nail care routine and enjoy a flawless, long-lasting manicure without the usual hassle.