

The Brilliant “Upside-Down” Trick for Leftover Cake
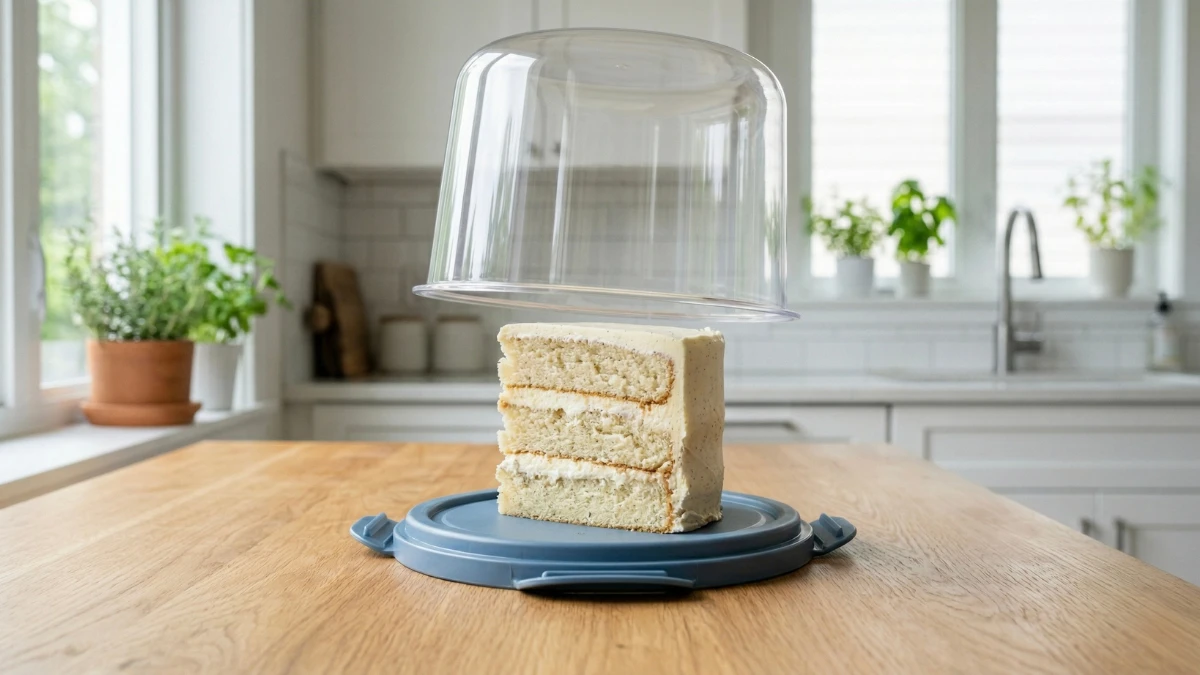
Have you ever spent hours baking a delicious, towering dessert, meticulously spreading the buttercream over every inch, only to watch that beautiful work of culinary art get destroyed the second you try to put it away? We have all been there. Dropping a delicate slice of cake into a deep plastic container is a recipe for absolute disaster. The frosting inevitably smears against the walls, your knuckles get covered in sticky sweetness, and trying to get it back out the next day requires the steady hand of a surgeon.
Grab your coffee, because there is an incredibly simple, clever solution that completely changes how you will store baked goods forever. Enter the upside-down Tupperware method. It is a paradigm shift in kitchen organization that is taking social media by storm, and for a very good reason. Instead of buying expensive, single-use specialty items, this trick uses what you already have in a completely innovative way.
Here is everything you need to know about this brilliant method, why the online baking community is obsessed with it, and how to execute it perfectly.
What Exactly is the Upside-Down Container Method?
The concept is beautifully straightforward. When we look at a standard food storage container, we are conditioned to see the deep bowl as the base and the flat lid as the top cover. This method flips that logic entirely on its head.
Instead of treating the deep section as the bottom, you use the flat, snap-on lid as your base—essentially turning it into a built-in miniature serving plate. You place your leftover slice (or even the entire remaining dessert) directly onto this flat lid. Then, you take the deep, hollow section of the container, turn it upside down, and gently lower it over the food, snapping it securely onto the flat base.
In an instant, you have constructed a highly effective, protective dome. It is airtight, incredibly safe for delicate decorations, and completely eliminates the need to awkwardly lower your hand into a narrow plastic box. It sounds almost too simple to be true, but it solves multiple frustrating kitchen annoyances simultaneously.
5 Reasons Why This Storage Method is a Total Game-Changer
If you are wondering whether you really need to change how you pack up leftovers, here are five practical reasons that prove this method is superior to traditional wrapping or boxing.
1. Flawless Frosting Preservation
When you try to slide a freshly cut piece of dessert down into a regular box, the sides almost always scrape against the plastic walls. Plastic wrap is even worse, as it clings directly to the surface and peels away half of your beautiful icing when removed. By placing the slice on the flat lid first, the frosting remains completely untouched. You simply lower the cover over it like a protective shield, leaving every swirl of buttercream exactly as it was.
2. The Built-In Serving Plate
When tomorrow rolls around and you are ready for a sweet treat with your afternoon tea, there is no need to dirty another plate. You simply unclip the top dome, lift it away, and enjoy your slice right off the lid. Because the lid is completely flat, it acts as a perfect, individual serving dish. This means less washing up and zero hassle.
3. Completely Mess-Free Extraction
We have all tried to pry a piece of pie or a slice of dense mud cake out of a deep container using a spatula, only to have it break in half or tip over onto its side. Because the dessert is resting on a completely flat surface, you can easily slide a server underneath it without navigating any awkward angles or high walls.
4. Refrigerator Organization and Space Efficiency
Traditional glass or acrylic cake domes are beautiful, but they are incredibly bulky. They often take up an entire vertical shelf in the refrigerator, forcing you to rearrange all your groceries just to fit them in. Using a simple, everyday food storage tub upside down gives you the exact same protective benefits but takes up significantly less room. You can choose a container size that perfectly matches the portion of your leftovers, keeping your fridge neat and organized.
5. Ideal for Long-Term Freezing
If you baked too much and want to save some portions for next month, this method is fantastic for the freezer. You can place single slices on the lids of small, individual-sized containers, freeze them solid, and have a ready-to-eat dessert whenever you want. Because the container is hard-sided, you never have to worry about the frozen slices getting crushed by other items in your freezer drawer.
The Science of Freshness: Why This Beats Plastic Wrap
To truly appreciate why this method is so effective, it helps to understand what happens to baked goods when they sit in the fridge. The process of a soft sponge losing its fresh, tender texture is known as retrogradation. Moisture inside the baked structure evaporates, and starches begin to crystallize and harden.
When you simply drape a piece of plastic wrap or aluminum foil over a sliced edge, air can still easily circulate underneath the loose folds. The dry air of the refrigerator pulls moisture directly out of the crumb. However, by utilizing a hard-sided storage container snapped securely into its lid, you form an impermeable, airtight seal. This micro-environment traps the ambient moisture, preventing the starches from hardening while simultaneously keeping out unwanted refrigerator odors. Nobody wants a vanilla sponge that tastes vaguely like the chopped onions sitting on the shelf below it.
Real Community Experiences: The Internet Agrees
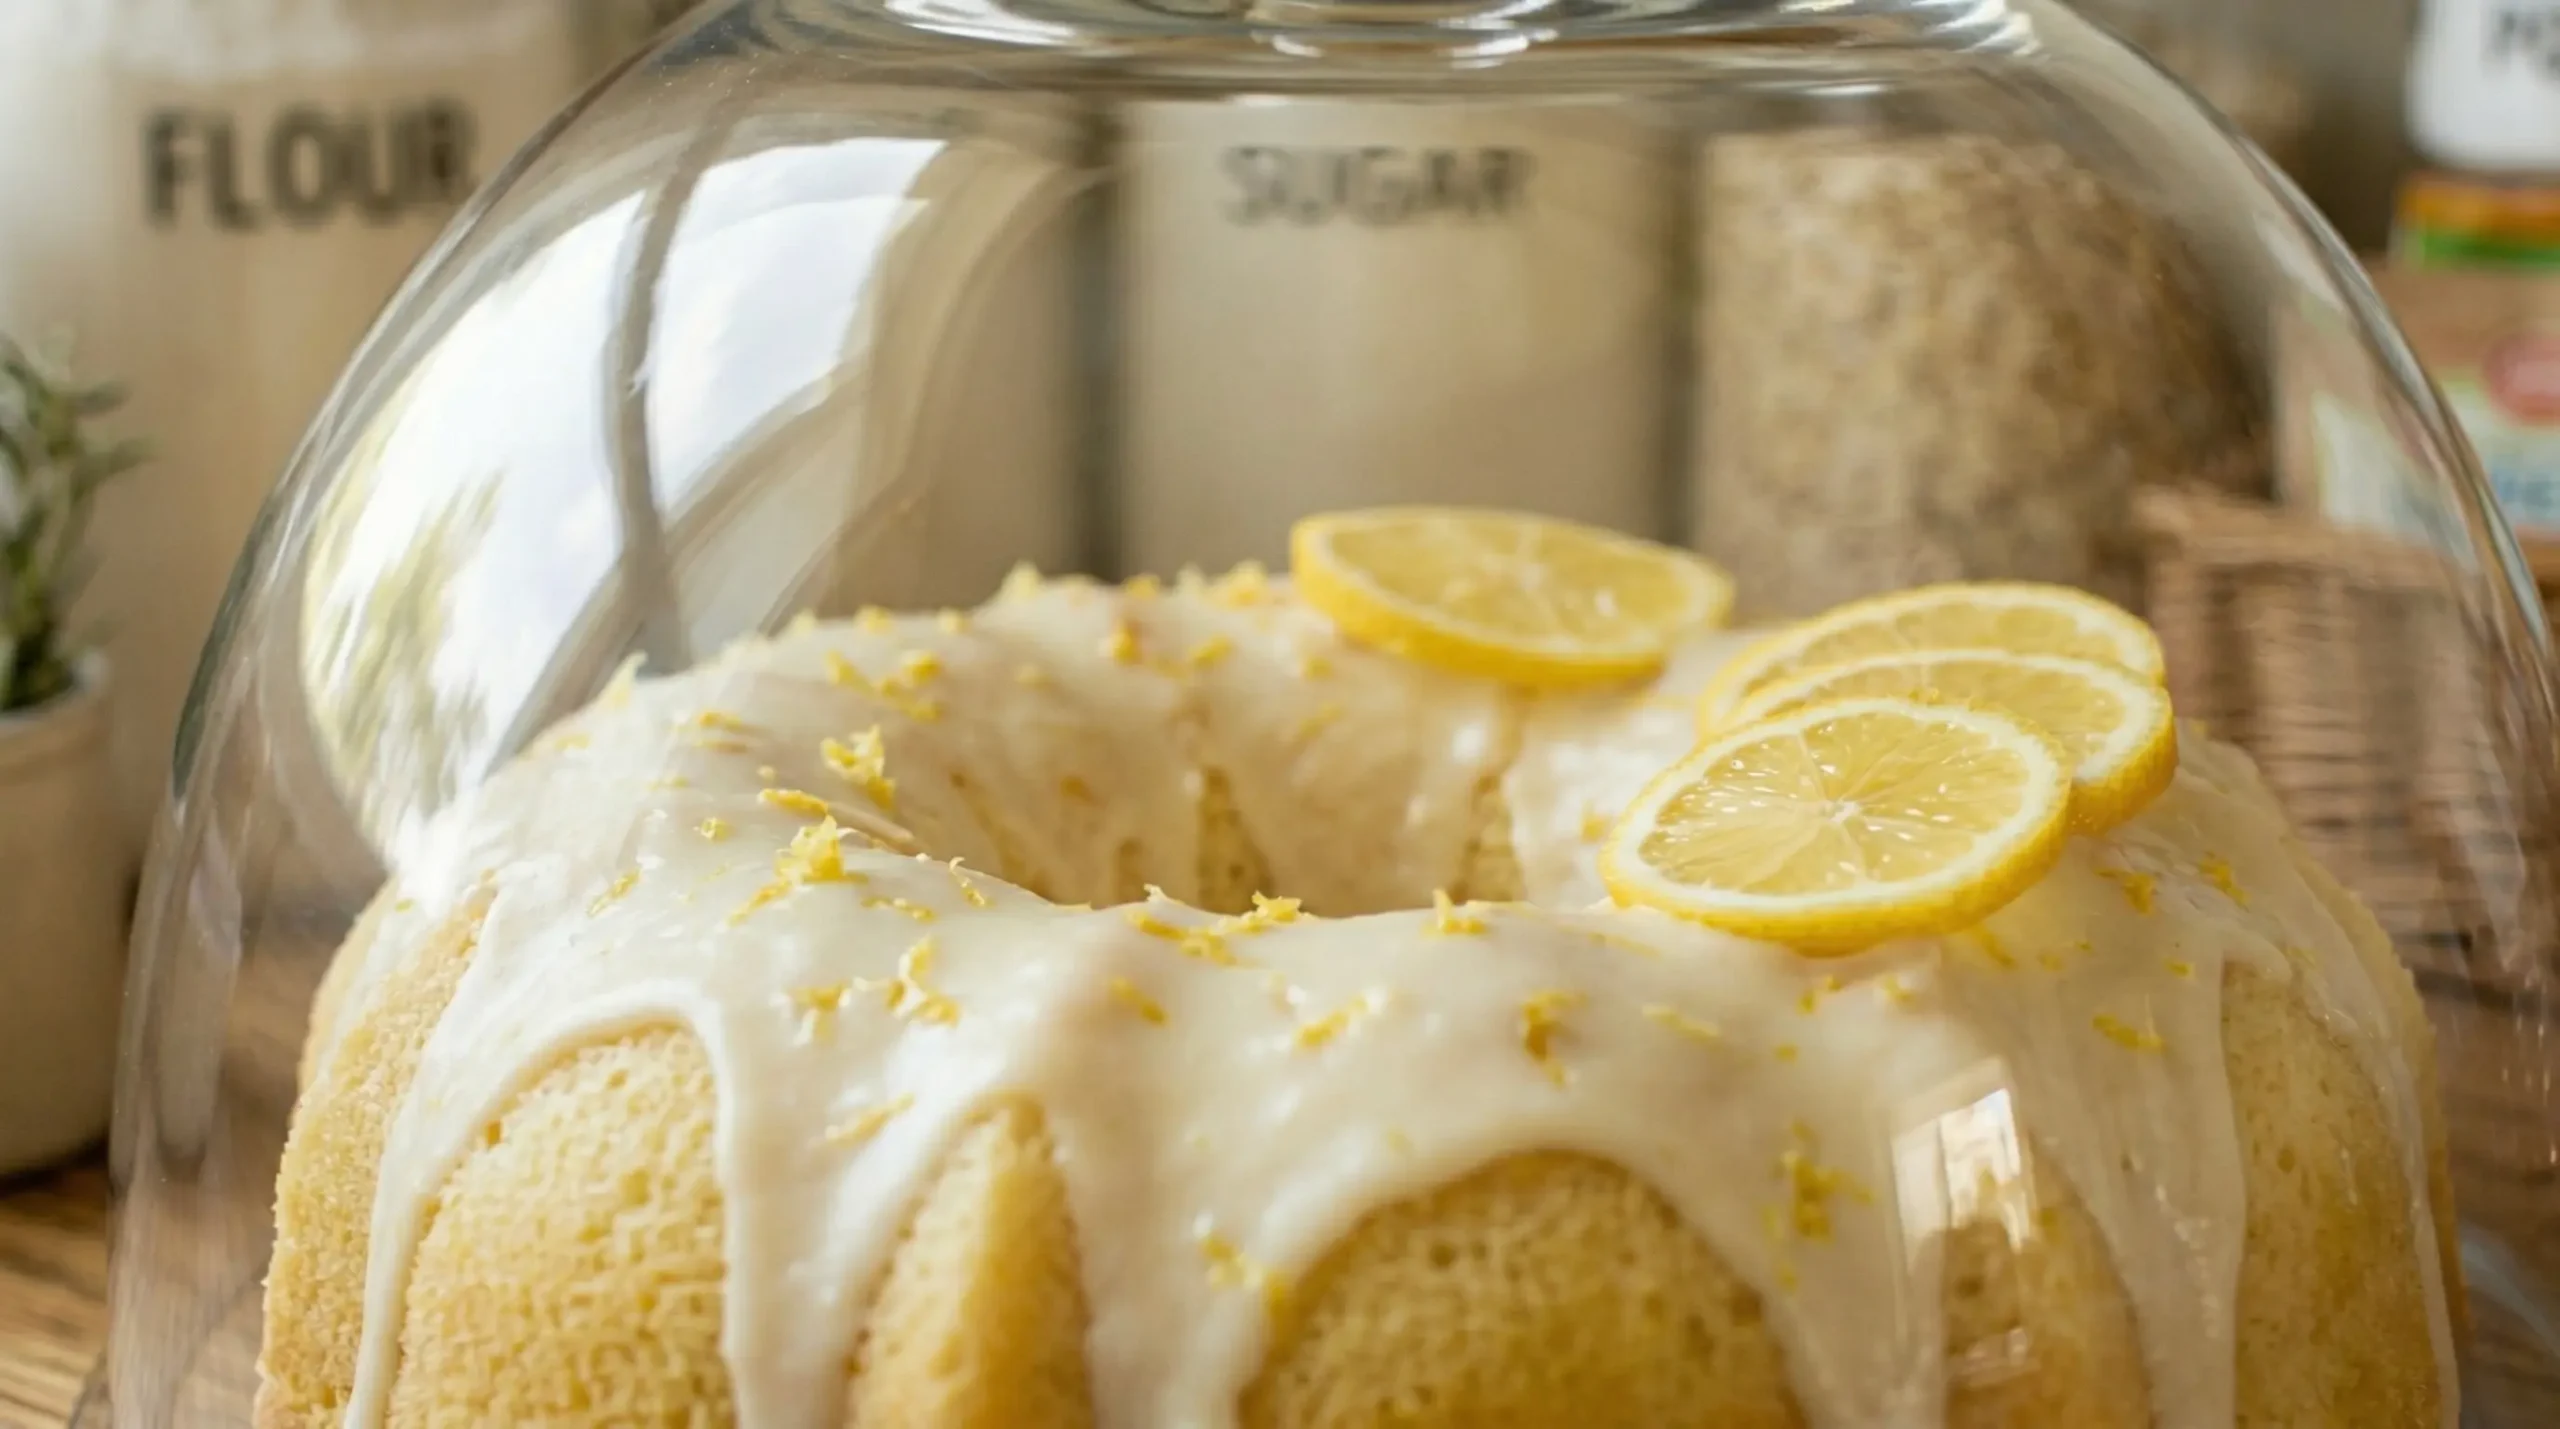
This is not just a theoretical concept; it is a tried-and-true practice backed by countless home cooks. A quick glance at online platforms reveals just how popular this approach has become. In the popular Reddit community r/LifeProTips, users frequently share this exact strategy for storing foods that are traditionally served from the bottom up.
One user perfectly summarized the collective feeling of discovering this trick: “I’ve been doing it like this for ages and thought I was insane… thanks for convincing me I’m normal.” Another enthusiastic baker chimed in from the r/foodhacks subreddit, noting, “The lid also doubles as a plate! Who are you, so wise in the ways of science?”
Many users in community discussions emphasize how this solves the eternal struggle of slices tipping over. “My slices always tip over when I try to put them down in a container, and then they’re hard to get out,” one person commented recently. “This way I can just use a cake server.” Furthermore, food experts at publications like The Daily Meal have highlighted how this simple flip makes storing leftovers seriously mess-free, confirming what practical home bakers have known for years.
Step-by-Step Guide to Perfect Execution
While the process is highly intuitive, a few specific details will ensure you get the best results every single time without any accidental messes.
Step 1: Choose the Right Vessel Select a sturdy plastic or glass storage container that has a tight, snapping lid. Containers with heavy-duty locking clips on all four sides are the absolute best choice for this task.
Step 2: Prepare the Base Take the lid and place it flat on your counter. For extra ease of cleaning and an added layer of protection, you can cut a small square of baking parchment paper and place it directly onto the lid.
Step 3: Transfer with Care Using a wide spatula, carefully lift your leftover slice and place it onto the center of the lid. Ensure no part of the dessert is hanging over the rubber sealing ring of the lid.
Step 4: Seal the Deal Take the deep part of the container, hold it upside down, and carefully lower it straight down over the food. Line up the edges and snap all the locking clips securely into place.
Step 5: The Golden Rule of Carrying This is the most crucial step: Always carry the sealed container by supporting the bottom (which is actually the lid). Do not grab it by the top dome! If your container does not have strong locking clips, the weight of the food could cause the bottom to fall out, sending your delicious treat straight to the floor. Always keep a hand underneath.
Beyond the Cake: Other Brilliant Culinary Applications
Once you start using the upside-down technique, you will quickly realize its utility extends far beyond leftover birthday treats. This method is incredibly versatile for any item that has a delicate top or is difficult to extract from deep bowls.
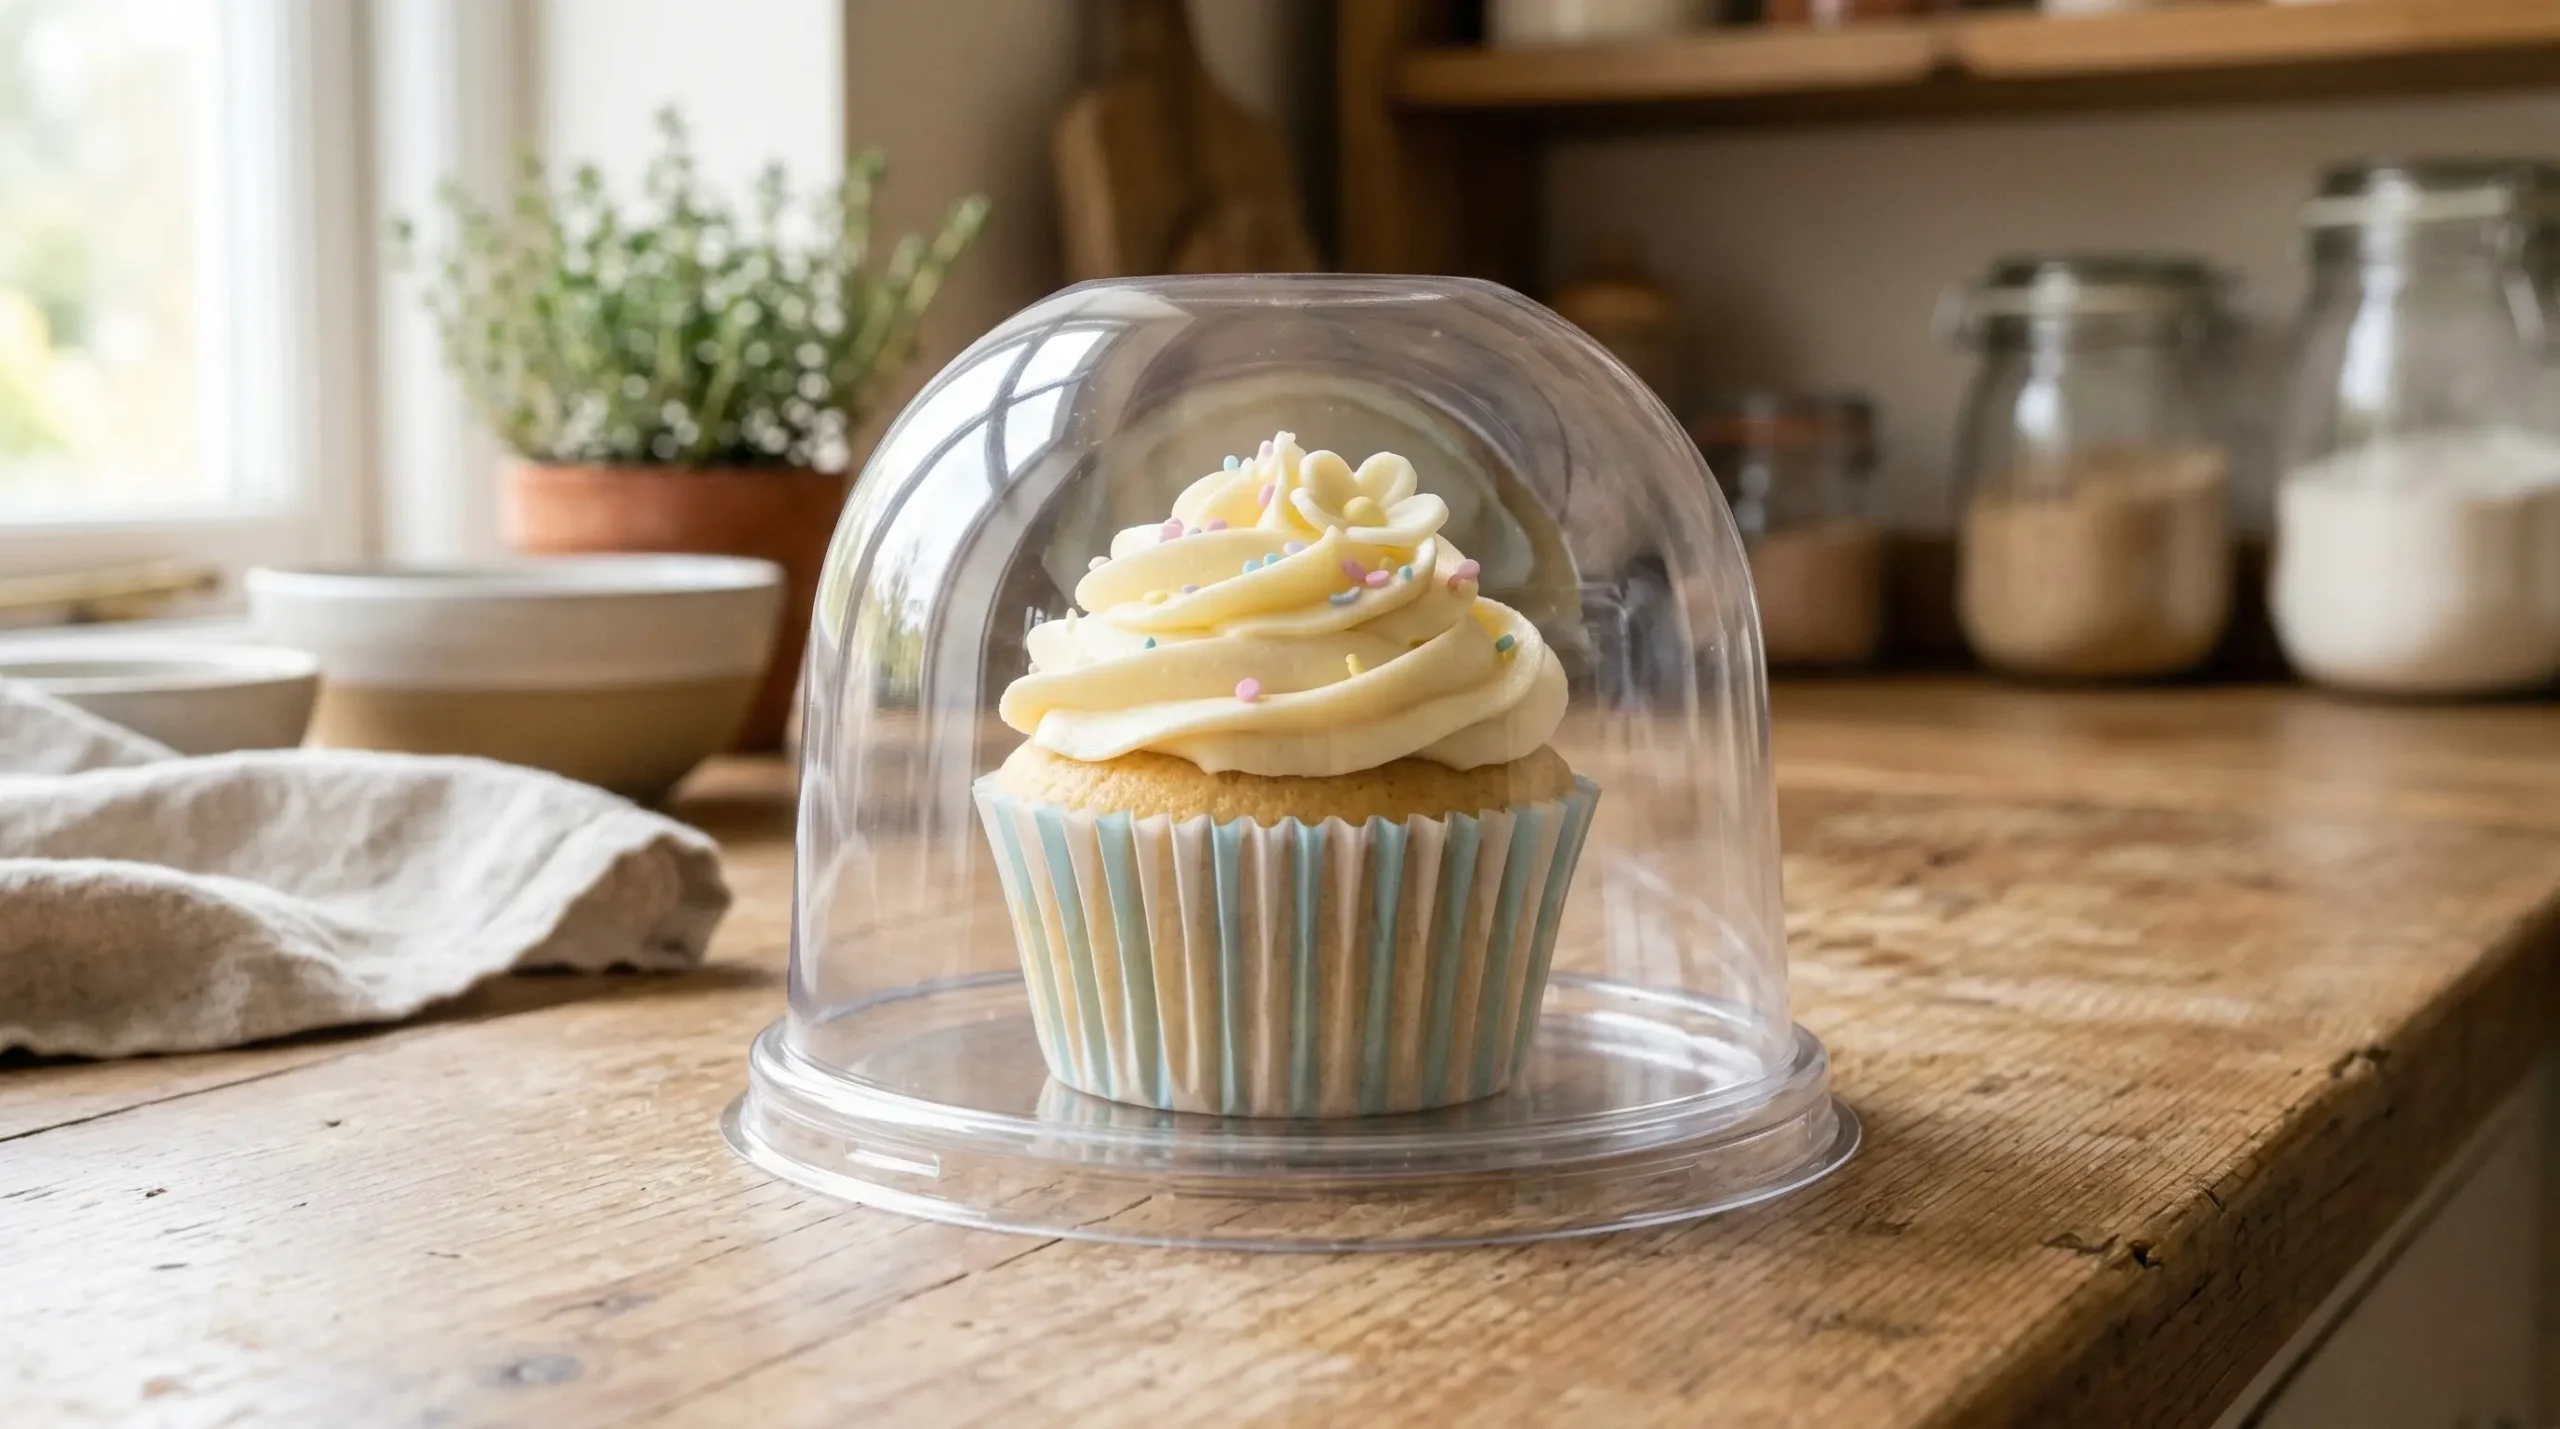
- Frosted Cupcakes and Muffins: Say goodbye to smeared icing or crushed muffin tops. They sit perfectly upright on the flat base, making them easy to pack for a picnic.
- Quiches and Savory Tarts: The buttery crust on a quiche is notoriously fragile. Storing it on the flat lid means you can easily slide a pie server underneath a slice without crumbling the delicate pastry edges.
- Cheesecake: A dense, rich cheesecake can be stubborn to move once it is chilled. The flat surface makes serving the next day an absolute breeze.
- Fresh Artisan Bread: If you have baked a beautiful sourdough loaf, storing it cut-side down on a flat lid with a large container placed over it helps keep the crust crusty and the interior beautifully soft, while taking up less space than a traditional bread box.
Final Thoughts on Smarter Storage
Say goodbye to the days of battling with sticky plastic wrap and struggling to dig your favorite desserts out of awkward plastic boxes. By simply flipping your perspective—and your food storage containers—you can keep your kitchen neatly organized, your cleanup minimal, and your beautiful baked goods perfectly intact.
It is a remarkably small change that makes a huge difference in your daily routine, proving that sometimes the best solutions do not require buying anything new; they just require looking at what we already have from a completely different angle. Enjoy your perfectly preserved, mess-free treats!