

How to Shred a Whole Chicken Breast in 10 Seconds Using a Hand Mixer
Picture this: you have just finished cooking a beautiful batch of chicken breasts for your weekly meal prep. The kitchen smells wonderful, you are feeling productive, and then reality sets in. You now have to stand over a cutting board with two forks, meticulously tearing apart every single piece of meat. By the time you are done, your hands are tired, the meat has gone cold, and the shreds are entirely uneven. We have all been there, and it is easily one of the most tedious tasks in the kitchen.
But what if there was a brilliantly simple way to bypass this frustrating chore completely? What if you could achieve perfectly shredded meat in literally ten seconds without straining your wrists? Enter the hand mixer method. This incredible kitchen hack transforms a tedious ten-minute job into an effortless ten-second task. Whether you are preparing a comforting soup, assembling enchiladas, or whipping up a quick chicken salad for lunch, this technique is an absolute game-changer. Grab your favorite cup of coffee, settle in, and let’s explore exactly how to master this time-saving technique, why it works so flawlessly, and the best ways to utilize your perfectly prepped poultry.
The Science Behind the Shred: Why Warm Meat Matters
Before diving into the mechanical aspect of using a hand mixer, it is essential to understand how chicken fibers work. You cannot effectively shred a piece of meat that is tough, dry, or cold. The success of this technique relies entirely on the state of the protein.
When chicken is cooked properly, the collagen within the connective tissues breaks down, allowing the muscle fibers to separate easily. However, as the meat cools, those fibers tighten back up, making them stubborn and resistant to pulling. This is why attempting to shred cold, leftover chicken from the fridge is always a struggle.
For the hand mixer method to work flawlessly, the chicken must be warm. It should be cooked thoroughly—reaching the standard internal safe temperature of 165°F (74°C)—and allowed to rest for just a few minutes. Resting ensures that the natural juices redistribute throughout the meat, keeping it moist. Once rested but still warm to the touch, the structure of the meat is incredibly pliable, making it the perfect candidate for the beaters of your hand mixer.
Step 1: Choosing the Best Cooking Method for Shreddable Chicken
The foundation of perfectly shredded chicken is perfectly cooked chicken. Dry, overcooked breasts will turn into powdery dust rather than succulent shreds when subjected to a mixer. Here are the three most reliable cooking methods to achieve the ideal texture:
The Gentle Poach
Poaching is widely considered the superior method for preparing shreddable chicken. By submerging the meat in a flavorful liquid (like chicken broth infused with bay leaves, peppercorns, and garlic) and keeping it at a gentle simmer, the meat cooks evenly without drying out. The liquid acts as a buffer against high heat, resulting in a tender, juicy breast that practically falls apart on its own.
The Slow Cooker Approach
If you prefer a hands-off approach, the slow cooker is your best friend. Placing chicken breasts in a slow cooker with half a cup of chicken broth on the low setting for 4 to 6 hours yields extraordinarily tender results. The low, slow heat gently breaks down the proteins, ensuring that the meat offers zero resistance when the hand mixer is introduced.
The Baked En Papillote (In Parchment)
Baking can easily dry out poultry, but wrapping the breasts in parchment paper or aluminum foil traps the steam inside. Season your meat, add a drizzle of olive oil, wrap it tightly, and bake at 375°F (190°C) for about 25-30 minutes depending on thickness. The steam environment mimics poaching, keeping the interior beautifully moist.
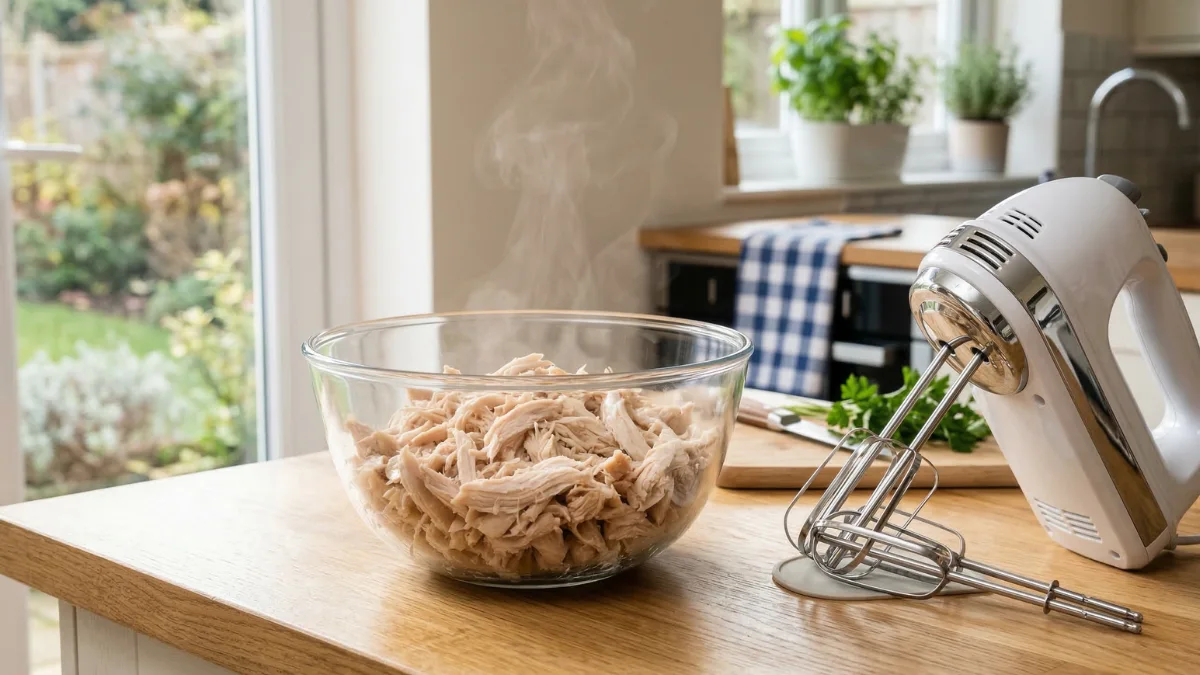
Step 2: The 10-Second Hand Mixer Technique
Now for the exciting part. You have your perfectly cooked, warm chicken ready to go. Here is the step-by-step process to shred it flawlessly in mere seconds.
Equipment Needed:
- A standard electric hand mixer with basic beater attachments.
- A very deep, large mixing bowl (stainless steel or glass).
The Process:
- Transfer the Meat: Place your warm, rested chicken breasts into the deep mixing bowl. Do not use a shallow dish or a plate; a deep bowl is absolutely critical to contain the meat and prevent it from flying across your kitchen counters.
- Position the Mixer: Insert the beaters directly into the bowl, resting them gently on top of the chicken breasts.
- Start Slow: This is the most important rule. Turn your hand mixer on to its absolute lowest speed setting. Applying high speed immediately will cause chaos and potentially fling pieces of chicken out of the bowl.
- Apply Gentle Pressure: Gently press the rotating beaters down onto the chicken. You will immediately feel the meat begin to give way.
- Use a Circular Motion: Slowly move the mixer in a circular motion around the bowl. The beaters will effortlessly pull the muscle fibers apart.
- Watch the Clock: Stop after 10 to 15 seconds! It happens remarkably fast. If you continue mixing, the chicken will go from beautifully shredded to a mushy, unappetizing paste.
Insights from the Kitchen Community: Real Experiences
When adopting a new kitchen trick, it is always helpful to hear from everyday home cooks who use it regularly. On platforms like Reddit, particularly within communities like r/MealPrepSunday and r/Cooking, this specific technique is frequently praised, but users offer some valuable real-world advice to perfect it.
Many community members emphasize the importance of vessel choice. A highly upvoted tip on a recent r/Cooking thread suggested using the very same deep pot you used to boil or poach the chicken (after draining the broth, of course). This not only minimizes the number of dishes you have to wash but the high walls of a stockpot provide the ultimate protection against flying chicken pieces.
Another common piece of advice from frequent meal-preppers is regarding the mixer attachments. Standard wire beaters work wonderfully, but if your hand mixer comes with dough hooks, some users report that those provide a slightly thicker, chunkier shred that holds up better in heavy dishes like chili or baked pastas, whereas standard beaters provide a finer shred perfect for tacos and dips.
Flavoring Your Shredded Chicken
The absolute best time to season shredded chicken is the exact moment it finishes mixing. Because the meat is still warm and freshly torn apart, the newly exposed surface area acts like a sponge, eagerly absorbing any spices or sauces you add.
Instead of waiting until you assemble your final dish, try tossing the warm chicken immediately with your chosen flavor profile:
- For Tacos and Fajitas: Sprinkle a robust blend of cumin, chili powder, smoked paprika, garlic powder, and a squeeze of fresh lime juice directly into the bowl and give it one final, quick toss with a spatula.
- For Barbecue Staples: Pour half a cup of your favorite high-quality BBQ sauce over the warm shreds. The heat of the meat will thin the sauce slightly, allowing it to coat every single strand evenly.
- For a Buffalo Kick: Whisk together classic hot sauce and a small amount of melted butter, then pour it over the chicken for an instant Buffalo mix that is perfect for wraps or topping salads.
Safe Storage and Freezing Guidelines
One of the greatest benefits of this 10-second technique is how easily it facilitates bulk meal preparation. If you take the time to prepare a large batch of shredded chicken on a Sunday, you set yourself up for culinary success for the rest of the week.
Refrigeration: Allow the shredded chicken to cool completely at room temperature (but do not leave it out for more than two hours). Transfer it to an airtight glass or BPA-free plastic container. It will remain fresh and safe to eat in the refrigerator for 3 to 4 days.
Freezing for Later: Shredded chicken freezes beautifully. For the best results, portion the cooled chicken into heavy-duty freezer bags. Flatten the bags out to remove as much air as possible before sealing; this prevents freezer burn and allows the bags to stack neatly in your freezer, saving valuable space. Properly stored, it will maintain its quality for up to three months. To thaw, simply transfer a bag to the refrigerator overnight.
Fantastic Ways to Utilize Your Prepped Chicken
Having a container of perfectly textured shredded chicken in your fridge opens the door to dozens of quick, nutritious meals. Here are just a few ways to put your meal-prep to excellent use:
- Elevated Chicken Salads: Combine the cold shreds with high-quality mayonnaise, finely diced celery, red onion, toasted pecans, and a dollop of Dijon mustard for a sophisticated lunch.
- Hearty Soups: Stir the chicken into a simmering pot of chicken broth, carrots, celery, and noodles during the last five minutes of cooking. Since the meat is already cooked, it just needs to be warmed through.
- Stuffed Bell Peppers: Mix the chicken with cooked quinoa, black beans, corn, and a sprinkle of cheese, stuff into halved bell peppers, and bake until tender.
- Quick Quesadillas: Layer the meat between tortillas with a generous handful of sharp cheddar and Monterey Jack cheese, toasting in a skillet until crisp and melted.
By incorporating this simple, highly effective hand mixer technique into your kitchen routine, you completely eliminate the most frustrating aspect of protein preparation. It is practical, it is fast, and it delivers consistent, restaurant-quality results every single time.