

The 30-Second Blender Cleaning Hack You’ll Wish You Knew Sooner
Starting the day with a fresh, nutrient-packed green smoothie, a rich protein shake, or a perfectly blended iced coffee is a fantastic way to kick off the morning. However, the joy of enjoying that delicious, refreshing beverage often comes to a screeching halt the exact moment the empty blender pitcher is left sitting on the kitchen counter. The thought of disassembling the sharp blades, reaching deep into the narrow base with a sponge, and meticulously scrubbing away sticky residue is more than enough to make anyone want to skip the blending process altogether.
We have all been there, staring at the crusted remains of spinach, chia seeds, and protein powder, wishing there was an easier, faster way to manage the aftermath. The good news is that there is a brilliantly simple method that takes all the frustration out of kitchen cleanup. This game-changing 30-second blender cleaning hack is not just a passing social media trend; it is a fundamental shift in how we maintain our kitchen appliances. Let us explore exactly how this self-cleaning technique works, why it is so effective, and why it is the absolutely only method you will ever need to keep your kitchen running smoothly.
Why We Avoid Blending: The Cleaning Dilemma
It is a well-known fact among home cooks that the primary barrier to eating healthier or trying new recipes often is not the preparation itself, but the anticipated dread of the cleanup. Traditional cleaning methods for appliances with complex parts are tedious. When you attempt to wash the pitcher manually with a sponge, you are not only fighting against the narrow design of the jug, but you are also introducing a genuine risk of cutting your fingers on the razor-sharp blades at the bottom.
Furthermore, ingredients like peanut butter, frozen bananas, and flaxseeds have a remarkable tendency to turn into an incredibly stubborn cement if left to dry even for just a few minutes. Many people end up putting the entire pitcher into the dishwasher, only to find that the high heat and harsh detergents degrade the rubber seals and dull the sharp metal edges over time, drastically reducing the lifespan of the appliance.
The Mechanics: How the Self-Cleaning Appliance Works
Before diving into the exact steps of the routine, it helps to understand why traditional scrubbing is entirely unnecessary. Blenders are highly specialized tools engineered to generate immense power, forming a rapid, forceful vortex that pulls heavy ingredients down into the blades to pulverize them.
The 30-second cleaning hack leverages the machine’s own aerodynamic design and motor power to do all the heavy lifting for you. By introducing warm water and a mild detergent into the mix, the appliance forms a soapy cyclone. This high-speed cyclone forcefully dislodges trapped food particles from every hidden crevice, including the notoriously difficult-to-reach area directly beneath the blade assembly. It is a perfect example of working smarter, not harder, in the kitchen, utilizing the tool’s core function to maintain its own hygiene.
The 30-Second Blender Cleaning Hack: Step-by-Step
To execute this method perfectly and achieve a spotless finish, you only need three things: warm water, standard dish soap, and your dirty blender. For the best possible results, it is highly recommended to perform this quick routine immediately after pouring your drink, before the leftover residue has any chance to dry and harden.
- The Initial Rinse: Start by giving the pitcher a quick, vigorous rinse under the tap to flush out any large, loose debris. This step is technically optional, but it significantly helps the soap work more effectively on the stubborn, stuck-on bits at the bottom.
- Add Warm Water: Fill the pitcher roughly halfway with warm to hot tap water. It is very important to avoid using actively boiling water. If your pitcher is made of plastic or thin glass, extreme temperature changes can cause microscopic cracking or severe warping over time. Warm tap water is perfectly sufficient.
- Introduce the Soap: Add just one or two small drops of your favorite liquid dish soap. Be extremely cautious here—adding too much soap will quickly result in an overflow of thick bubbles that could forcefully seep out of the lid and make a massive, slippery mess all over your kitchen counter.
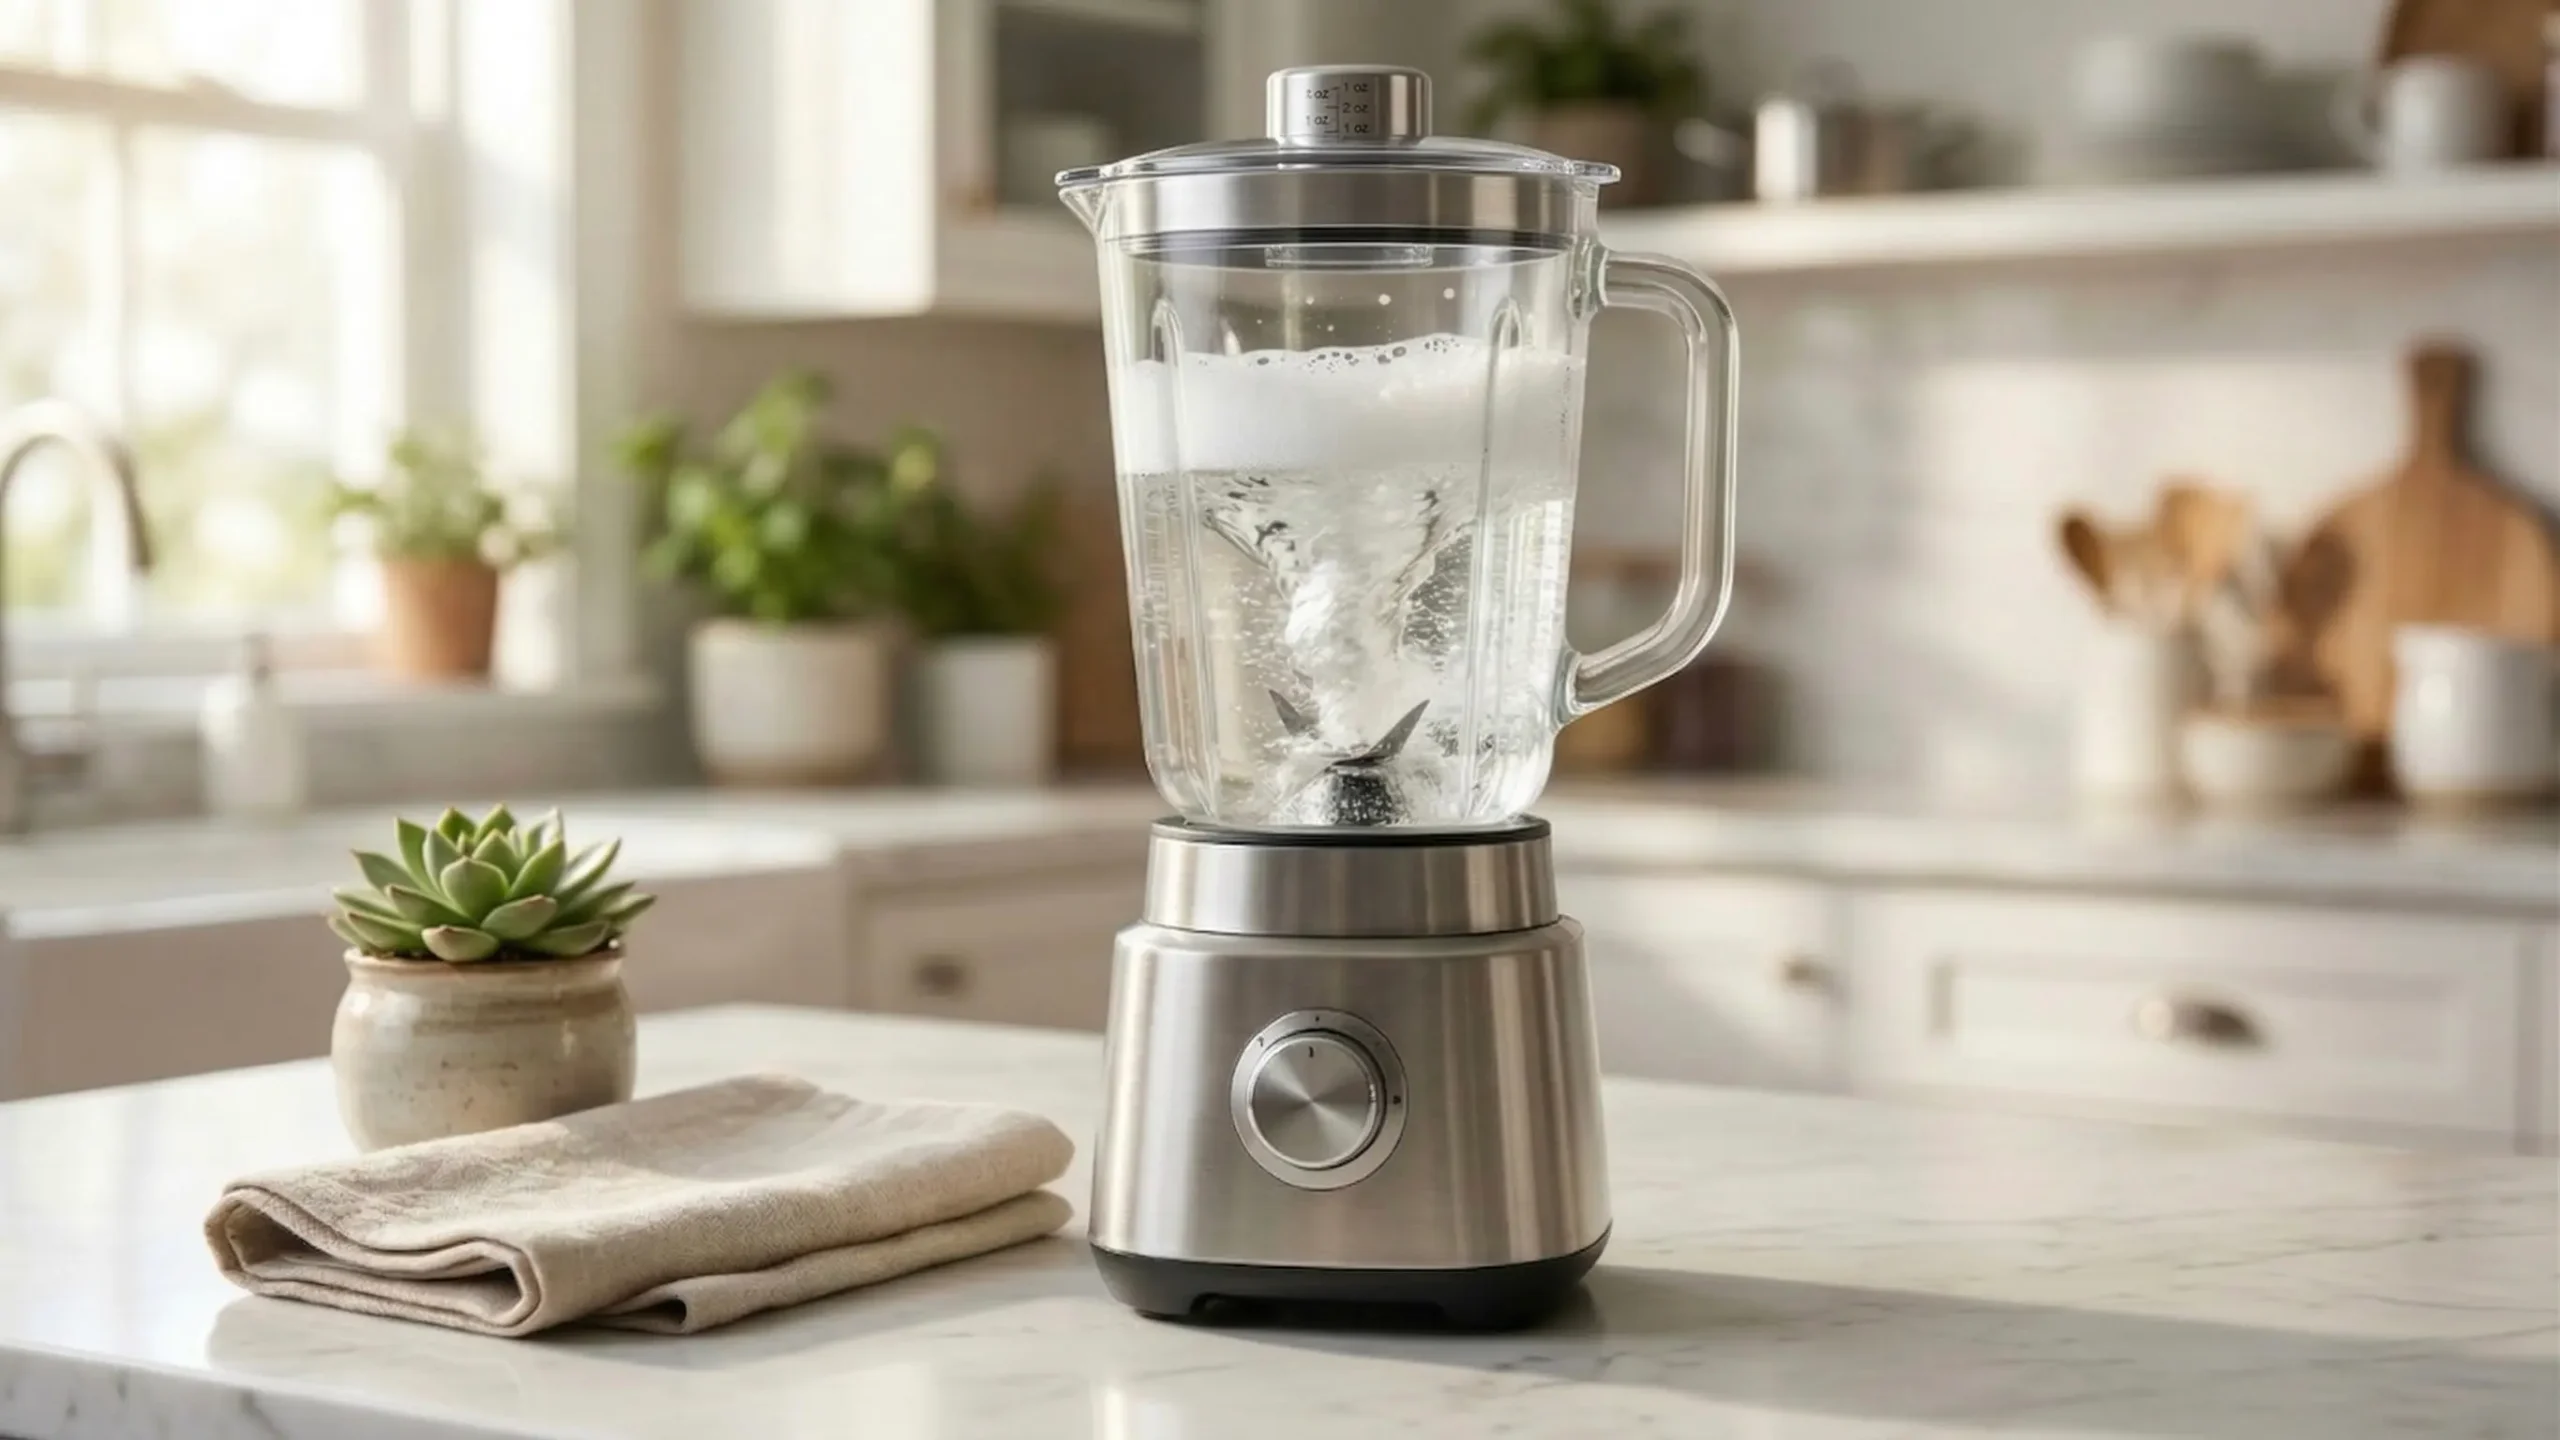
- Blend on High: Secure the lid tightly onto the pitcher. This is a crucial safety step! Place a clean kitchen towel over the lid for extra security and pressure, then turn the machine on. Start on a low speed for three to five seconds to let the soap gently mix into the water, then crank it up to the highest setting for exactly 20 to 30 seconds. Watch as the soapy vortex scrubs the walls and blades entirely spotless.
- Rinse and Air Dry: Pour out the sudsy, dirty water into the sink and rinse the pitcher thoroughly under clean, warm running water until all the bubbles are gone. Place the pitcher upside down on a drying mat or a well-ventilated dish rack to air dry completely.
Community Wisdom: What Reddit Users Say
When it comes to authentic, tested kitchen advice, online communities often provide the most practical and honest insights. A deep dive into popular advice forums like r/CleaningTips and r/lifehacks confirms that this hack is universally celebrated by daily home cooks and smoothie enthusiasts alike.
In numerous discussion threads regarding appliance maintenance, users share their initial disbelief followed by absolute relief upon trying this precise method. One common piece of advice echoed by veteran smoothie makers on Reddit is to never, under any circumstances, let the pitcher sit dry. If you are rushing out the door for work and absolutely cannot run the 30-second cleaning cycle immediately, the community strongly recommends at least filling the pitcher with water and a single drop of soap to let it soak while you are gone. This preemptive soaking prevents thick ingredients from solidifying. Additionally, users often exchange warnings against putting the appliance base or the delicate blade assembly in the dishwasher. Countless real-world experiences confirm that dishwasher cycles lead to rusted bases, dull blades, and permanently warped gaskets.
Leveling Up: Defeating Stubborn Stains, Smells, and Cloudiness
While the basic hot water and dish soap method works absolute wonders for daily maintenance, certain robust ingredients leave behind persistent odors or unsightly stains that require a slightly different approach. Turmeric, for instance, is notorious for leaving a stubborn, bright yellow tint on clear plastic pitchers. Meanwhile, strong-smelling ingredients like fresh garlic, roasted onions, or robust spices from savory soups can stubbornly linger inside the jug long after the initial washing is done. Hard tap water can also cause a cloudy, white mineral buildup on the sides of the jug over months of use.
For these tougher, more persistent challenges, your kitchen pantry offers excellent natural solutions. To banish lingering odors and permanently break down cloudy hard water stains, simply replace the dish soap with a generous splash of white vinegar or a heavy squeeze of fresh lemon juice. Run the machine using the exact same 30-second warm water method. The mild, natural acidity of the vinegar or lemon effortlessly neutralizes deep-seated smells and gently dissolves harsh mineral deposits, leaving the pitcher sparkling clear and smelling entirely fresh.
If you find yourself dealing with severely caked-on, cement-like residue from a forgotten protein shake that sat in a hot car, baking soda is the ultimate rescue ingredient. Add a full tablespoon of baking soda along with the warm water and a drop of soap. The baking soda acts as a gentle, completely non-abrasive scouring agent that safely scrubs away the dried gunk without ever scratching the smooth surface of your pitcher.
The Anatomy of Clean: Essential Monthly Maintenance
Even with the daily application of this brilliant self-cleaning technique, there are a few structural components of the appliance that require occasional manual attention to ensure optimal hygiene and longevity. A widespread mistake many busy individuals make is completely ignoring the rubber gasket—also known as the O-ring—located at the bottom of standard jar models. While the soapy vortex cleans the visible blades flawlessly, acidic liquids and tiny food particles can occasionally seep beneath this rubber seal, leading to hidden mildew buildup over time.
Once a month, it is highly advisable to fully unscrew the base of the pitcher (if your specific model allows for it), carefully remove the sharp blade assembly and the rubber ring, and wash these distinct parts individually by hand in a basin of warm, soapy water. Allow all the parts to air dry completely and thoroughly on a clean towel before reassembling them. This ensures no moisture is trapped inside the base.
Furthermore, never submerge the motorized, electrical base unit in water. To keep the heavy base looking pristine and free of sticky fingerprints, simply wipe it down with a lightly damp microfiber cloth after each use. A standard toothbrush can be a surprisingly handy tool to gently brush away any dried fruit spills from the small crevices around the buttons or dials without causing any electrical damage. By incorporating these minor, straightforward monthly checks alongside the daily 30-second self-cleaning hack, the appliance will remain in absolutely perfect, hygienic condition for years.
Adapting the Hack for Different Models
Whether you own a massive, high-powered professional model, a standard glass jar version, or a small, single-serve personal bullet, this method adapts beautifully. For personal, single-serve cups, the process is exactly the same, but you will need even less water and just a micro-drop of soap. Fill the small cup halfway, screw on the extractor blade lid, and pulse it on the base for 15 seconds. It eliminates the need to carefully sponge around those tightly packed personal blades.
For high-end professional models that hold large volumes of liquid, the vortex generated is incredibly strong. You may find that you only need 10 to 15 seconds of blending on a medium speed to achieve a perfectly clean interior. Always consult the specific guidelines provided by the manufacturer, but universally, the water-and-soap blending method is widely endorsed by the brands themselves as the safest way to maintain the integrity of their products.
A Cleaner Kitchen, A Better Morning
Embracing this incredibly quick cleanup method goes far beyond just saving a few minutes standing at the kitchen sink; it encourages a significantly more efficient, stress-free, and enjoyable daily routine. By completely eliminating the friction and dread associated with washing cumbersome, sharp appliances, you are far more likely to experiment with daily fruit blends, homemade nut milks, or freshly pureed vegetable soups.
Time is a precious commodity, especially during busy mornings. Learning to intelligently utilize an appliance’s built-in power and design capabilities to essentially maintain itself is a true hallmark of an organized home. Ultimately, this 30-second trick is the kind of practical, straightforward wisdom that transforms a deeply frustrating chore into a satisfying, effortless habit. Try it immediately after your next beverage, and you will undoubtedly wonder how you ever managed your kitchen without it.