

The Ultimate Eraser Hack for Clean Grout
There’s a special kind of satisfaction that comes from a home that feels truly clean, right down to the smallest details. Picture those beautiful, gleaming tiles in the kitchen or bathroom, their pattern and color bringing so much life to the space. But then, the eye catches it—those pesky, discolored lines of grout in between. Suddenly, the entire surface can feel a little less bright, a little less perfect. For years, the go-to solution has been a cupboard full of harsh chemical sprays, heavy-duty scrub brushes, and a whole lot of elbow grease. But what if the answer to those small, stubborn spots wasn’t under the sink at all, but sitting right inside a desk drawer?
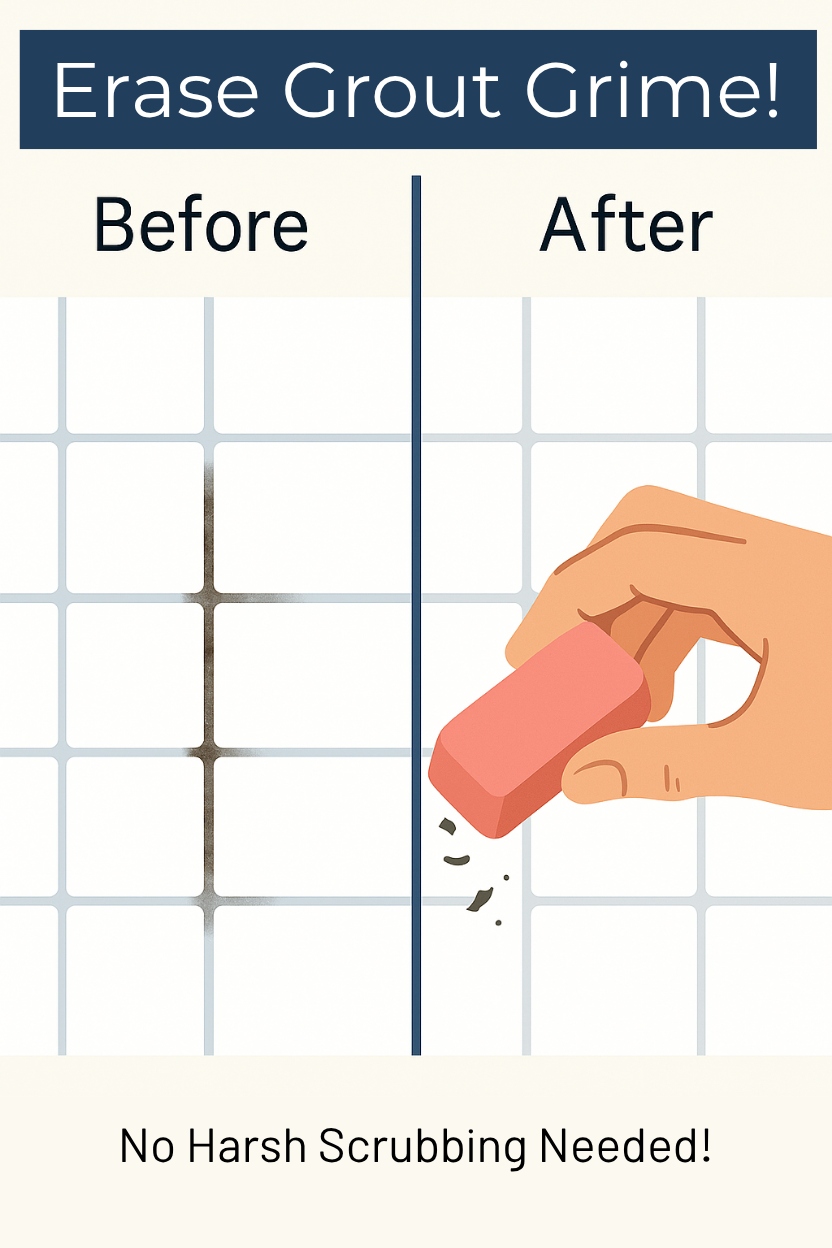
It sounds almost too simple to be true, but one of the most effective tools for tackling minor grout stains is something wonderfully unexpected: a simple block eraser. Yes, that humble block of pink or white rubber, a common sight in any office drawer or art kit, holds a surprising power to lift away scuffs and light grime, restoring the look of tile work without a single drop of potent cleaner. This is the kind of home hack that brings an instant smile—it’s clever, incredibly accessible, and astonishingly effective.
The Simple Science Behind the Eraser Hack
So, how can an item designed for paper possibly work on a surface as durable as grout? The secret lies not in a complex formula, but in a beautifully simple principle: gentle abrasion.
Unlike a harsh scouring pad that can scratch tiles and aggressively wear down the grout itself, a standard eraser is formulated with a much finer abrasive agent, often a type of soft pumice mixed with synthetic rubber. When rubbed against the grout, it functions like an incredibly precise polisher. It gently lifts and loosens the very top layer of grime, dirt, or scuff marks that have settled onto the porous surface of the grout line.
Think of it this way: harsh chemical cleaners work by dissolving or bleaching the stain, which can sometimes discolor the grout or weaken it over time. Heavy scrubbing physically scrapes the dirt away, but can also damage the grout. The eraser method is different. It carefully shaves off the microscopic layer of dirt, which then gets trapped in the eraser shavings, leaving a cleaner, brighter surface behind. It’s a physical cleaning method that offers remarkable control and gentleness.
When to Reach for the Eraser (And When Not To)
This brilliant little trick is a champion of spot-cleaning. It’s the perfect solution for those specific situations where a full-scale deep clean is unnecessary.
This hack is ideal for:
- Scuff Marks: Black or colored scuff marks from shoes in a tiled entryway or mudroom disappear with incredible ease.
- Small, Mysterious Spots: That one little dark spot on the kitchen backsplash that appeared out of nowhere? The eraser is a perfect first line of defense.
- Lightly Discolored Areas: If a small section of grout in a low-traffic area just looks a bit dingy, a quick session with an eraser can instantly brighten it.
- Post-Project Smudges: A stray pencil mark or a light smudge from a DIY project can be whisked away in seconds.
It’s also important to know its limitations. This method is not designed for tackling widespread, deep-set mildew in a shower or for cleaning an entire floor’s worth of heavily soiled grout. For those larger jobs, a more traditional approach is still needed. But for the everyday, minor blemishes, the eraser is an unbeatable hero.
A Simple Guide to Flawless Grout Lines
Putting this technique into practice is as simple as it sounds. With just a moment of preparation, anyone can see the results for themselves.
1. Select the Right Tool: A classic pink or white block eraser is the best choice. It’s a good idea to start with a clean eraser to avoid transferring any old graphite onto the grout. Avoid overly colorful or novelty erasers, as they could potentially leave a faint color stain behind.
2. Prepare the Surface: Before starting, it’s best to give the area a quick wipe with a clean, dry cloth. This removes any loose dust or debris, allowing the eraser to make direct contact with the stain on the grout.
3. Begin Erasing: Holding the eraser firmly, rub it back and forth along the stained grout line with steady pressure. Just like erasing a mark on paper, the motion is intuitive. Almost immediately, eraser shavings mixed with the lifted grime will start to appear.
4. Wipe and Reveal: Once the mark is gone, simply use a soft brush (an old toothbrush is perfect) or a damp cloth to wipe away the eraser debris. The result is a visibly cleaner, brighter line of grout, restored without any fumes or fuss.
This process is so quick and satisfying that it can almost feel like a clever little secret. It transforms a tedious chore into a moment of surprising and simple victory over household grime.
The beauty of this method lies not just in its effectiveness, but in its simplicity and accessibility. There’s a certain joy in discovering that a powerful solution doesn’t have to be complicated or expensive. It’s a reminder that sometimes, the most resourceful answers are the ones that have been hiding in plain sight all along. The next time a small scuff mark on the grout catches the eye, there’s no need to sigh and reach for a bottle of cleaner. Instead, a walk to the desk drawer might be all it takes to bring back that little bit of sparkle and restore a sense of pristine order to a beloved space.